

Dakotagrafx
-
Content Count
21,363 -
Joined
-
Last visited
-
Days Won
640
Posts posted by Dakotagrafx
-
-
3 hours ago, Guest Amanda said:I am pretty new to Vinyl cutting and I am having issues when trying to cut an image. When vectorizing and contour cutting the image it is not including the design thats on it in addition to lettering. I also am not trying to cut the background of the image and its capturing only letterd and a square background/ out line of the whole image.
How can I get it to trace and include all parts of the design? I've played around with a bunch of setting in the vectorizing and contour cut options but nothing is working.
Thank you in advance.
After vectorizing the image, delete the raster portion, that is why the box
-
On 3/15/2022 at 8:29 PM, Sepp said:Wilson-Flyer - I would be sooo into this.
I have a brother Scan'n'cut - sadly it's an amazing feature and horrible performance.
I bought it to replace our 9 year old Cricut and it can't cut nearly as well. Horrible and ZERO help from Brother or the service centers. Z E R O....
(We sold the Cricut before we figured out that the Brother would not be good enough). It's sad really - the machine hardware appears to be able to do amazing things.
So I just bought P20 to hopefully create a workflow and quality level that is better.
I'm stuck because I can't get the print head aligned well enough for what I would like to do.
IE> We print on 4" vinyl in a thermal printer and I want to take a 4" wide print, stick it to a mat and then align the cut on the machine.
Ideally, using the camera to find a fixed spot on the print would be perfect. Using the ARMS registration marks eats up too much material, cutting our yield in half.
Similarly, we often want to cut a letter-size sheet very close to the edge, but this seems impossible.
Even more basic than above, even if I just want to cut a pattern 3.75" on 4" wide tape, I need to get the head accurately positioned.
What I don't understand is why we can't use manual mark locations - or even marks INSIDE the artwork.
There is no reason that the marks have to be on the outside, assume the machine holds registration, once it knows where it is, it should be able to cut anywhere.
I did however, find this info on what I assume is the same machine with different firmware:
See page 62 of this manual:
Sky-Cut C16: "Set the origin using the camera"?
https://drive.google.com/file/d/1aXG1HCRKBA0eNh237InLjvMB0T0n1Whl/view?usp=sharingAll plotters use registration marks outside of the image to cut and need a margin around the image that I have used, but then mostly I have used solvent printers and some pigment based for garments. Curious why you would want to print registration marks within your image where they would be visable in the final product?
-
She said pose here, I thought for the turtles
Not cutter related but I know several old timers that will see the humor


-
I think it was Lra near Tampa Florida I used to get that type of sublimation lighters from
-
On 2/24/2022 at 3:22 PM, Wkdemers1 said:Whose still alive here?
On 2/24/2022 at 3:22 PM, Wkdemers1 said:Whose still alive here?
Whazup , why all the replies on the necro threads
-
 1
1
-
-
Encoder strip clean?
-
You need the usb drivers for your plotter installed first. Your plotter uses a usb emulation chip with special drivers.
-
11 minutes ago, haumana said:If only I had room, and maybe a distributor in Hawaii, although something that size is a bit overkill for me. Nice to see that they do make a desktop version, but I don't think I'll be able to find anyone will to beat Amazon's price, since Prime ships for free. Maybe when I finally get some real working area, in a real workshop, I'll have room for something like that

It was a lucky buy for sure. I would think that Rotarian would be sweet. I know we used the heck out of our cheaper ones before I found the big one
-
 1
1
-
-
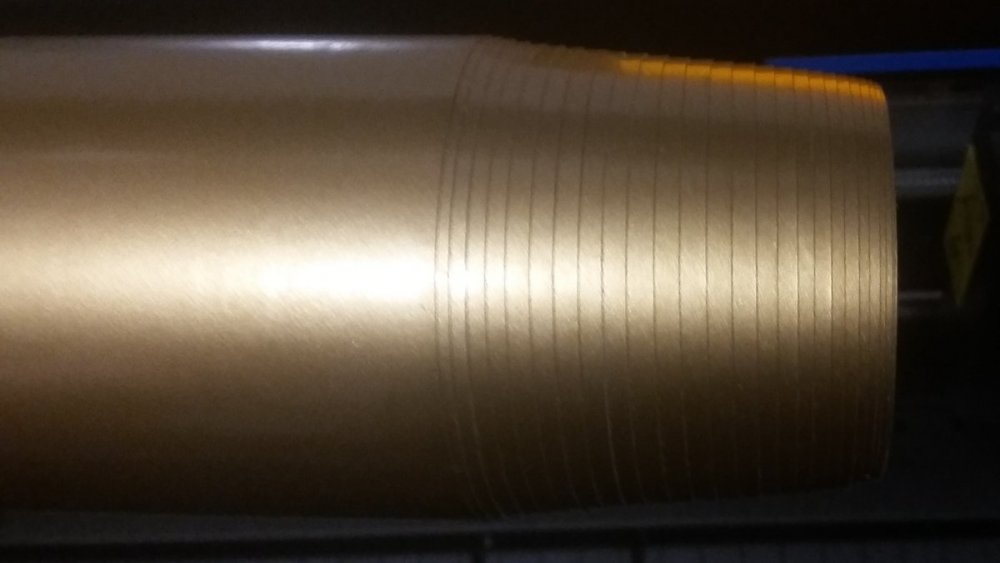
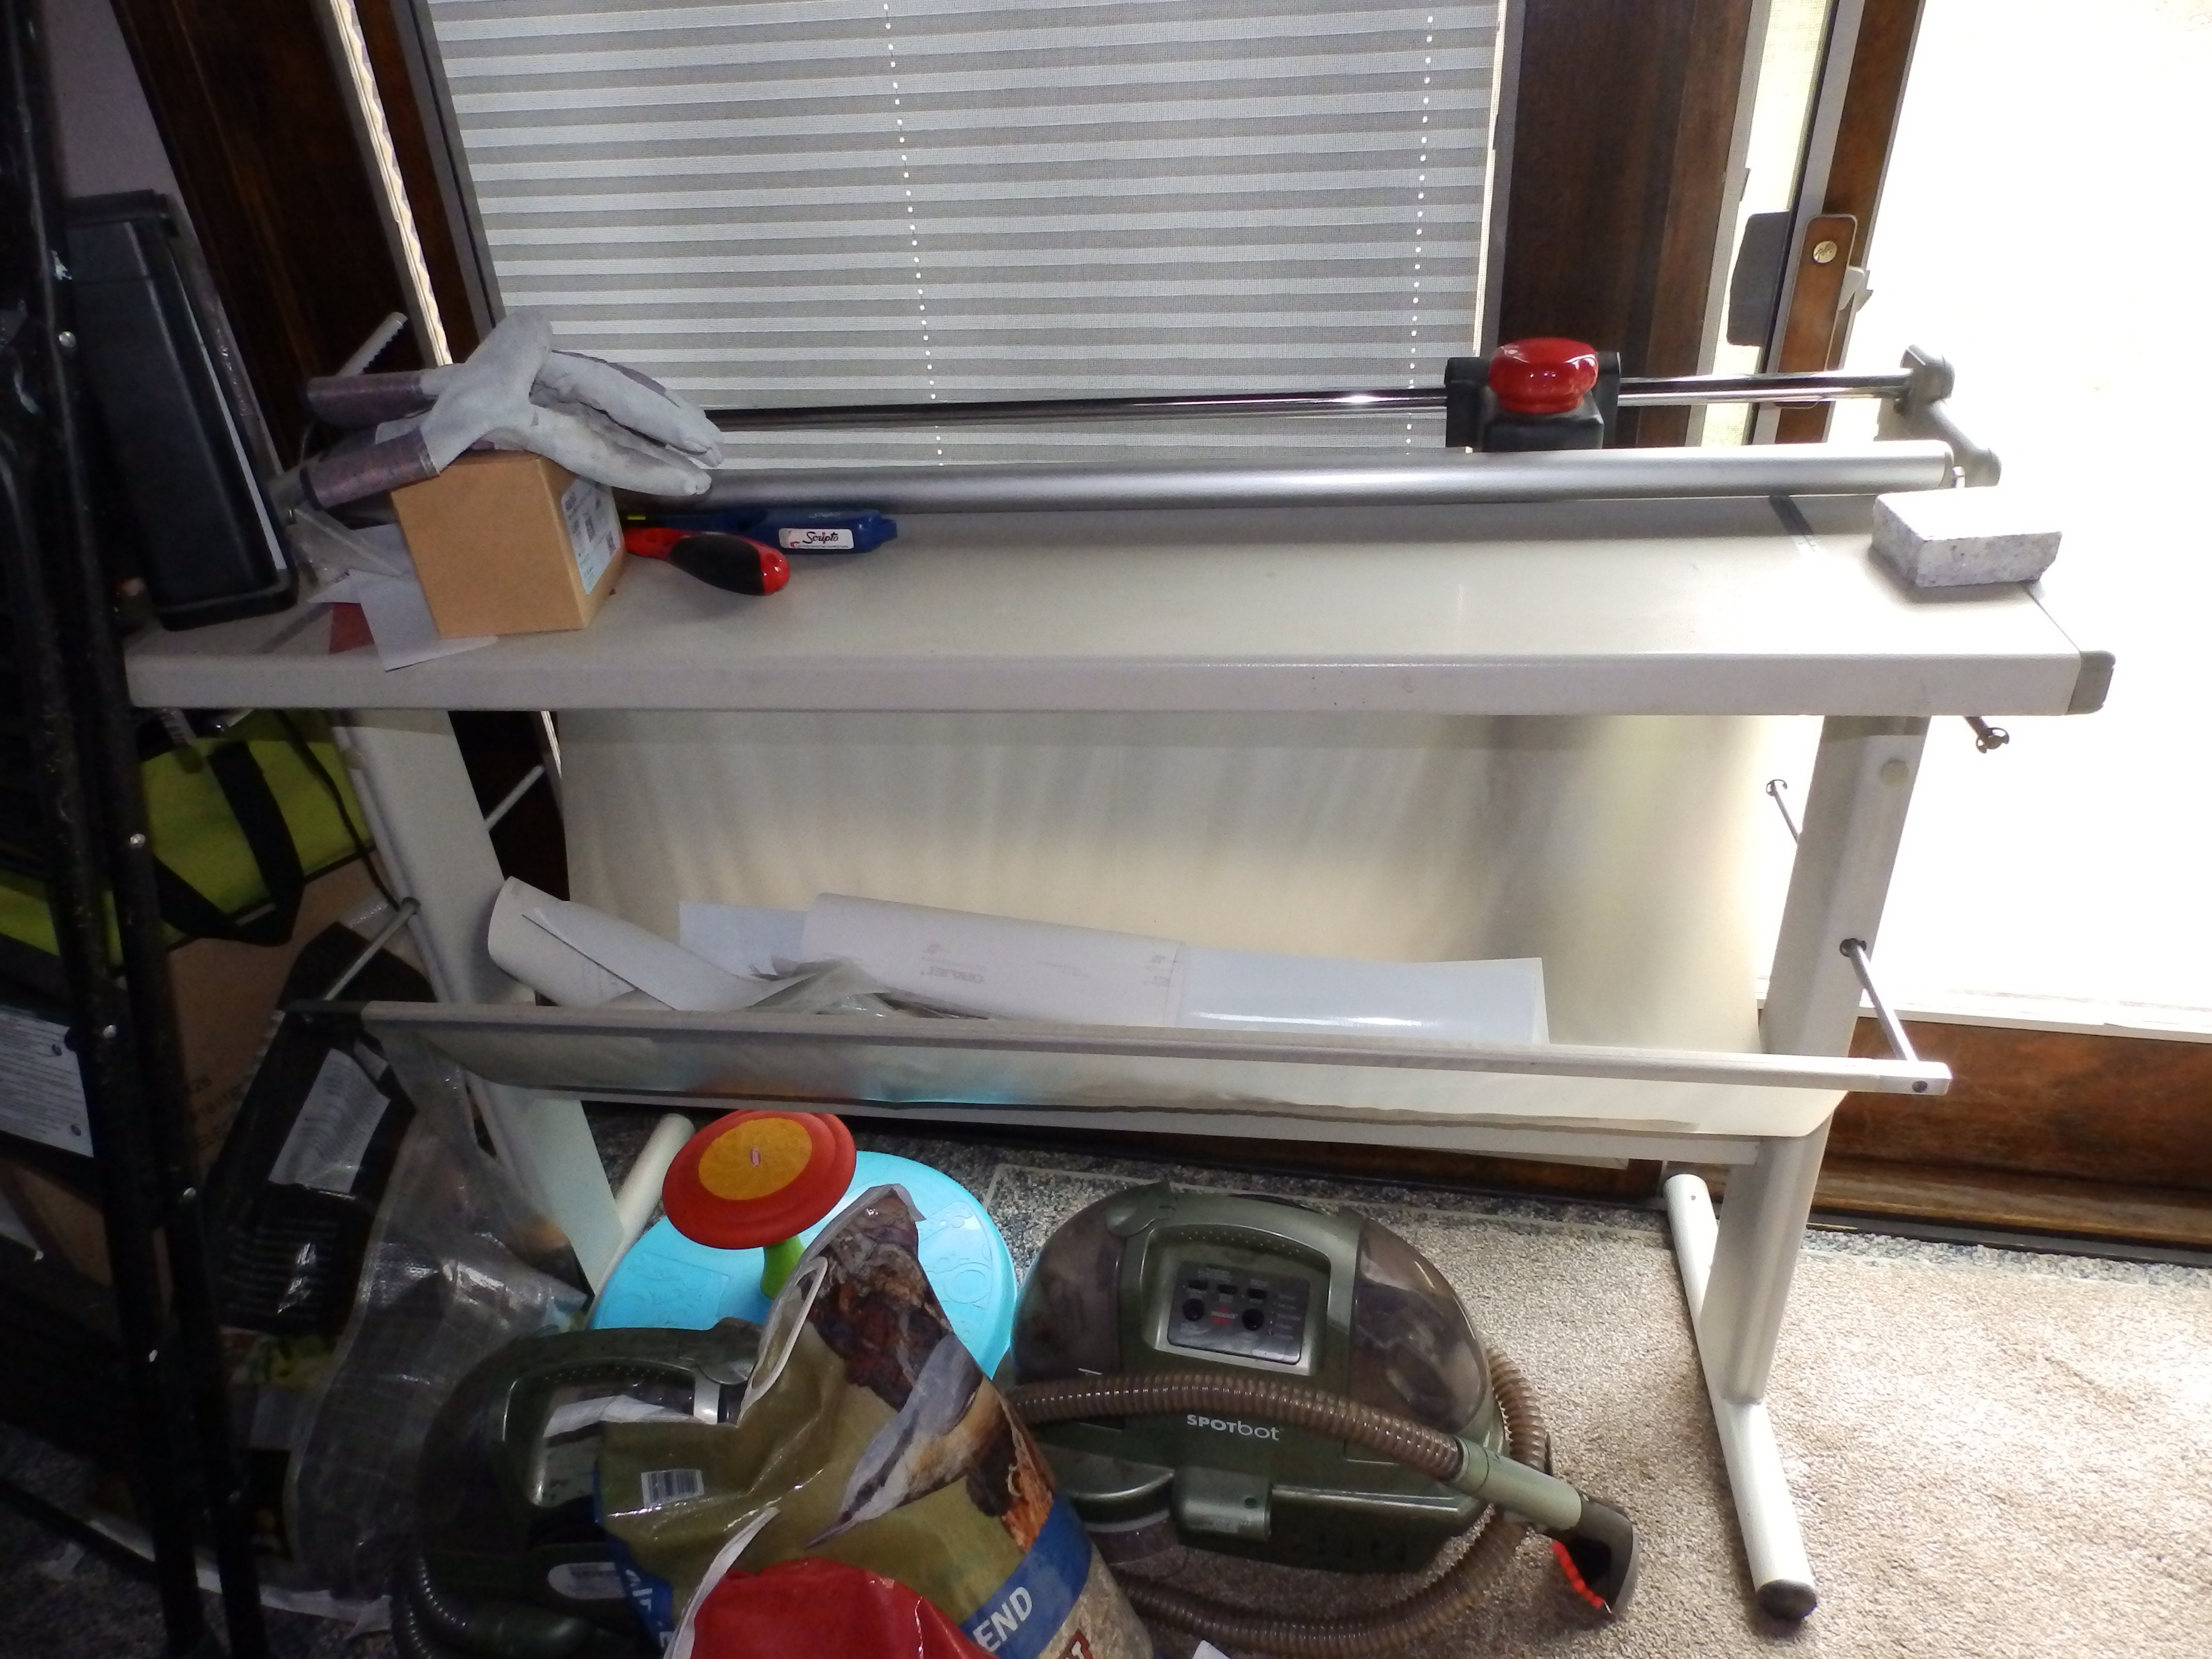
can't speak for those but I found a NEOLT a few years ago including shipping was $200 - - - - we had one in the GIS shop I worked in and they are indestructible if you can find one reasonably.
the reviews on that rotatrim are impressive
picture was last year during bathroom reno when the cutter wasn't getting much love
-
19 hours ago, haumana said:I think the clear tape is a little more rigid, so getting it to lay flat will be more difficult. If I'm doing the application with the app tape on the table, and laying the decal into it, which is my preferred method, and if the app tape is not laying flat, then I will over pull the length, and tape the corners down. I'd be cutting it off in the final cuts anyway.
I also prefer to use paper tape. Most here prefer paper tape. I will only use clear if the client specifically asks for it, and I never offer up that info.
same method I use - works great and I leave the clear for the crafters, you can't apply a decal wet with clear
7 hours ago, darcshadow said:Keep in mind, the app tape doesn't have to be perfect. Just avoid wrinkles and creases the best you can. Even then, those can be worked during install and not cause a problem.
If you're doing a lot of large decals, you might consider getting/making something like this;
https://uscutter.com/Aluminum-Big-Squeegee-Laminator-Tool/
I seriously need to raise the price of the one I have in the buy/sell section lol -
-
1
-
-
$35 + actual shipping from 49036 6" x 6" x 35" 3 lbs priority mail
-
$300 for either stand
$100 for the roll holder - still pick up only -
having owned a dozen graphtecs - I have NEVER seen vinyl buckle on a graphtec until the ce7000 series -
-
 1
1
-
-
I'm going to wait on skeeter for this one - never heard of the carriage height being adjustable - but the buckling is a common knowledge issue with that model
-
not a scalp user as I disliked it when I tried it but should be a punch out, cut out or remove overlap feature -
-
like this just make 3 layers with 3 sets of registration marks - I would just change the top layer registration marks to another color so it is easier to follow along - other than that I think you just didn't work it down a little at a time while you peeled the backing - it takes practice
-
1
-
-
4 hours ago, New2022 said:Thanks.
The problems I first had were from when the roll was brand new, hadn't been prefed and I was rerolling the vinyl as tight as possible after each use
 . I didn't know I shouldn't be doing that until reading your post, so thank you
 ") . I only have two rolls of vinyl, but as a test I got the 305mm roll (I incorrectly stated 310mm earlier) and I pushed the inside core until vinyl protruded from the other side to loosen it, like so:
. I only have two rolls of vinyl, but as a test I got the 305mm roll (I incorrectly stated 310mm earlier) and I pushed the inside core until vinyl protruded from the other side to loosen it, like so:
I then pushed both ends of the vinyl so it went back to the core width and I did a 14ft pre feed which went through perfectly. I then rerolled the vinyl as tight as I had been doing and manually started to feed the vinyl through the machine, within seconds there was bunching on the left side and the roll fell down. I did the same test and more vinyl passed but there was bunching. Lastly, I rerolled the vinyl and then loosened it as I did above and then I manually fed the vinyl until 142" went through with no bunching. I think it's safe to say my issues were due to the vinyl being rolled too tight.
I'm not sure if this will help anyone, but If buying a CE7000 it may be worth asking the seller if they know what firmware version the machine has to see how old the stock is to minimize the roller issue. My machine had firmware version 1.22 (now updated), version 1.22 was released in May 2021, version 1.23 was released in November 2021 and version 1.24 was released in December 2021.
even with the fc I don't let the plotter pull the vinyl off the roll - I still unroll what I think the project needs off and let it hang out the back so the plotter isn't pulling any weight except the hanging vinyl - glad you are making progress
-
so far on win 11, after getting used to the menu that reminds me more of a mac, I have had no issues (knock on wood) - feeling lucky. but I get what darcshadow is saying it is hard to learn the little navigation changes - wife and myself are thinking in a couple of months of going to streaming service from dish and feeling a lot like an old bugger new having to learn something new after being comfortable for 25+ years. now I do have 2 of the windows 10 machines (one mine and one moms) that just won't do the last 2 updates and after spending 3 days researching and trying different fixes gave up for a while - I needed a break
-
4 hours ago, New2022 said:I'm definitely not the right person to review this machine but I will post describing in detail what I did to test for roller issues.
The CE7000 was delivered last Monday but it wasn't until Thursday I was able to set the machine up fully. I first tested the roll of 310mm vinyl and I had a few issues with the roll falling off and some bunching on the left side, after more testing and no more bunching I put the earlier problems down to my inexperience with vinyl plotters. During this time I didn't write anything down, so on Saturday I did more tests with the 310mm vinyl roll.
- 97.961" was passed through the machine before the roll fell off, no bunching.
- I rerolled the vinyl and set a 16ft pre feed, during this the roll fell off but I let it continue until the core, which was hanging on by some tape, reached the machine feed. As the vinyl was exiting the machine it was starting to curve upwards due to the build up of vinyl on the floor. No bunching.
- I did a cut which came out fine. At first I tried to set the blade automatically and then I realised, three attempts later, it wasn't working due to my vinyl being too thin. This was later confirmed by the manual.
On Sunday I tested the 610mm roll of vinyl:
- 12" passed and bunching occurred on the left side.
- I realigned the rollers and rerolled the vinyl and it passed through 10" before bunching on the left side.
- I realigned the rollers and rerolled the vinyl and it passed through 32" before bunching on the left side.
- I realigned the rollers and about 50" passed before bunching on the left side.
I then connected the media basket:
- I rerolled the vinyl and 19" passed before bunching on the left side.
- I rerolled the vinyl and 17" passed before bunching on right side.
- I adjusted the roller on the left side to about 12mm from the left side of the vinyl and I adjusted the roller on the right side to about 20mm from right side of vinyl. No bunching on left or right side but I had to stop at just over 107" because the vinyl was literally going up into the air from the media basket
- I reversed all 107" of vinyl and let it fall into the rear basket and then I fed the vinyl back through to the front while keeping an eye on both rollers and just tapping the middle of the vinyl with my finger every time it started to rise (so it would collapse into the basket). I started hearing a noise which turned out to be the detached core rattling, it then fell into the media basket. I stopped the pass through and it had reached 165" without bunching.
- I reversed the vinyl letting it fall into the rear basket and I adjusted the right roller to about 16mm from right side of vinyl and then set the pre feed to 16ft. It all passed without any bunching and then automatically reversed.
- I set the right roller to about 13mm from right side of vinyl and set the pre feed to 16ft, it passed without bunching and automatically reversed
- Just before this post I tested passing 16ft of vinyl through again with the vinyl that had been left in the rear basket since Sunday. It all passed without issues even though some of the vinyl had taken a new shape (no longer flat in places).
Given my vinyl passes without issue after a pre feed, could my earlier issues be more to do with the vinyl type and my lack of experience with these machines? The vinyl being wound too tight (is this even a possibility?), the CE7000 maybe being more temperamental than previous versions or some sort of mix? In the videos I watched with the bunching issue, the bunching happened every time the vinyl passed through the machine, even when it wasn't rerolled. Users with similar issues said their machine would get to X and have bunching whereas my issues happened at different times and only when I had rerolled the vinyl or when it was first used.
Last night I did an ARMS test cut which came out fine... eventually (my mistakes). Are there any other recommended tests to do on a new machine?
glad you got your plotter to work properly - one note is to always prefeed and never have the plotter pull directly from the roll. as to the earlier post - I have personally had a dozen graphtec plotters over the years with no issues until the ce-7000 - having run many many 50 ft rolls thru them am fairly confident in my technique.
I am curious your earlier "bunching" - was that due to pulling from the roll or an indication of the same issue as earlier described cropping up. can you take another roll (as most of us change colors many times during a week of cutting and have no problems for the 16ft like you did with the roll that was left in the media basket for days?
Hoping your earlier bunching is because you "rolled the vinyl" and had the plotter pull it from the roll and that the issue has indeed been fixed.-
1
-
On 2/5/2022 at 8:38 PM, haumana said:Ouch, wow those are pricey.
don't tell anyone but I have been buying them off ebay real cheap for years - works great
-
1
-
-
haven't seen that one before - do you have another blade holder to try? I always have some cheap ones around for replacement and for my reflectives blade
-
20 hours ago, Boroughprint said:Hi, Im new here and fairly new to vinyl cutting.
My ce6000 is working well except for the fact the almost always on the upper left hand side of a cut, it cuts the graphic slightly short. Cutting printed laminated vinyl. Especially noticeable for round graphics. I am doing quality 1, cutting force of 14. I am confident the blade is set correctly and I have tried fresh blades. 45 degree blade. I'm pulling my hair out trying to figure out what is going on here. Using the most recent version cutting master plugin in illustrator on a Mac.
Here is a picture of what is happening it may be hard to see but above the crown you see the cut move up a little bit. Its small but noticeable as I am placing these labels in a pre drilled area that is perfectly round.
THANKS!
19 hours ago, Boroughprint said:Im in NY, USA.
Blade depth is about half a credit card depth, I did the vinyl cut test I saw described here at one point where I'm just using the blade in the holder and it seemed pretty good, cut through lamination and vinyl without cutting the backing paper.
Not using a cutting mat, adhesive vinyl on backing paper. I did try a 60 degree blade but it was old and worn. I bought a new one and ill try that next.
that one myth has caused more problems over the years and it still lingers on - - - skeeter has the proper way and hopefully has you on track.
-
you have to create a vector contour line for the plotter to cut it - a plotter cannot cut around a raster image
-
Color
in Sublimation
39 minutes ago, rhenda said:I am new at sublimation I got the black to transfer but no color transferred to my sublimation cup. Plus how long to the prints have to dry before sublimation.
there is no drying in sublimation - the ink turns to a gas - I use cactus wraps at 400 degrees in the oven for 15 minutes.
are you using wraps in the oven or a mug press? you might want to check if a press to make sure it is reaching the 400 degrees
there is also a big difference in how even the poly layer is coated on mugs from different vendors - where did you buy the mugs?


cutter basket for CE5000 or CE3000
in Buy, Sell, and Trade
Posted
$30+ actual shipping for the catch basket