

crome
-
Content Count
85 -
Joined
-
Last visited
-
Days Won
2
Posts posted by crome
-
-
-
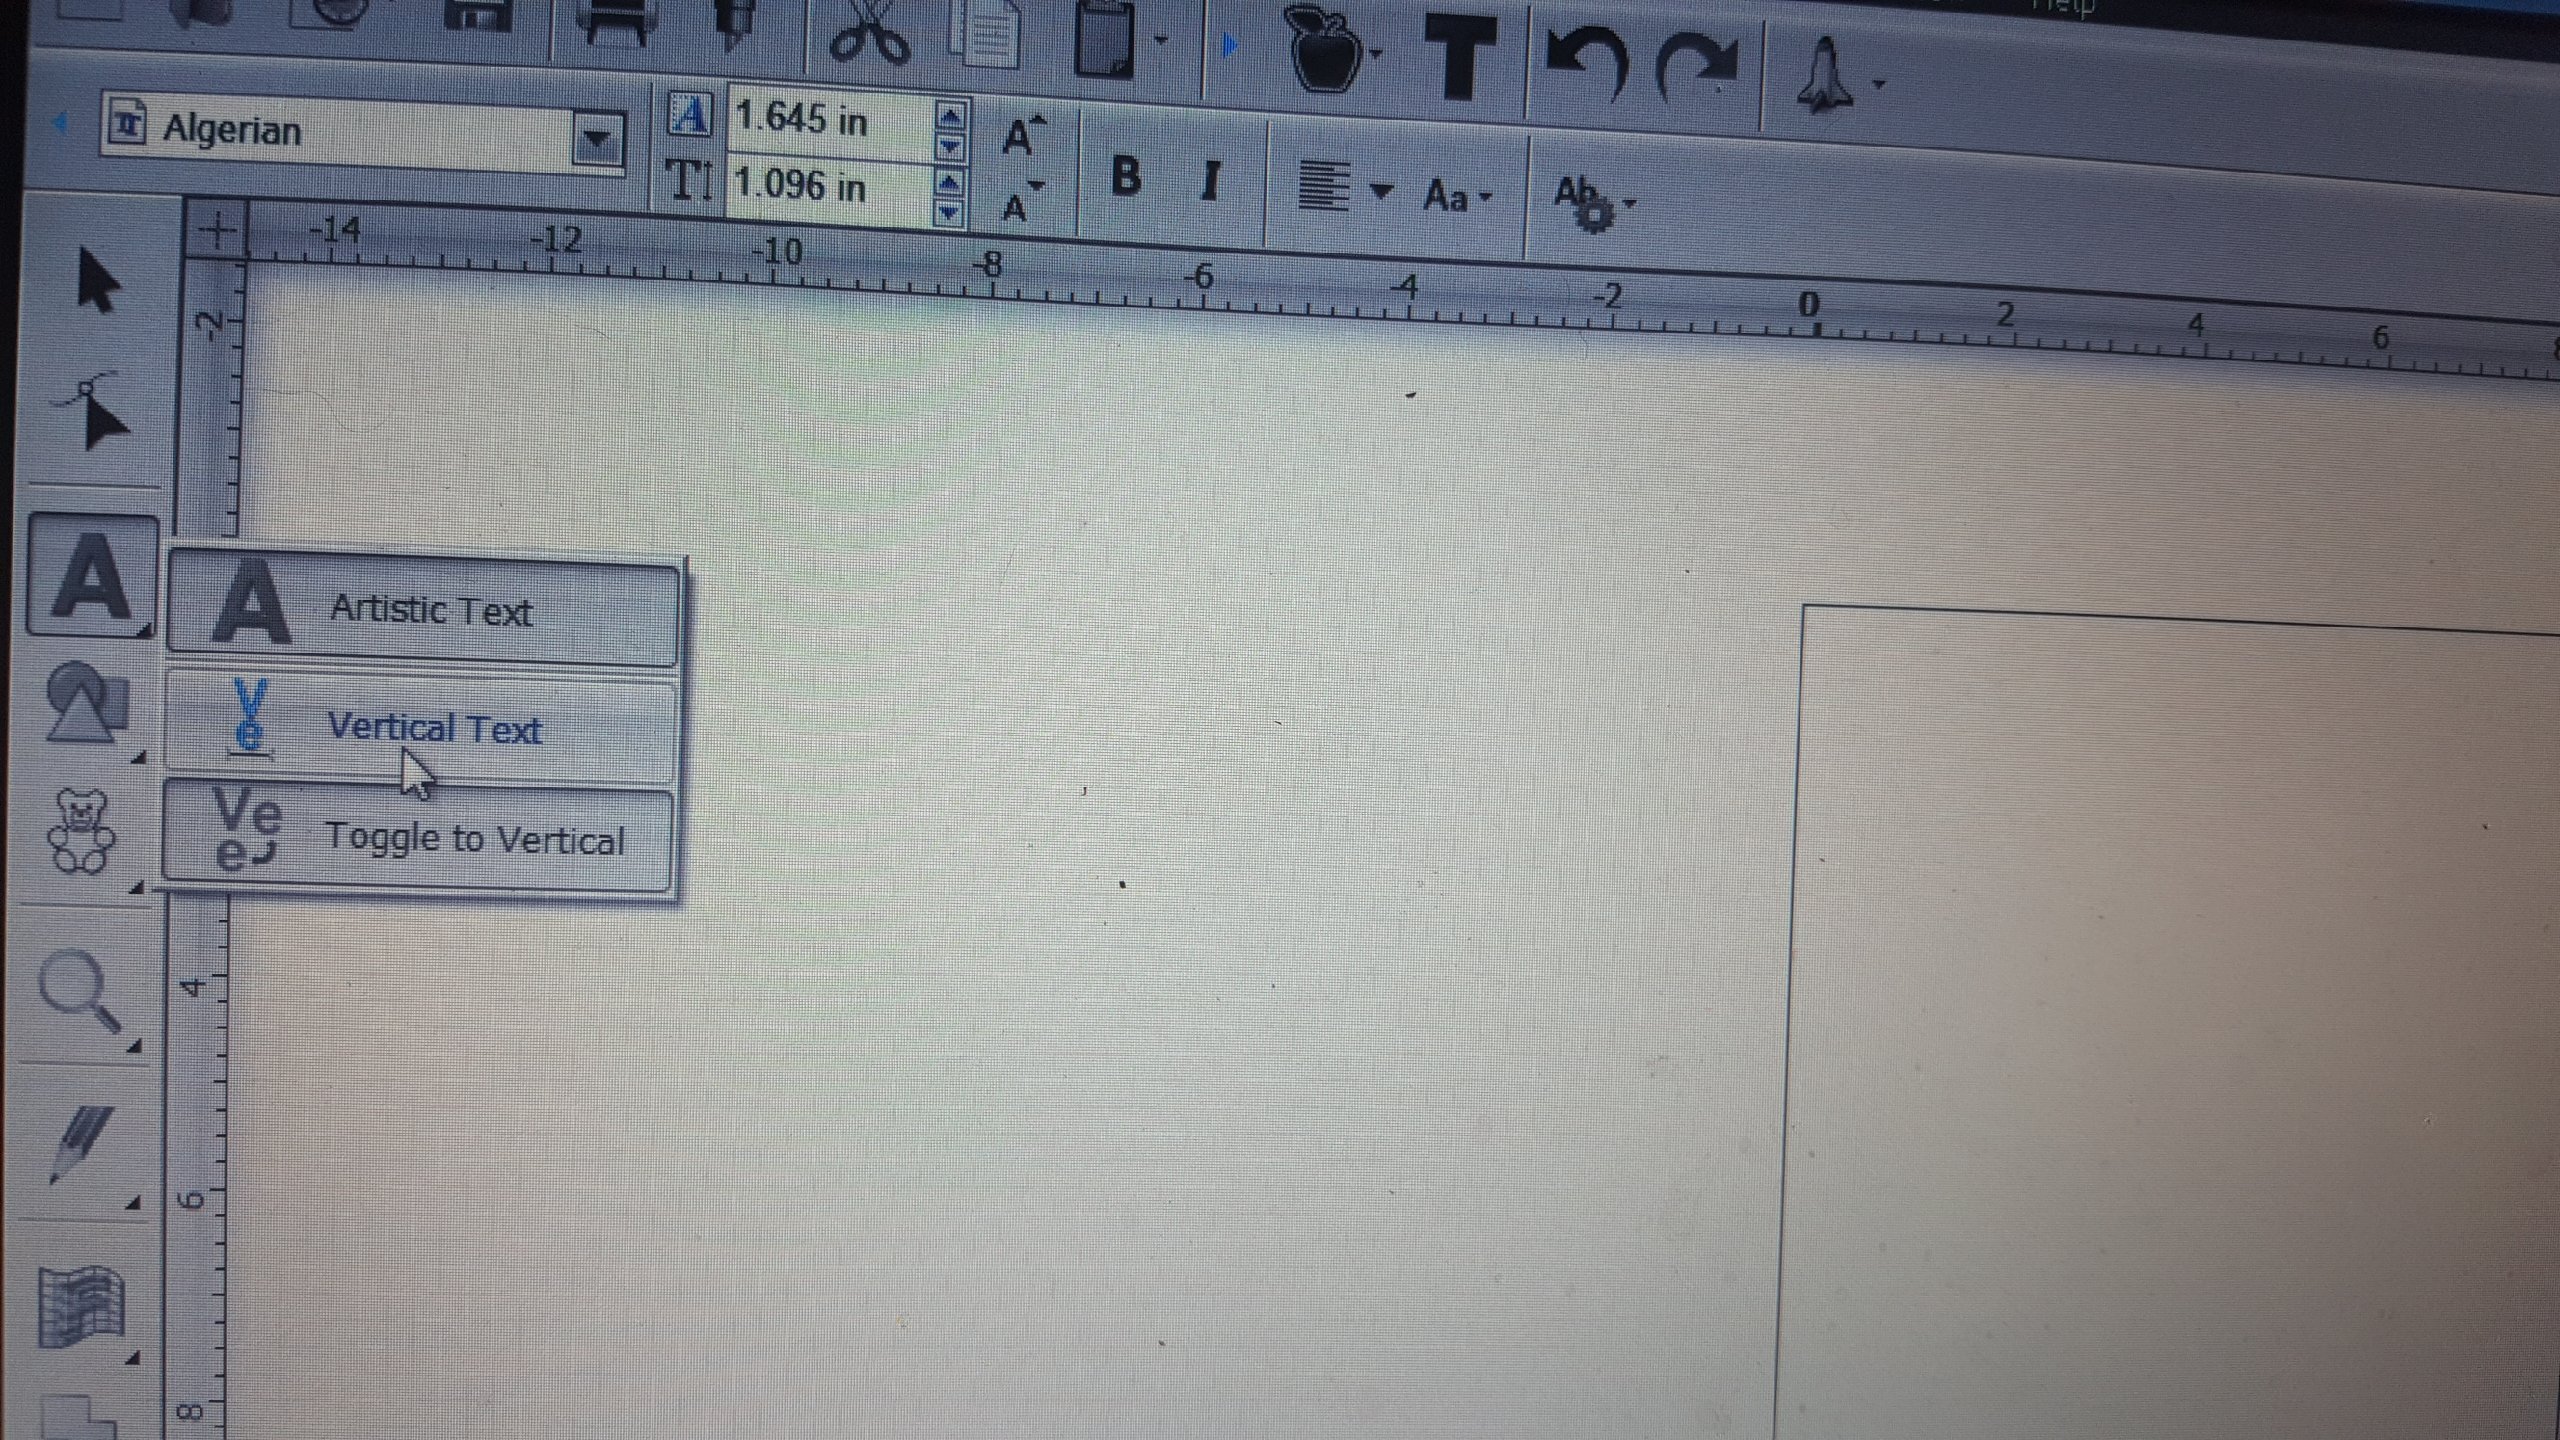
Are you creating your text with the vertical text tool?
-
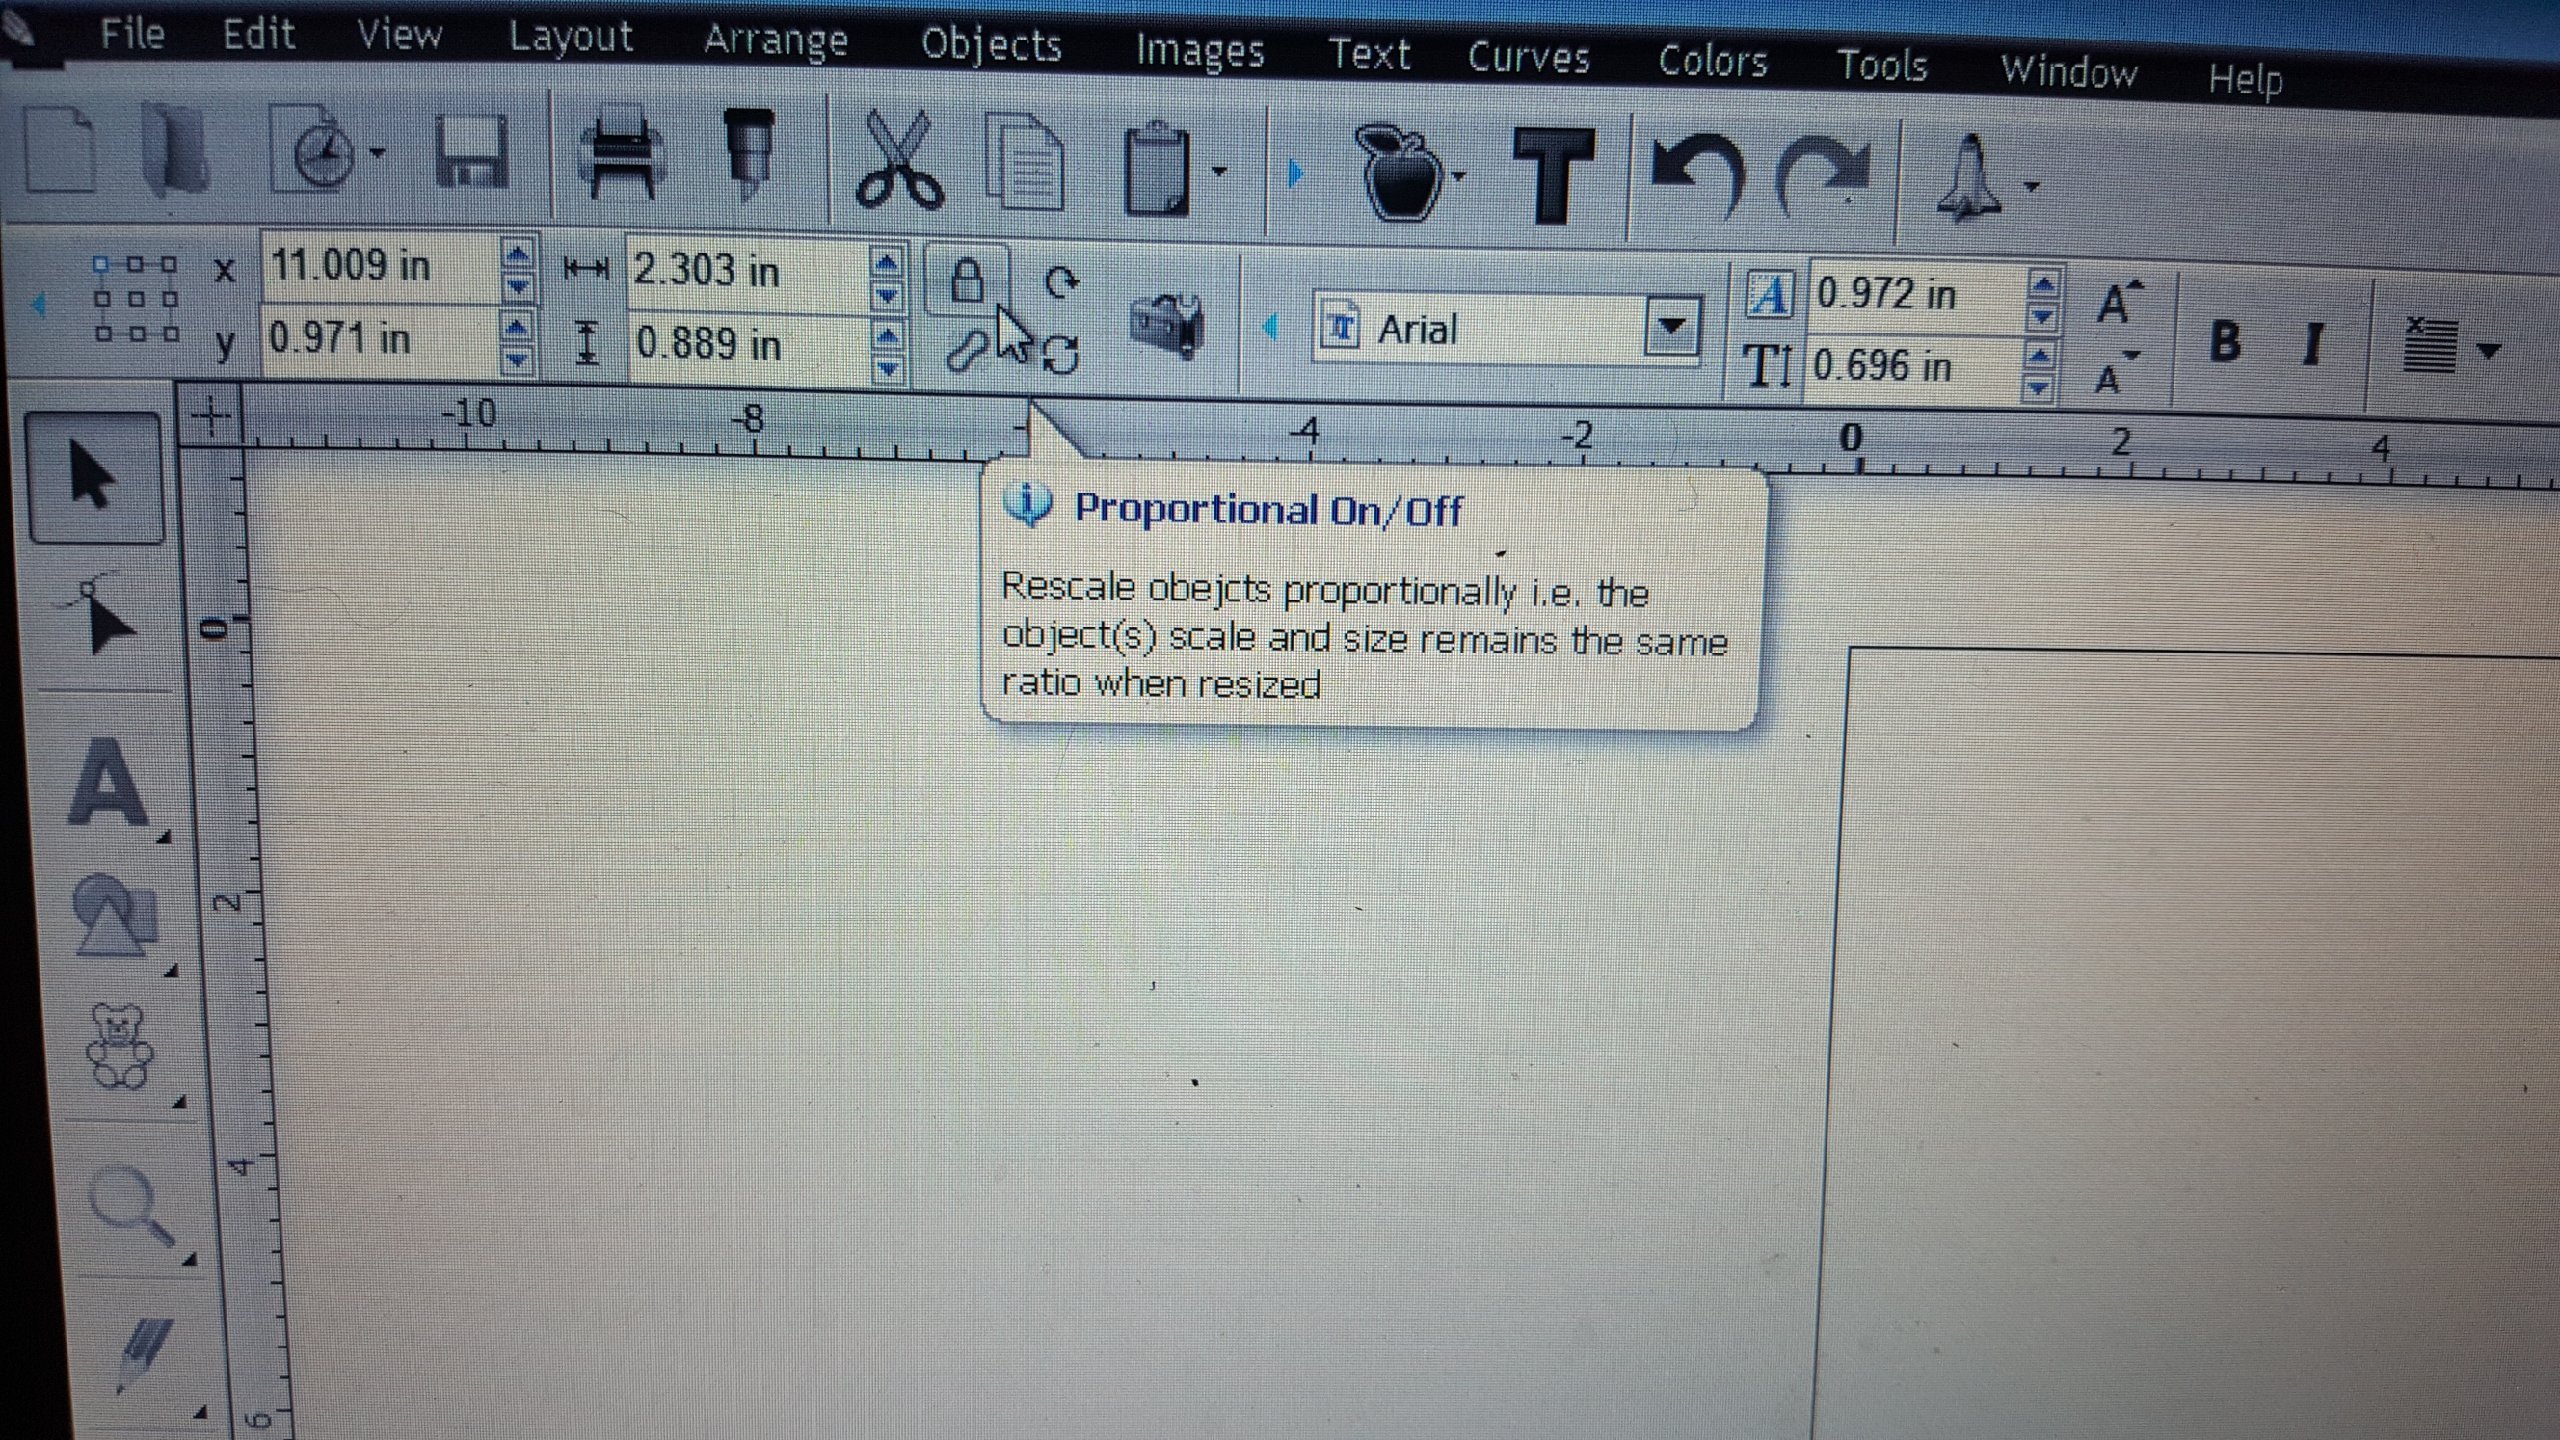
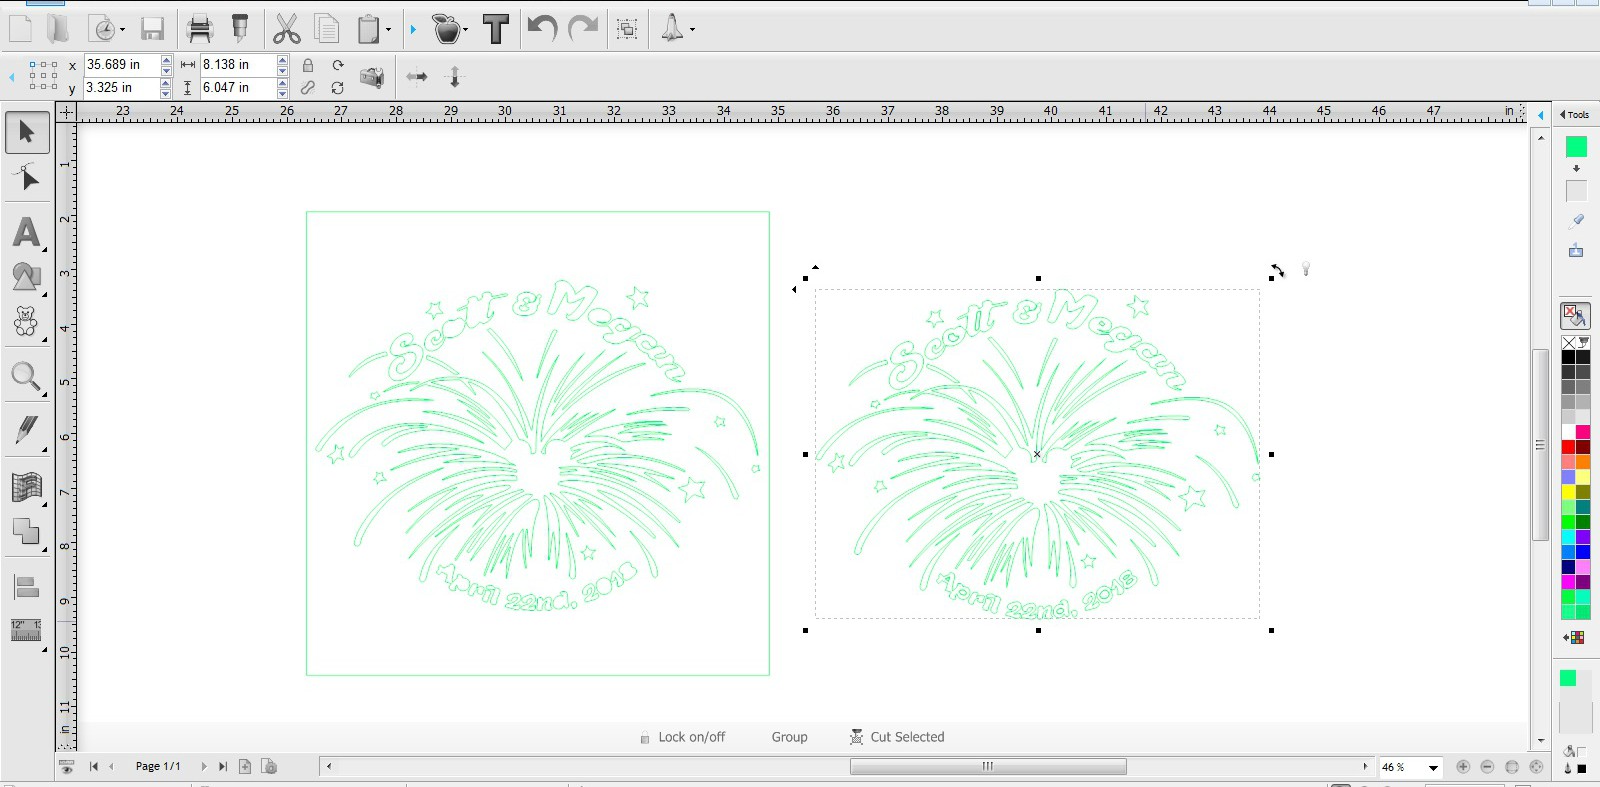
You need to to select the pointer on the left side toolbar, then select the text you want to resize and the proportional on/off icon will show up. click on it and then you can change the width or height independently.

-
 1
1
-
-
When you click send to cutter and the next screen opens up, make sure the absolute (position) is not checked.
-
select, let's say the two feet, right click, ungroup, then pull the center image out
-
when you look at the letter in in show outline only view, zoomed in, if there is only one line on the outside of the letters, then the letters will be full, if zoom in and you see two lines making up the letters, then you are cutting an outline of the letter.....that make sence?
-
When you are looking at it in preview, it's just showing where the blade is running, it's not showing you the color of the vinyl you will be using
-
look at it on your cutting mat in the "show outline only "view, is there two two lines in each foot or just one? you may have to zoom in to see it good
-
You are not wanting the centers of the letters cut out?
-
Select the text on your cutting mat, right click, path and then union.....Toggle the view to show outline only so you can see what going on
-
Group the four white objects together, then place them over the black where you want them. Select all the objects (black and white pieces) and then right click, paths and then back minus front.
-
1
-
-
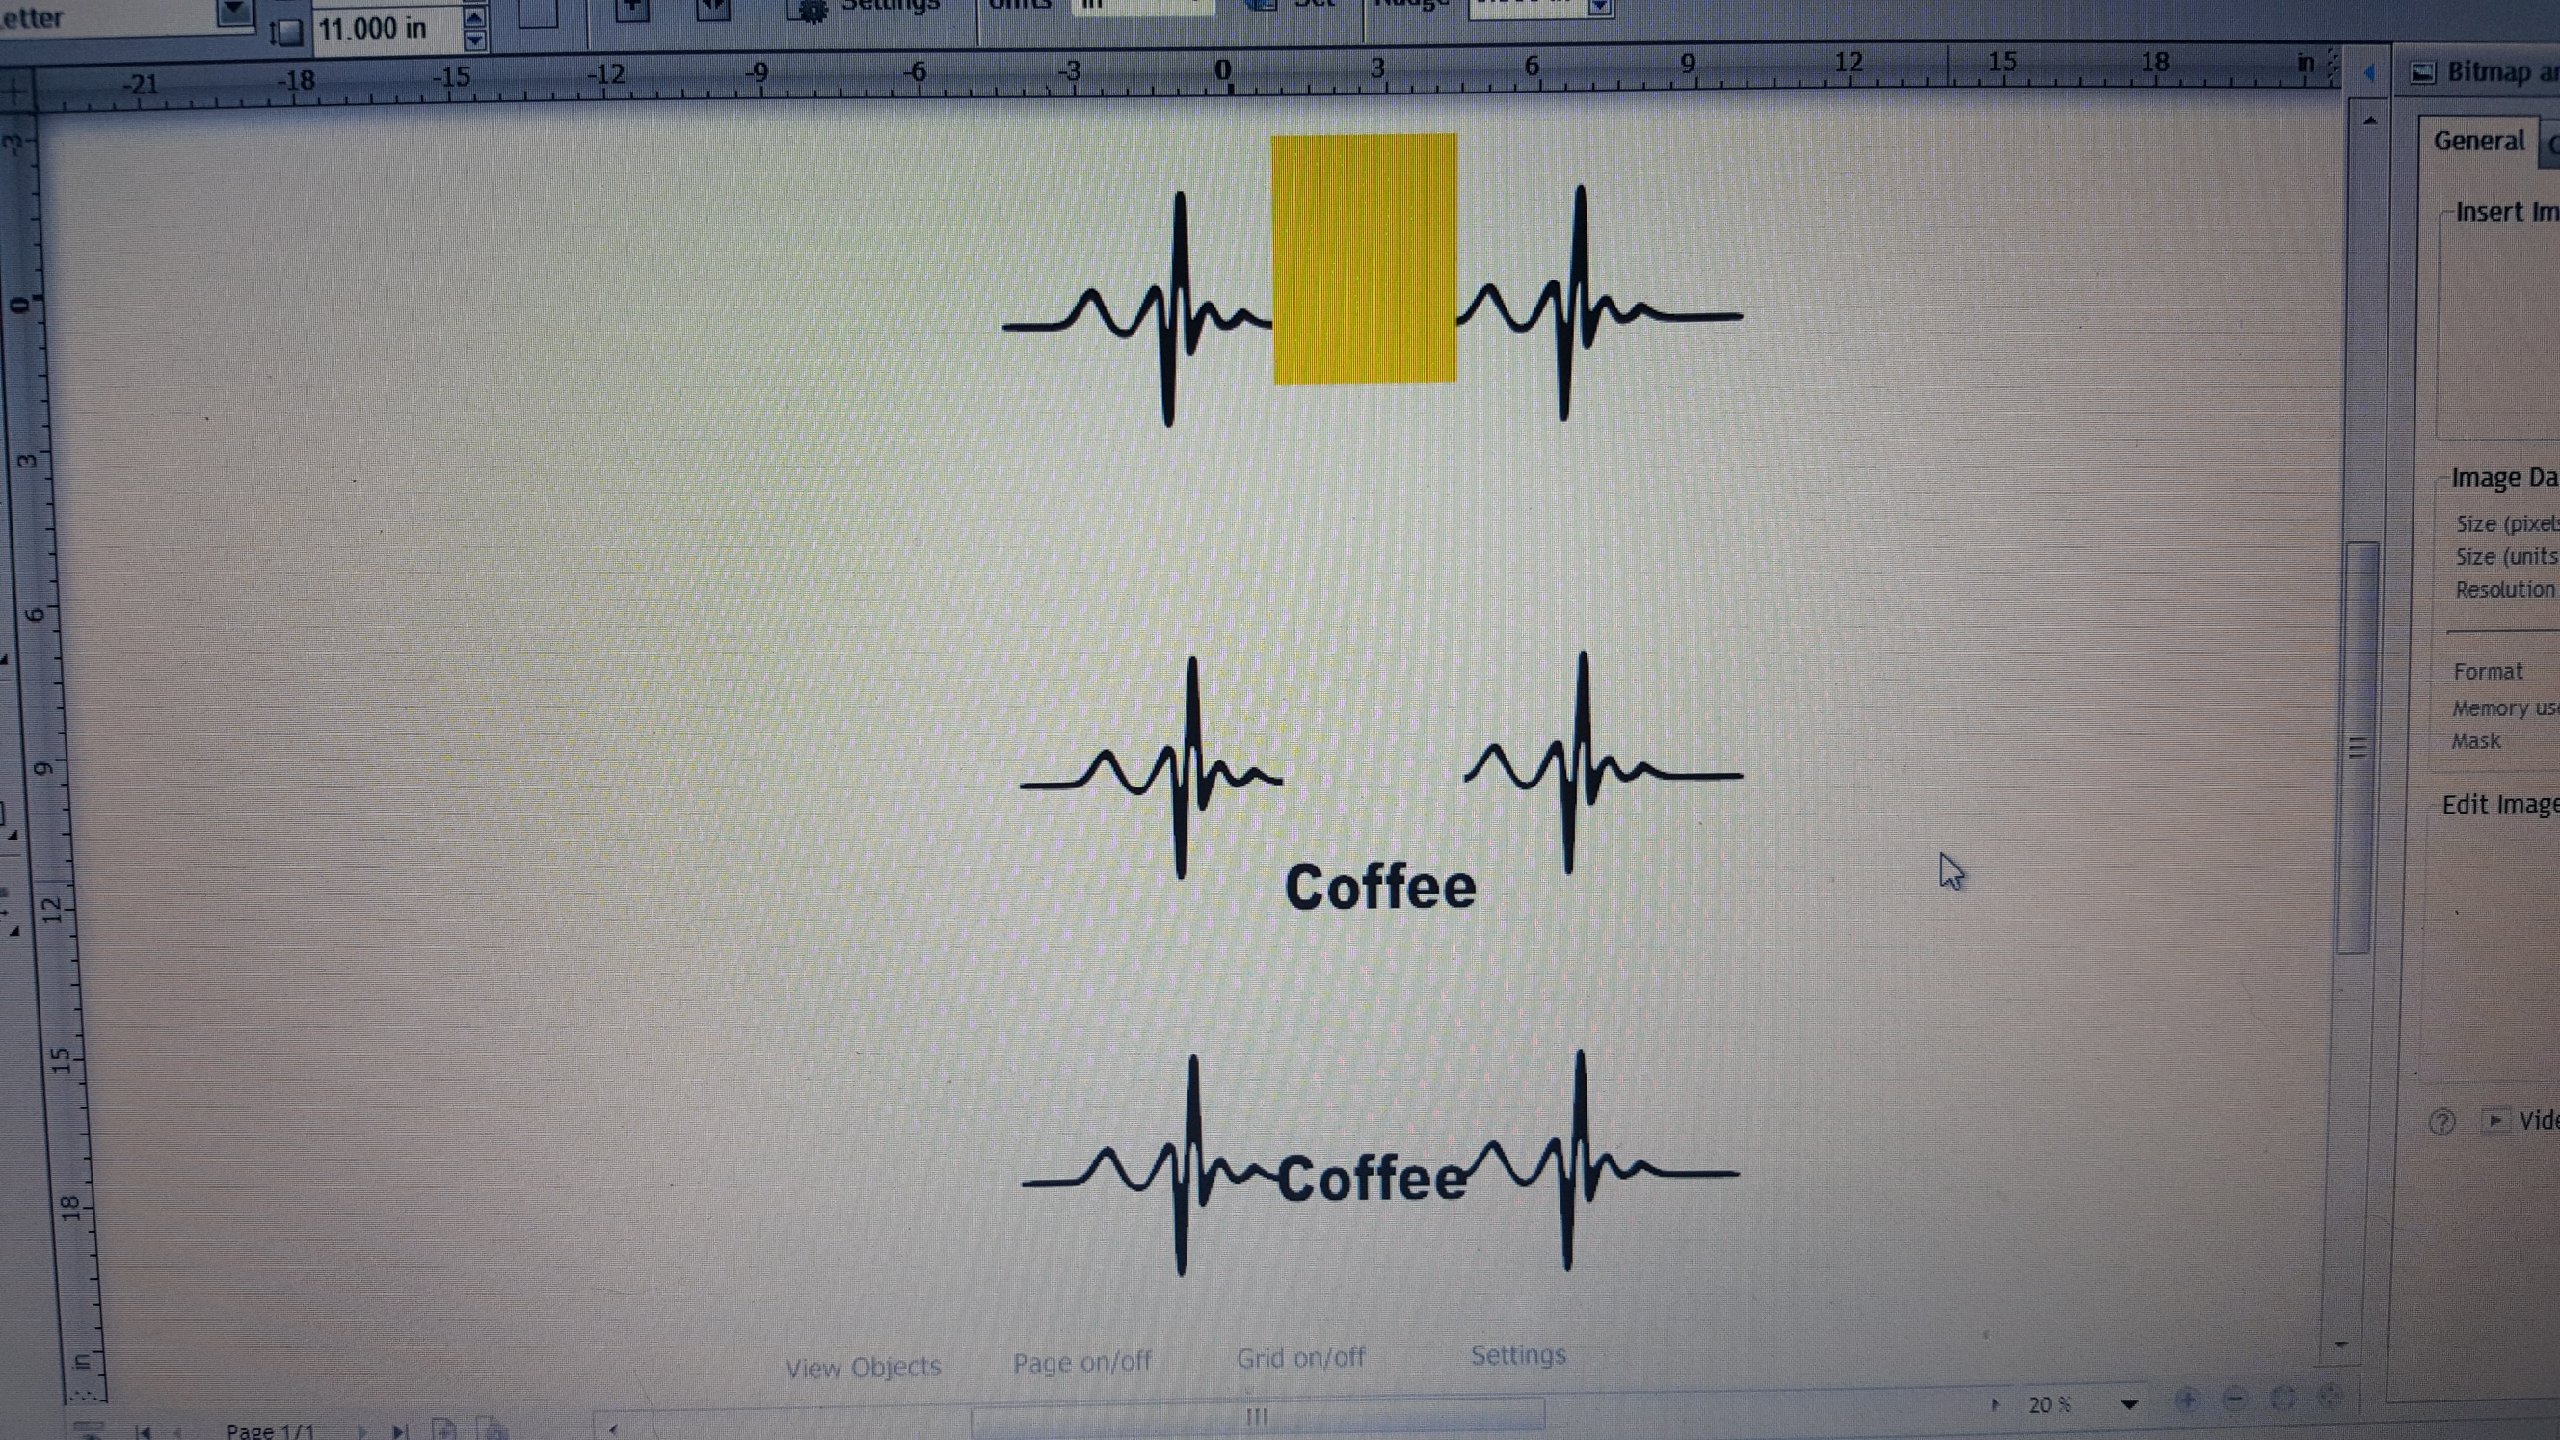
Create a square and place it on top of the coffee cup, then select both images, right click, shaping and then punch out. create your text, place it where you want it, select both objects, right click, welding, weld selected.

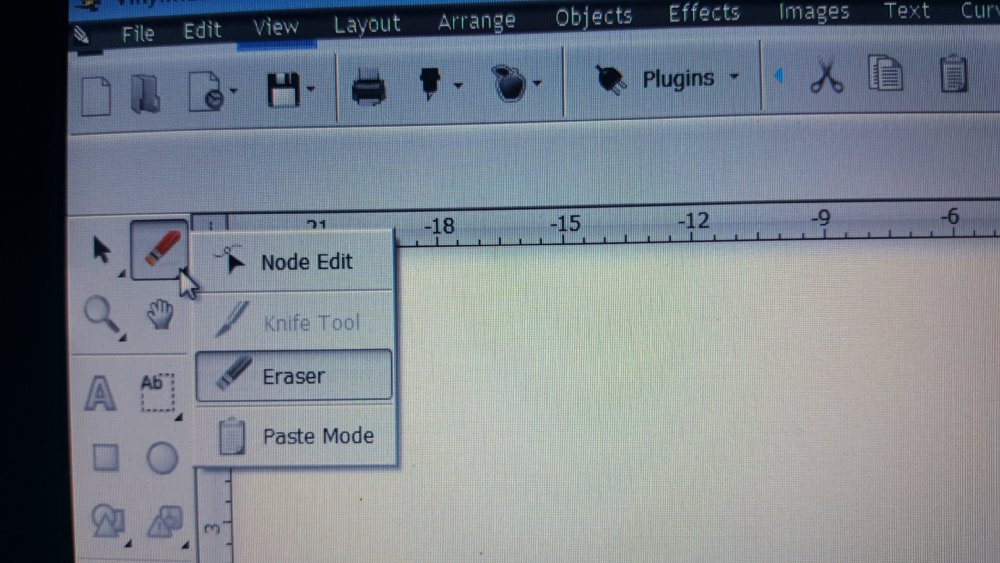
Or you can select your image, select the eraser tool and just erase the cup. Hold down the left click button to use the eraser, the right button will add fill.
-
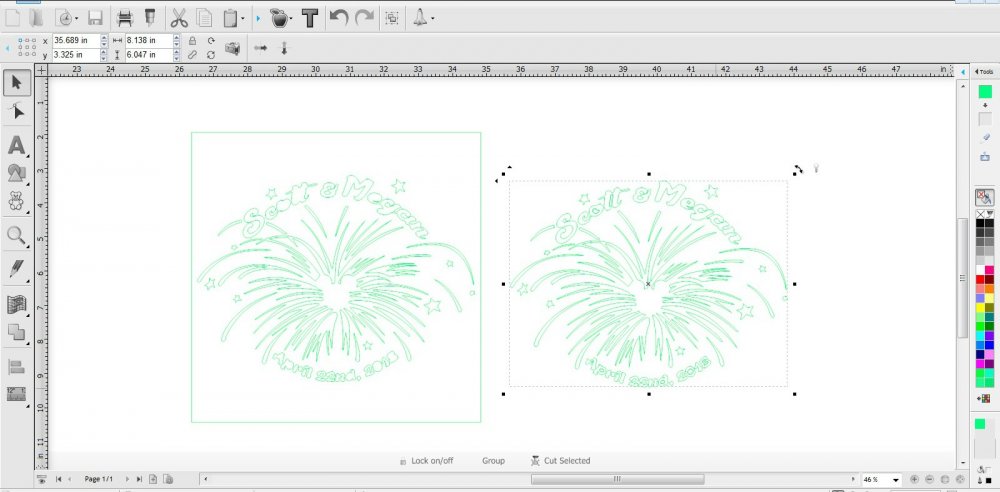
Just separate in VM, select your image, right click it and then select ungroup. select the image again and just pull one layer off of the other
-
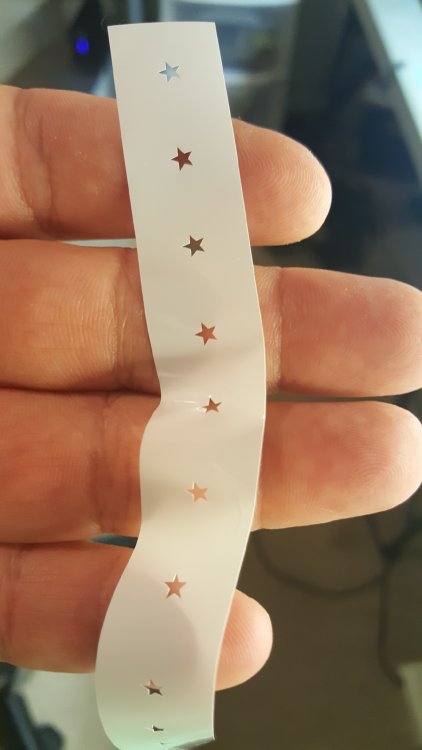
I have cut a few sets, I used a cricut cutting mat and did two slow passes on each piece and they came out good. I got my material from a gun show a few years back, but you can buy a 5" x 7" piece from Talon for $10
-
Thanks Wildgoose!!
-
Thanks! The decals are covered with 2 coats of thread finish, so the decals are on there till the cows come home!
-
1
-
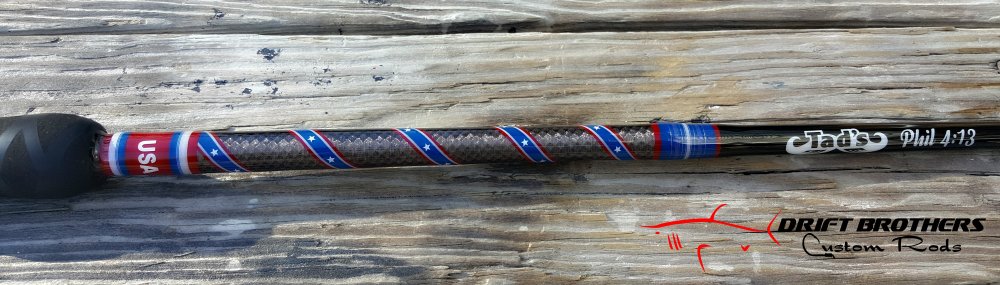
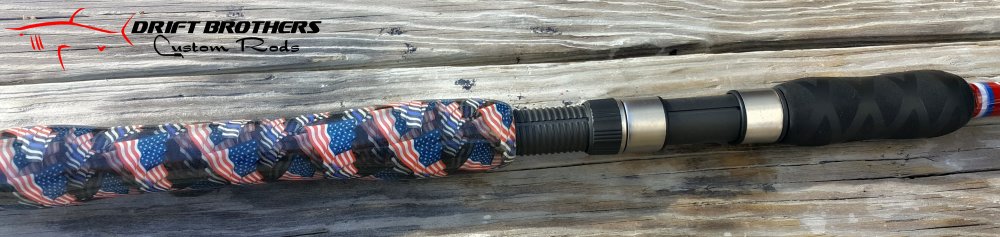
-
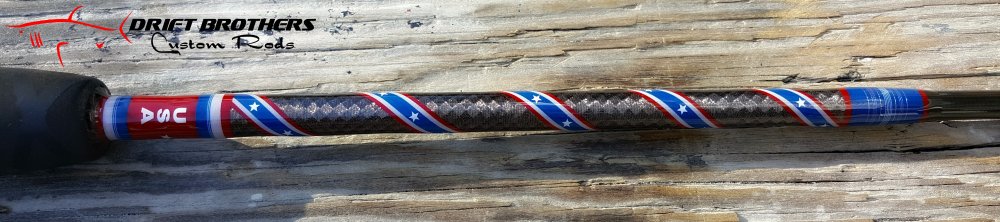
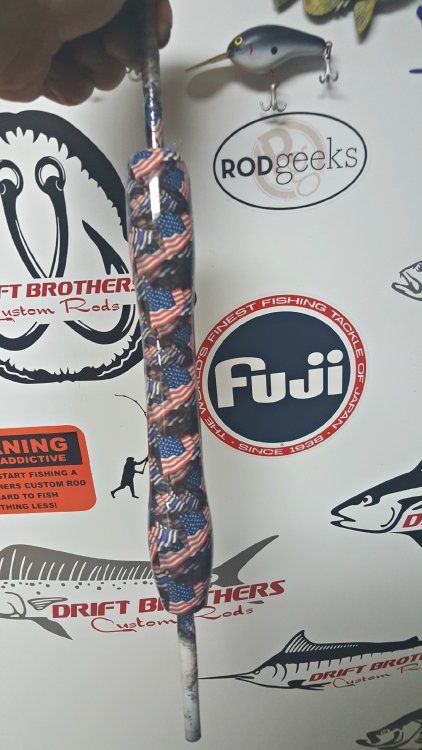
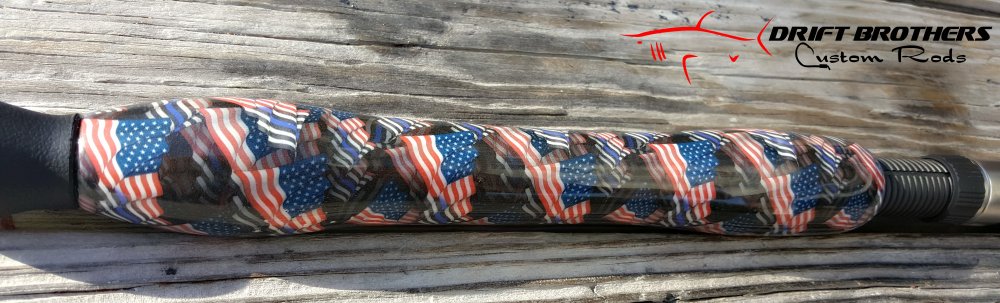
I had an order for two "America" themed rod builds this week. I started with building the grips out of 8# expanding foam, shaped on the lathe and then covered them with e-glass. After the grips was built, I dipped them in a "Thin Blue Line" flag pattern. Once glued to the blanks, I did all the thread work and used Oracal 651 to put stars and names on the rods. The 1st rod is a split grip inshore flounder rod.

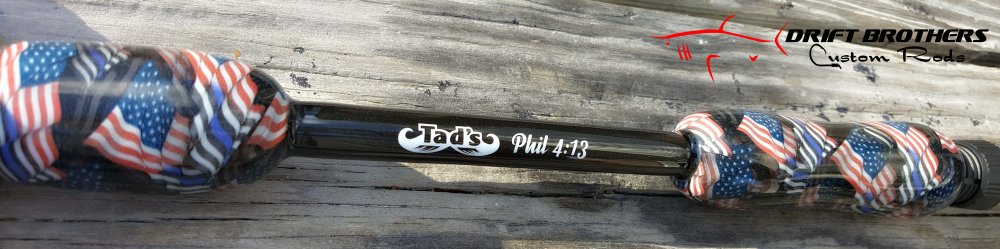

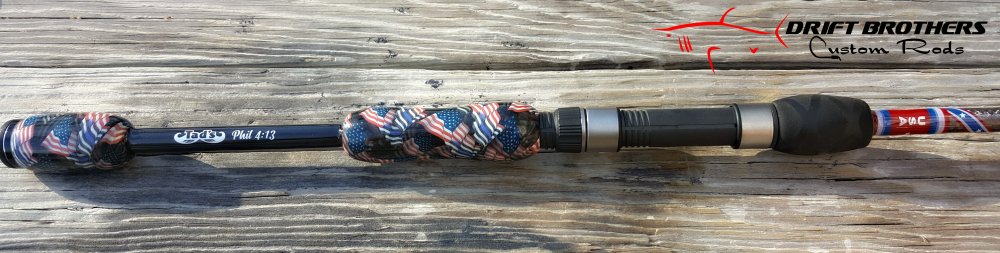
The second rod is a full grip sheepshead build.
-
3
-
-
4 hours ago, Go-C Graphics said:I personally do what's Wildgoose described
Yep, me too.
-
23 hours ago, cardudenc said:so about an hr from where I'm at now. I'm from western NC
The wife and myself go to MB all the time
-
what brand adapter did you get?
-
Did you import the image and vectorize it? You saying everything else cut good except that, I would say it's the cut file. Zoom it on your "B" and see if it has smooth lines. What cutter do you have?
-
8 hours ago, cardudenc said:to me it really acted weird after being ran hard for around 8 hrs. I'm prob just paranoid since its now out of warranty. I shouldn't even mentioned that 1, that's a sore subject for seeing that was the last tin US dropped the ball for me.
where are u in NC?
Wilmington
-
I've had my SC cutter running for a little over 12 hours one day on a last minute 500 piece decal order for a ducks unlimited banquet. My cutter will change "tone" and sounds louder at times, But it has never messed with the way it cuts or runs, My SC is a little over 5 years old and still gets used weekly and cut good for what it is. I did save up a little from each job and bought a Titan 2. The servo cutter is night and day better than a stepper motor cutter. Granted, the titan 2 is no graphtec or roland, but it is a Cadillac to me, upgrading from my Sc.
-
1
-
-
Click the
cut button and then click on the vinyl spooler. On the vinyl spooler page across the top, click on the settings and check the inches box.....or when you open the program, click on settings and check inches


Pattern in font-VM Pro
in VinylMaster CUT, LTR, PRO & DSR
Posted
Put your object on top of the background you want, select both objects, then right click, pick shaping, and then common.