

88x
-
Content Count
77 -
Joined
-
Last visited
-
Days Won
5
Posts posted by 88x
-
-
I have and used SCALP 4 all the time for design, but the easiest way I have found to do this is:
Type the text
Right click on the text, Select "Break Apart"
If you have a letter that has a center to it like A, O, B etc. Left click the center of the letter then hold "shift" click the rest of the letter then use the back minus front option on the "path" drop down menu on the top. Or go under the "effects" tab and select "knockout" then pull the knock out section and delete it.
Select all the text after you have all the "knockouts" done and hold "Alt" then "U" (or from the path menu select Union) which unions all the interior parts to the rest of the letter. Then right click and select "Group"
Now your text should cut like you are needing.
Hope this helps
-
 2
2
-
-
What cutting software are you using? The reason I ask is, I use SCALP 4 and used to have an LP2. Once after a software update mine would do the same thing, after a cut it wouldn't go back to the main menu on the cutter screen. Found that the update changed my cutter to something else, I switched it back to a laser point 2 and never had the issue again.
-
 1
1
-
-
On 5/24/2018 at 5:59 AM, kitecutter said:Hello All,
I recently purchased a UScutter and and having a great time with it. When I open the SCAL3Pro software it tell me there is a new version available.
I only see SCAL4Pro http://www.craftedge.com/download/download.html
I download and try to activate but it doesn't like my serial number. Am I supposed to be able to update to this version?
Thank you in advance..
Philip
Try going to this link and putting in your info. It should send you to the page needed to update your SCALP 3 software
-
12 hours ago, CoatingArms said:Excellent description 88x. I learned to press mixed colors the same way.
I've just started using SCALP4 recently, but have much more experience for preparing graphics in Photoshop and Illustrator.
When combining multiple colors of an image with cut vinyl, is there a way in SCALP4 to prepare the colors to "trap" so there won't be a small keyline or separation showing the background fabric or material?
You need a small amount of the colors overlaying each other to solve this problem and haven't noticed anything in SCALP4 to fix this so I have been taking the extra step to prepare these images in Illustrator or Photoshop. I would really like to be able to take care of this in SCALP4.
Use my user logo as an example - where the red meets the black keyline border.
In this case, it would be cut by color and just layer one on top of the other with no knock out. If it's more then 2 layers I will usually knock it out and then create a small outline of the knocked out part. Just to keep from fabric showing thru when things shrink up or move during the press.
-
1
-
-
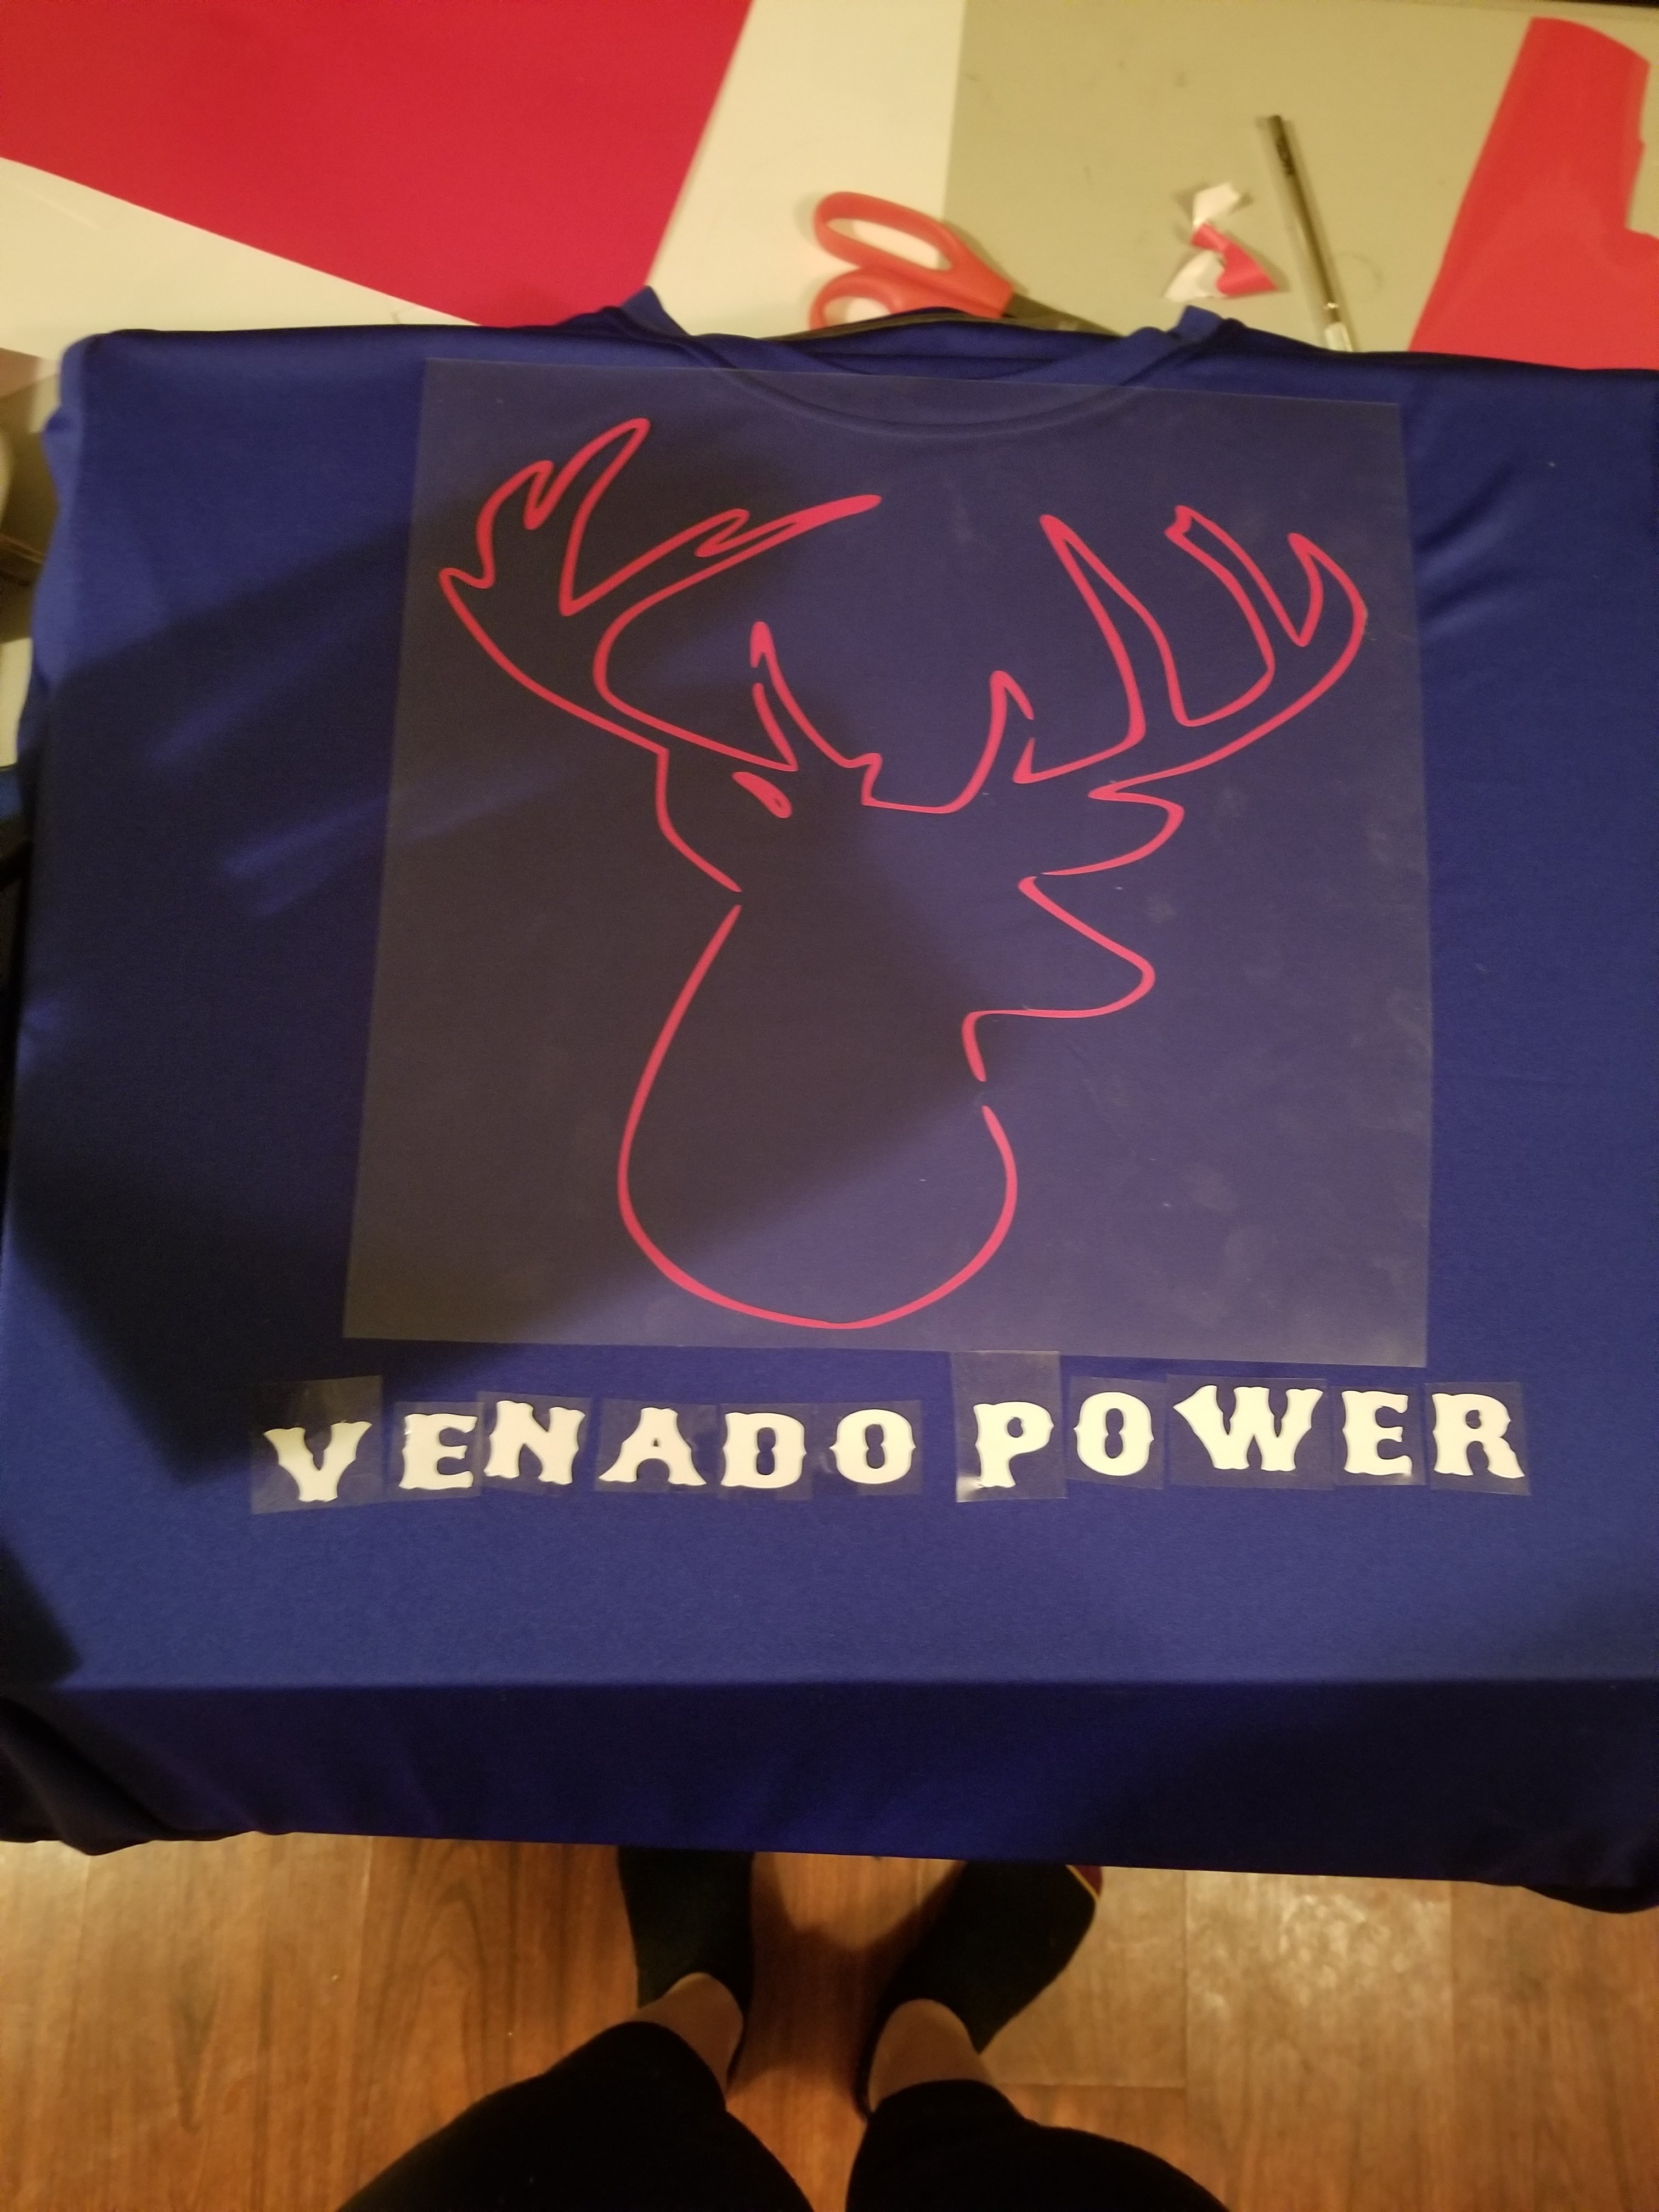
On 3/26/2018 at 9:37 PM, Vicky86 said:So recently I was asked to do a job that requires a little more than what I usually do! They are wanting white letters with red outline..And a red deer head followed by a white outline. I am completely lost as I always just do one color jobs. I am using the SCAL 3 software and working with a mac. You guys were able to help me last time please walk me through the steps with this issue. Picture is a rough draft of what I have. Thank you in advance!!
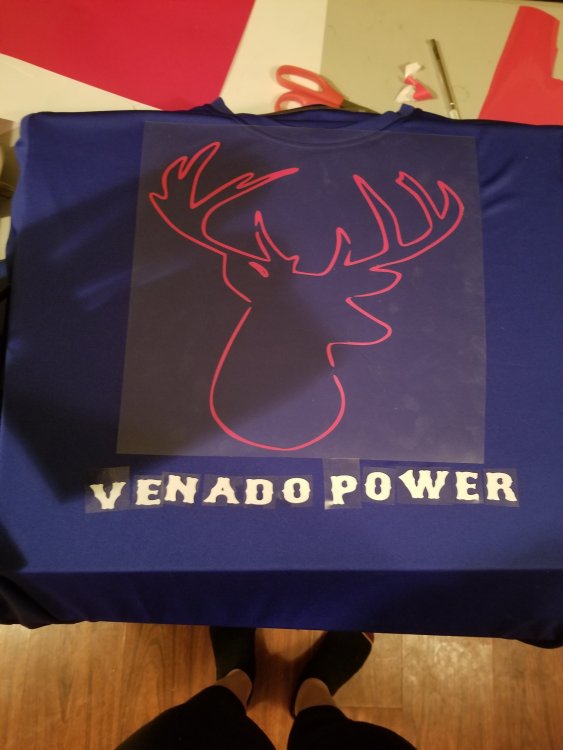
Ok this is the way I would do it on SCALP 4 but it's very similar to 3 also I am running it on windows.
Take the VENADO POWER select all of it
right click
Select appearance
Select outline
Then decide what you would like for the amount of outline, then select the color which would be red, then click ok
Next select the deer head
Right click
Select appearance
Select outline
Decide what amount of outline you want select the color which would be white then click ok
Once you have that all done click the flip tab to reverse the design.
Load the white HTV
Select cut with cutter
Then on the top there's a box that says cut by color click it
Select the white color
Select cut
Once it's done
Load the red in the cutter
Select cut with cutter
Select cut by color
Select red
Select cut
Weed both designs and cut the VENADO POWER off of the bottom of the white. (Don't cut the individual letters out like the photo shows. It will be a bitch to align all those and keep them when you go to layer them)
Lay down the white outline of the deer head on to the garment for 2 second, pull the backer off. then over lay and align the red deer head along with outline of the words. Press for 2 seconds pull the backer off then align the VENADO POWER on top of the red. Again press for 2 seconds then pull the backer off and cover with a Teflon sheet or parchment paper and press the full amount of time. (This is a step that I have adapted, sI found if you leave the backers on it will leave little lines where they overlay onto the other graphics. But if you pull them all off and use the sheet it makes it look great with no lines) Then sit back and have a beer and let your mind absorb what you just did....
-
1
-
1
-
-
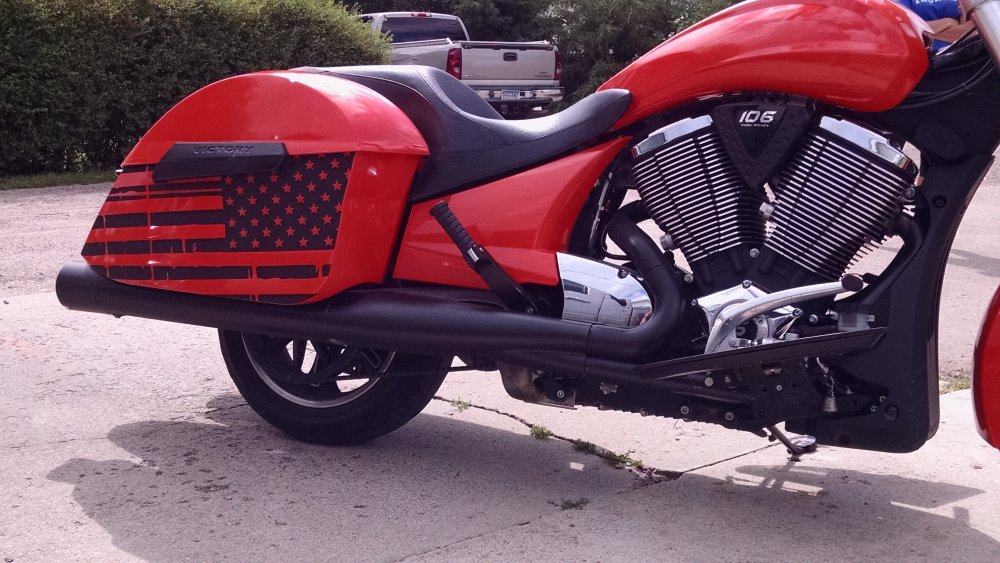
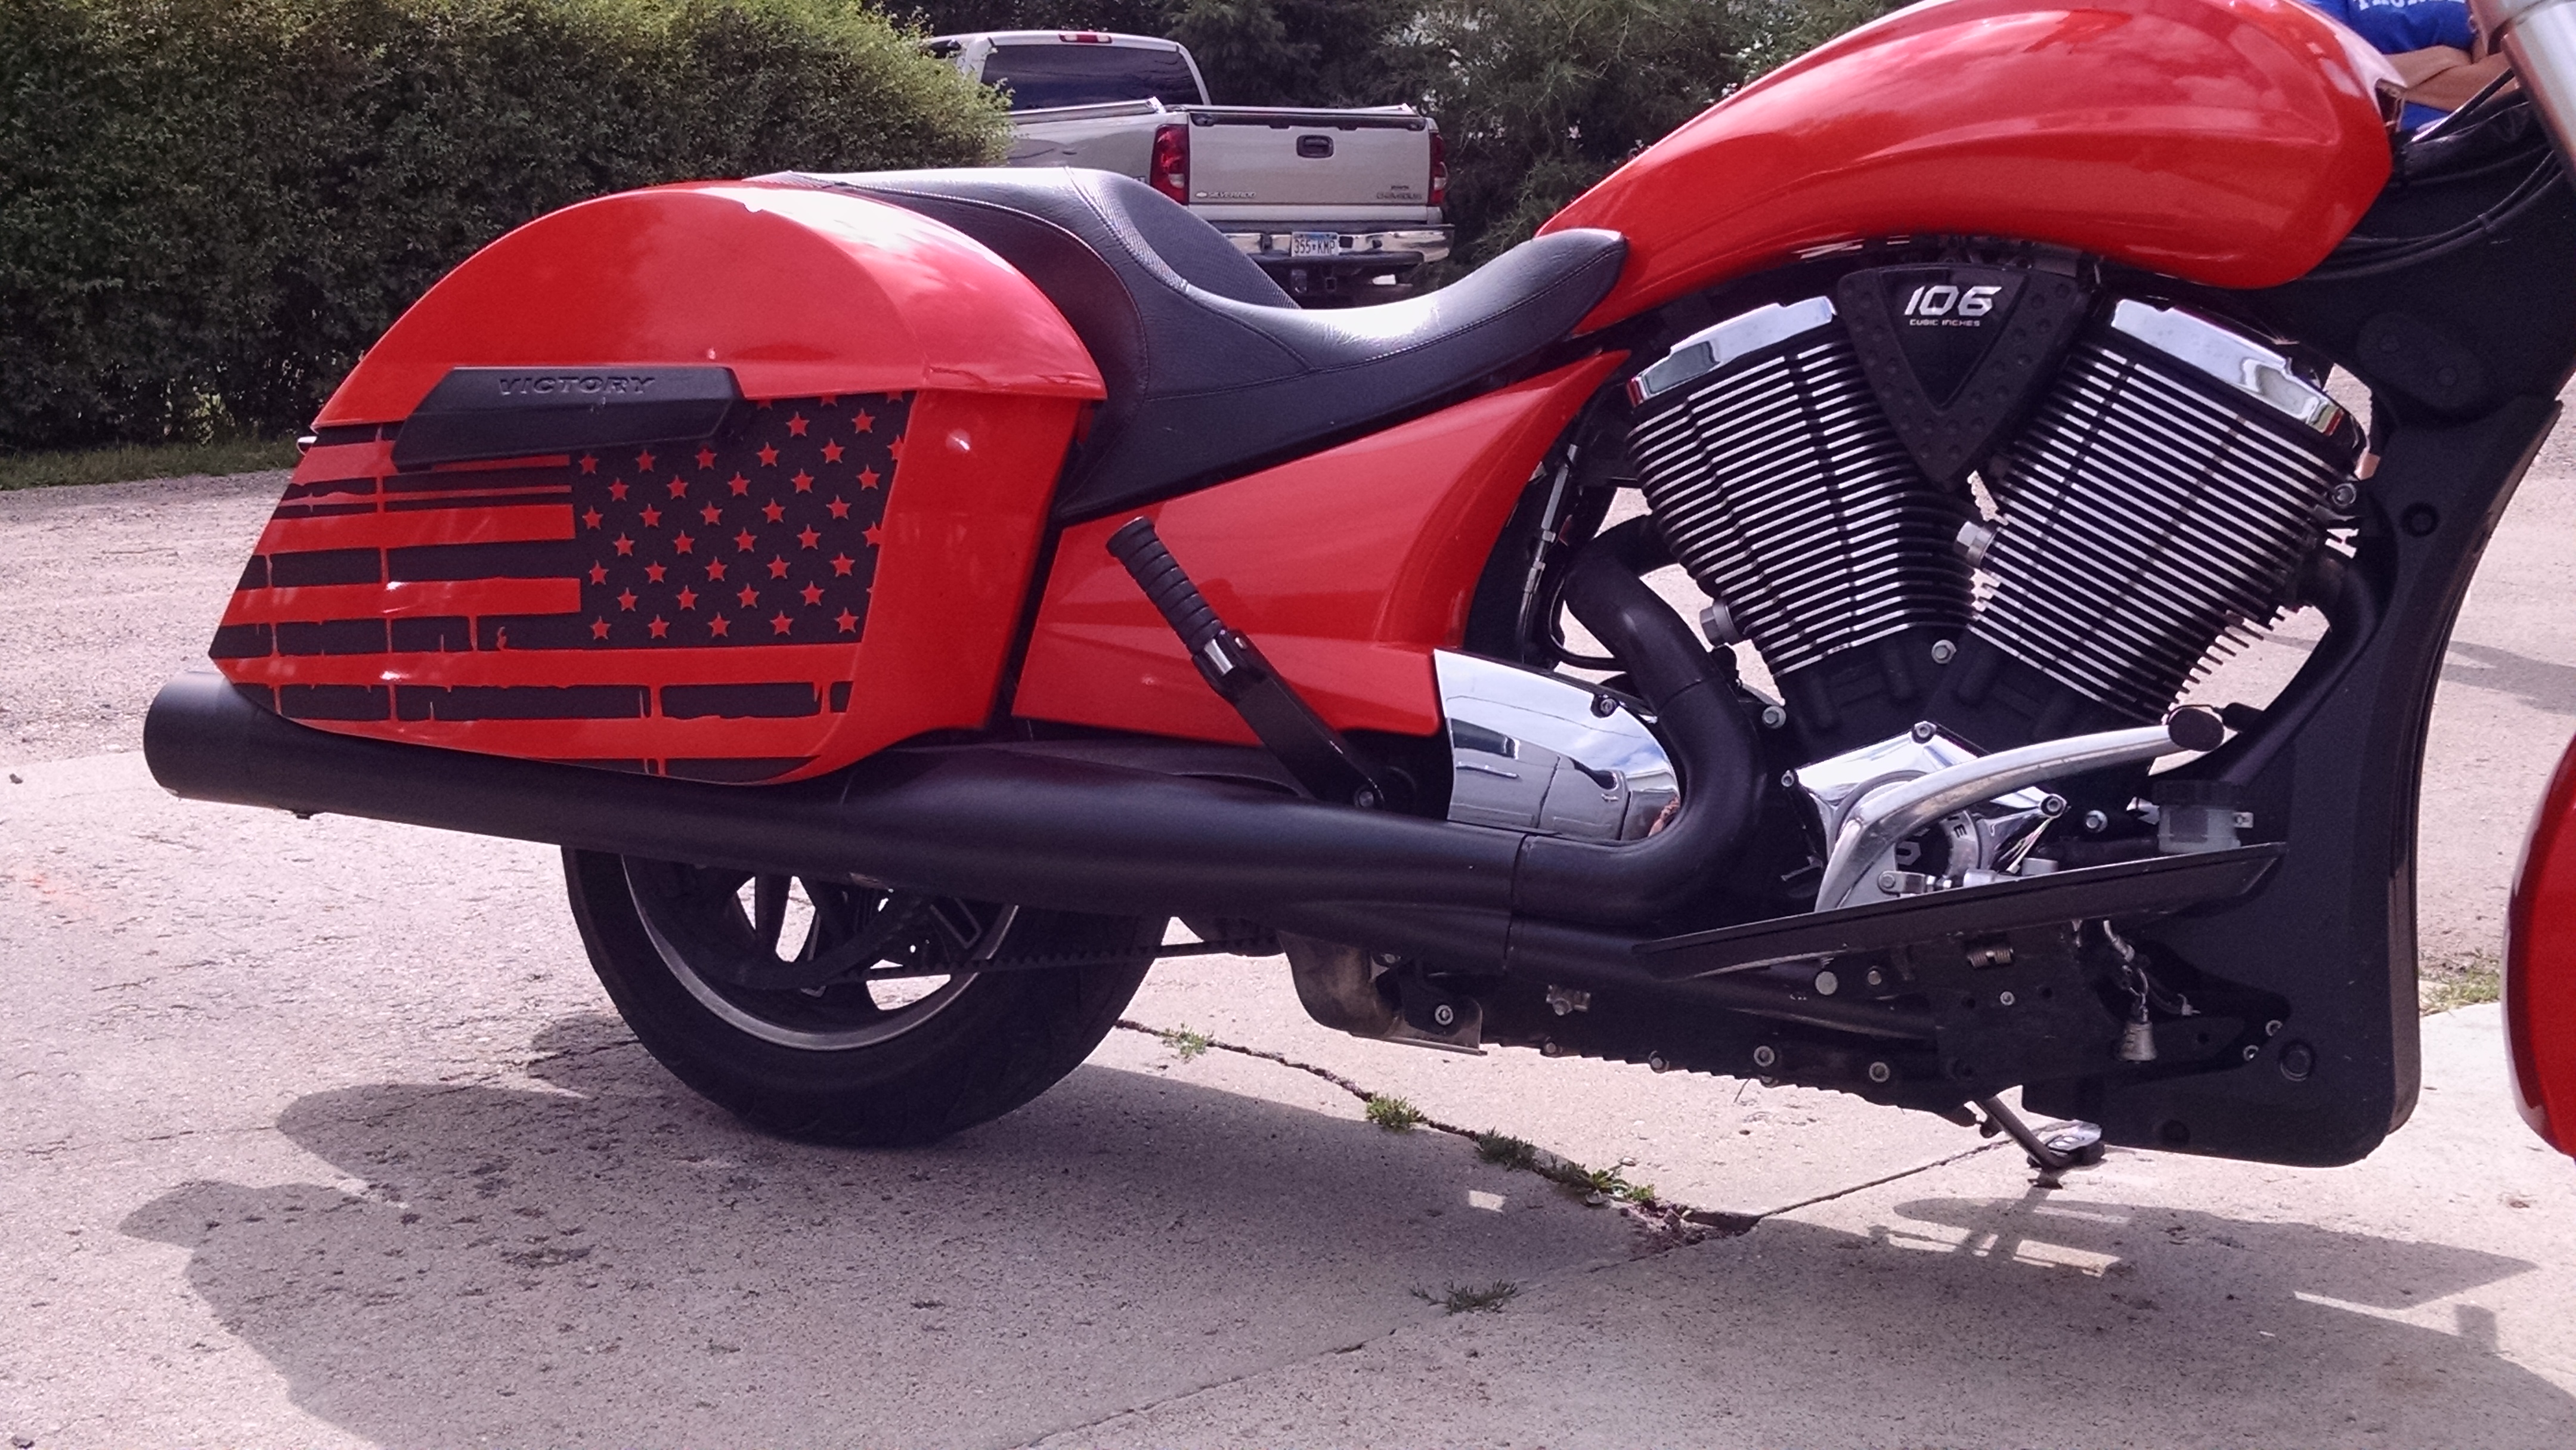
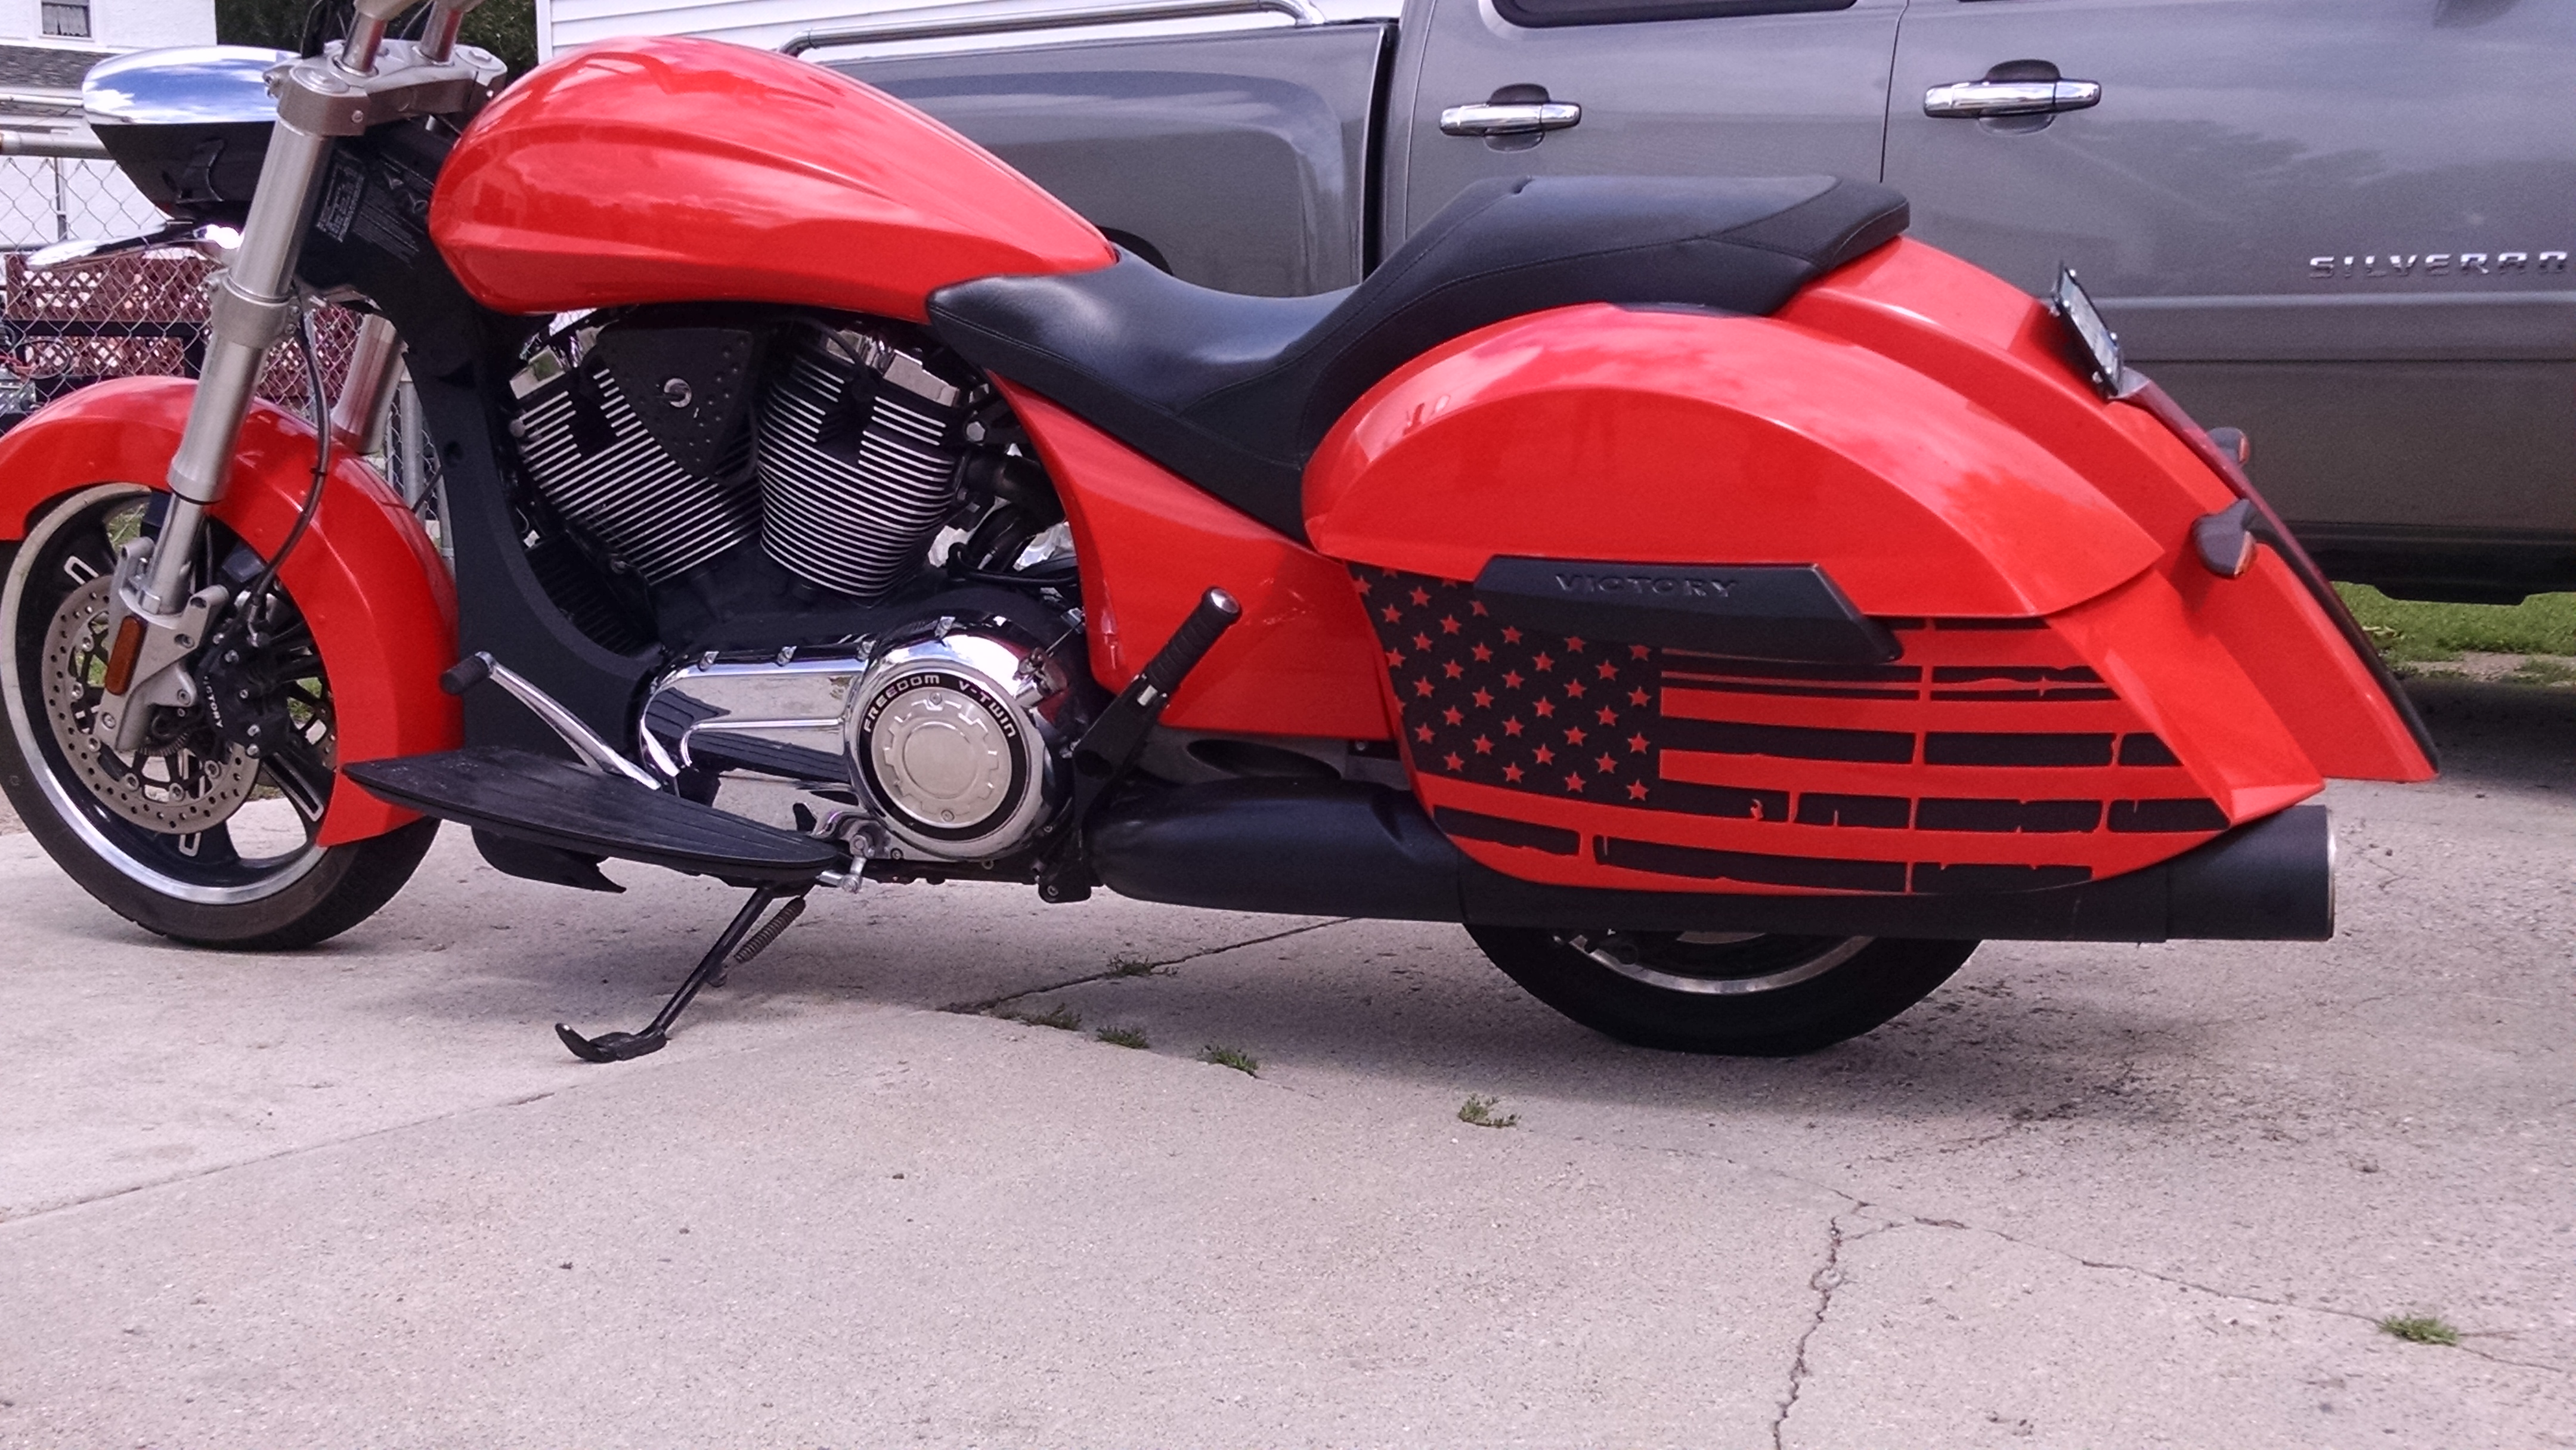
Just a heads up there is an American flag in the library in SCAP that I use all the time. But before you cut it, select the stars and the blue part of the flag, go-to effects and chose "knock out" then take and pull the group of stars out of the blue and delete them. Next take the white stripes out. Then draw a rectangle the same size as the entire flag and make that white. Select the white rectangle, Right click, the go-to arrange, then select send to back. Center all of it together and cut by color in the cut screen. Now when you have it all done, you will weed the stars out of the blue that way it will show the white from underneath. Layer the blue lined up with the red stripes and then line it all up on top of the white. Hope that makes sense.if not shoot me a PM
-
Yeah it was a tough deal all around. But just a heads up with FM expressions, they won't pay for the garment no matter what, even when they tested the same transfers with the exact results. Maybe that's with all companies, not sure. Lesson learned, I will use Versatrans all the time now. I have done more then tons of transfers with them with zero issues.
-
Thanks for the replies from everyone. Heres what we worked out: I gave them the option of the 20 transfers that they originally purchased from me to be used in any way they seen fit, (replace the lifted and peeling shirts or a different style shirt all together) as long as they provide the garment. They decided that they wanted to do 10 hoddies to replace the ones they had issues with and use the other 10 transfers along with another 10 transfers for T-shirts that I gave them a price break on. Again, all with them providing the shirts. I guess in the end it all worked out I believe they were happy and I about broke even in the deal so all is well.
-
3
-
-
-
Not sure @Ed McCarronif you upgraded but @Primal Decals I found a way on SCAP 4 to make the letters follow the circle perfectly.
Here's what I did:
Make your circle to what ever size, then do your text in a straight line.
Select the text and the circle at the same time
Go to the "effects" tab on the top, then click "object on path"
Bam it turned out awesome

-
3
-
1
-
-
Thanks for the input I am still waiting on the customers decision on what they want to do. I will update you guys when i know more. Thanks again.
-
The customer works for a company that has an account with sanmar so that's why they bought their own shirts. The thing that is weird is that FM expression took the blame for the transfers having issues, not that it was a shirt or a pressing issue.
-
1
-
-
Thanks for the response!! That's kind of what I was thinking about bringing their own shirts. The only tough part is there was hoodies too.
-
So a customer came to me with their own shirts and wanted a 3 color design front and back. I ordered the heat transfers thru a new to me, but a well know vender. (I use one company all the time and have been very happy with the result every time, but thought let's try this other company out.) Well my customer calls and says they are having issues with the shirts, that they are cracking and lifting. So I contact the company and they told me to send back the transfers I have left for them to test. They get back to me today and say the issue is on there end, so they will refund or reprint the transfers, but will not pay for the shirts that are ruined. What is the right thing to do with the customer. Since they bought the shirts themselves. Do I refund the amount they paid me? I'm out my design time, time to press etc. Or what's the right thing to do? Thanks in advance
-
Along the top look under the "View" tab. See if thee is a check box next to the "Show Outlines Only"
-
-
It looks like to me that "Mac's Auction" could be--Kool Aid I can check when I get home on find my font
-
1
-
-
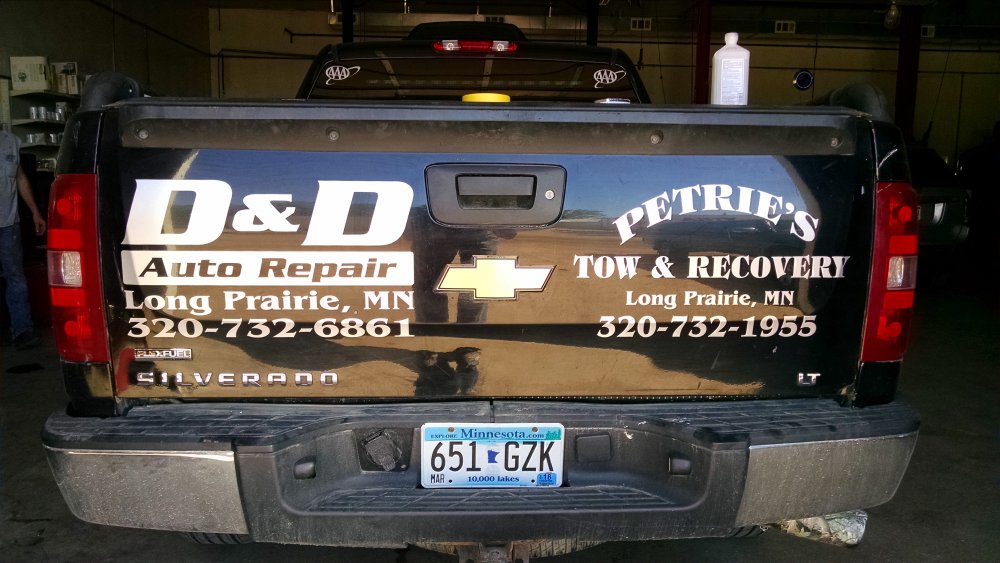
Here are a few more from 2 weeks ago.
-
4
-
-
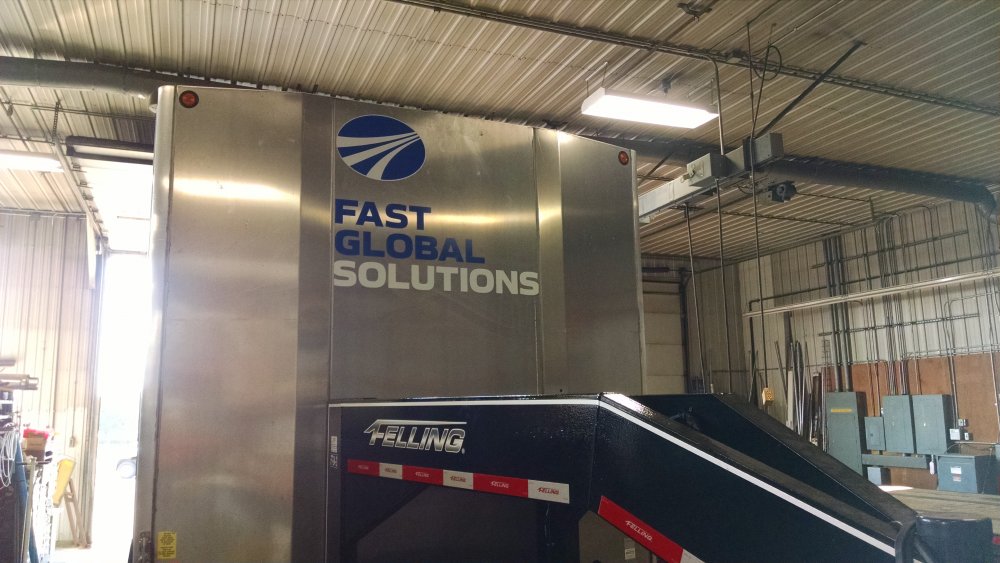
I thought that we needed to breath new life into "the show your work" section. So I will start and hopefully some others will post some of there work too. Here is a couple of the jobs I did over last weekend.

-
3
-
-
4 hours ago, Wildgoose said:You are pretty handy with the pinstripe I would say.
It was mostly luck lol
-
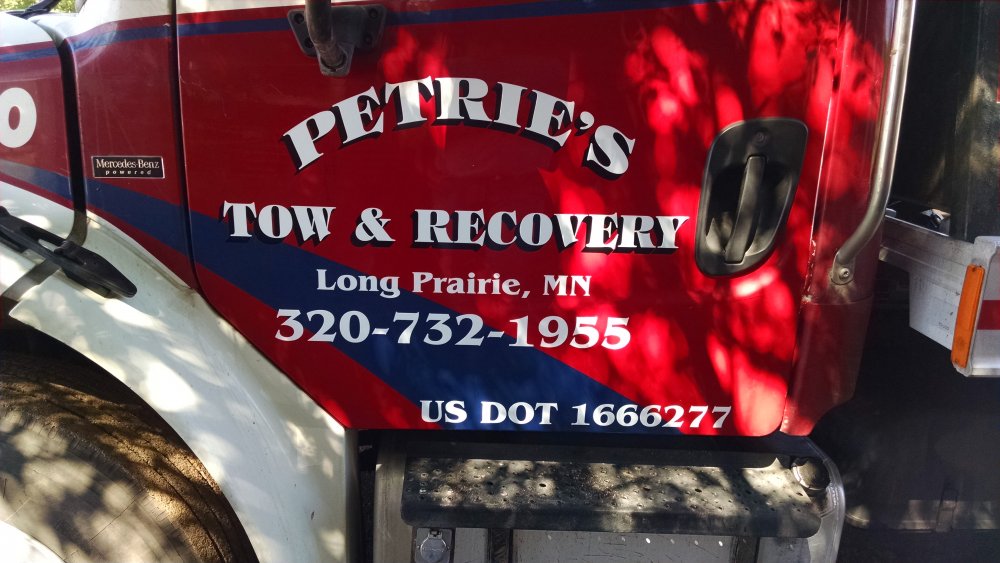
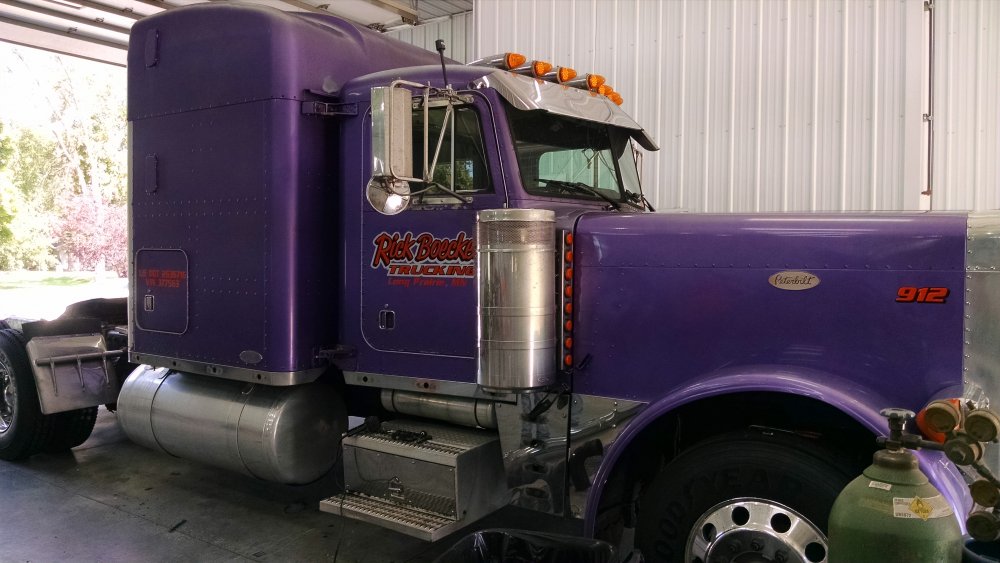
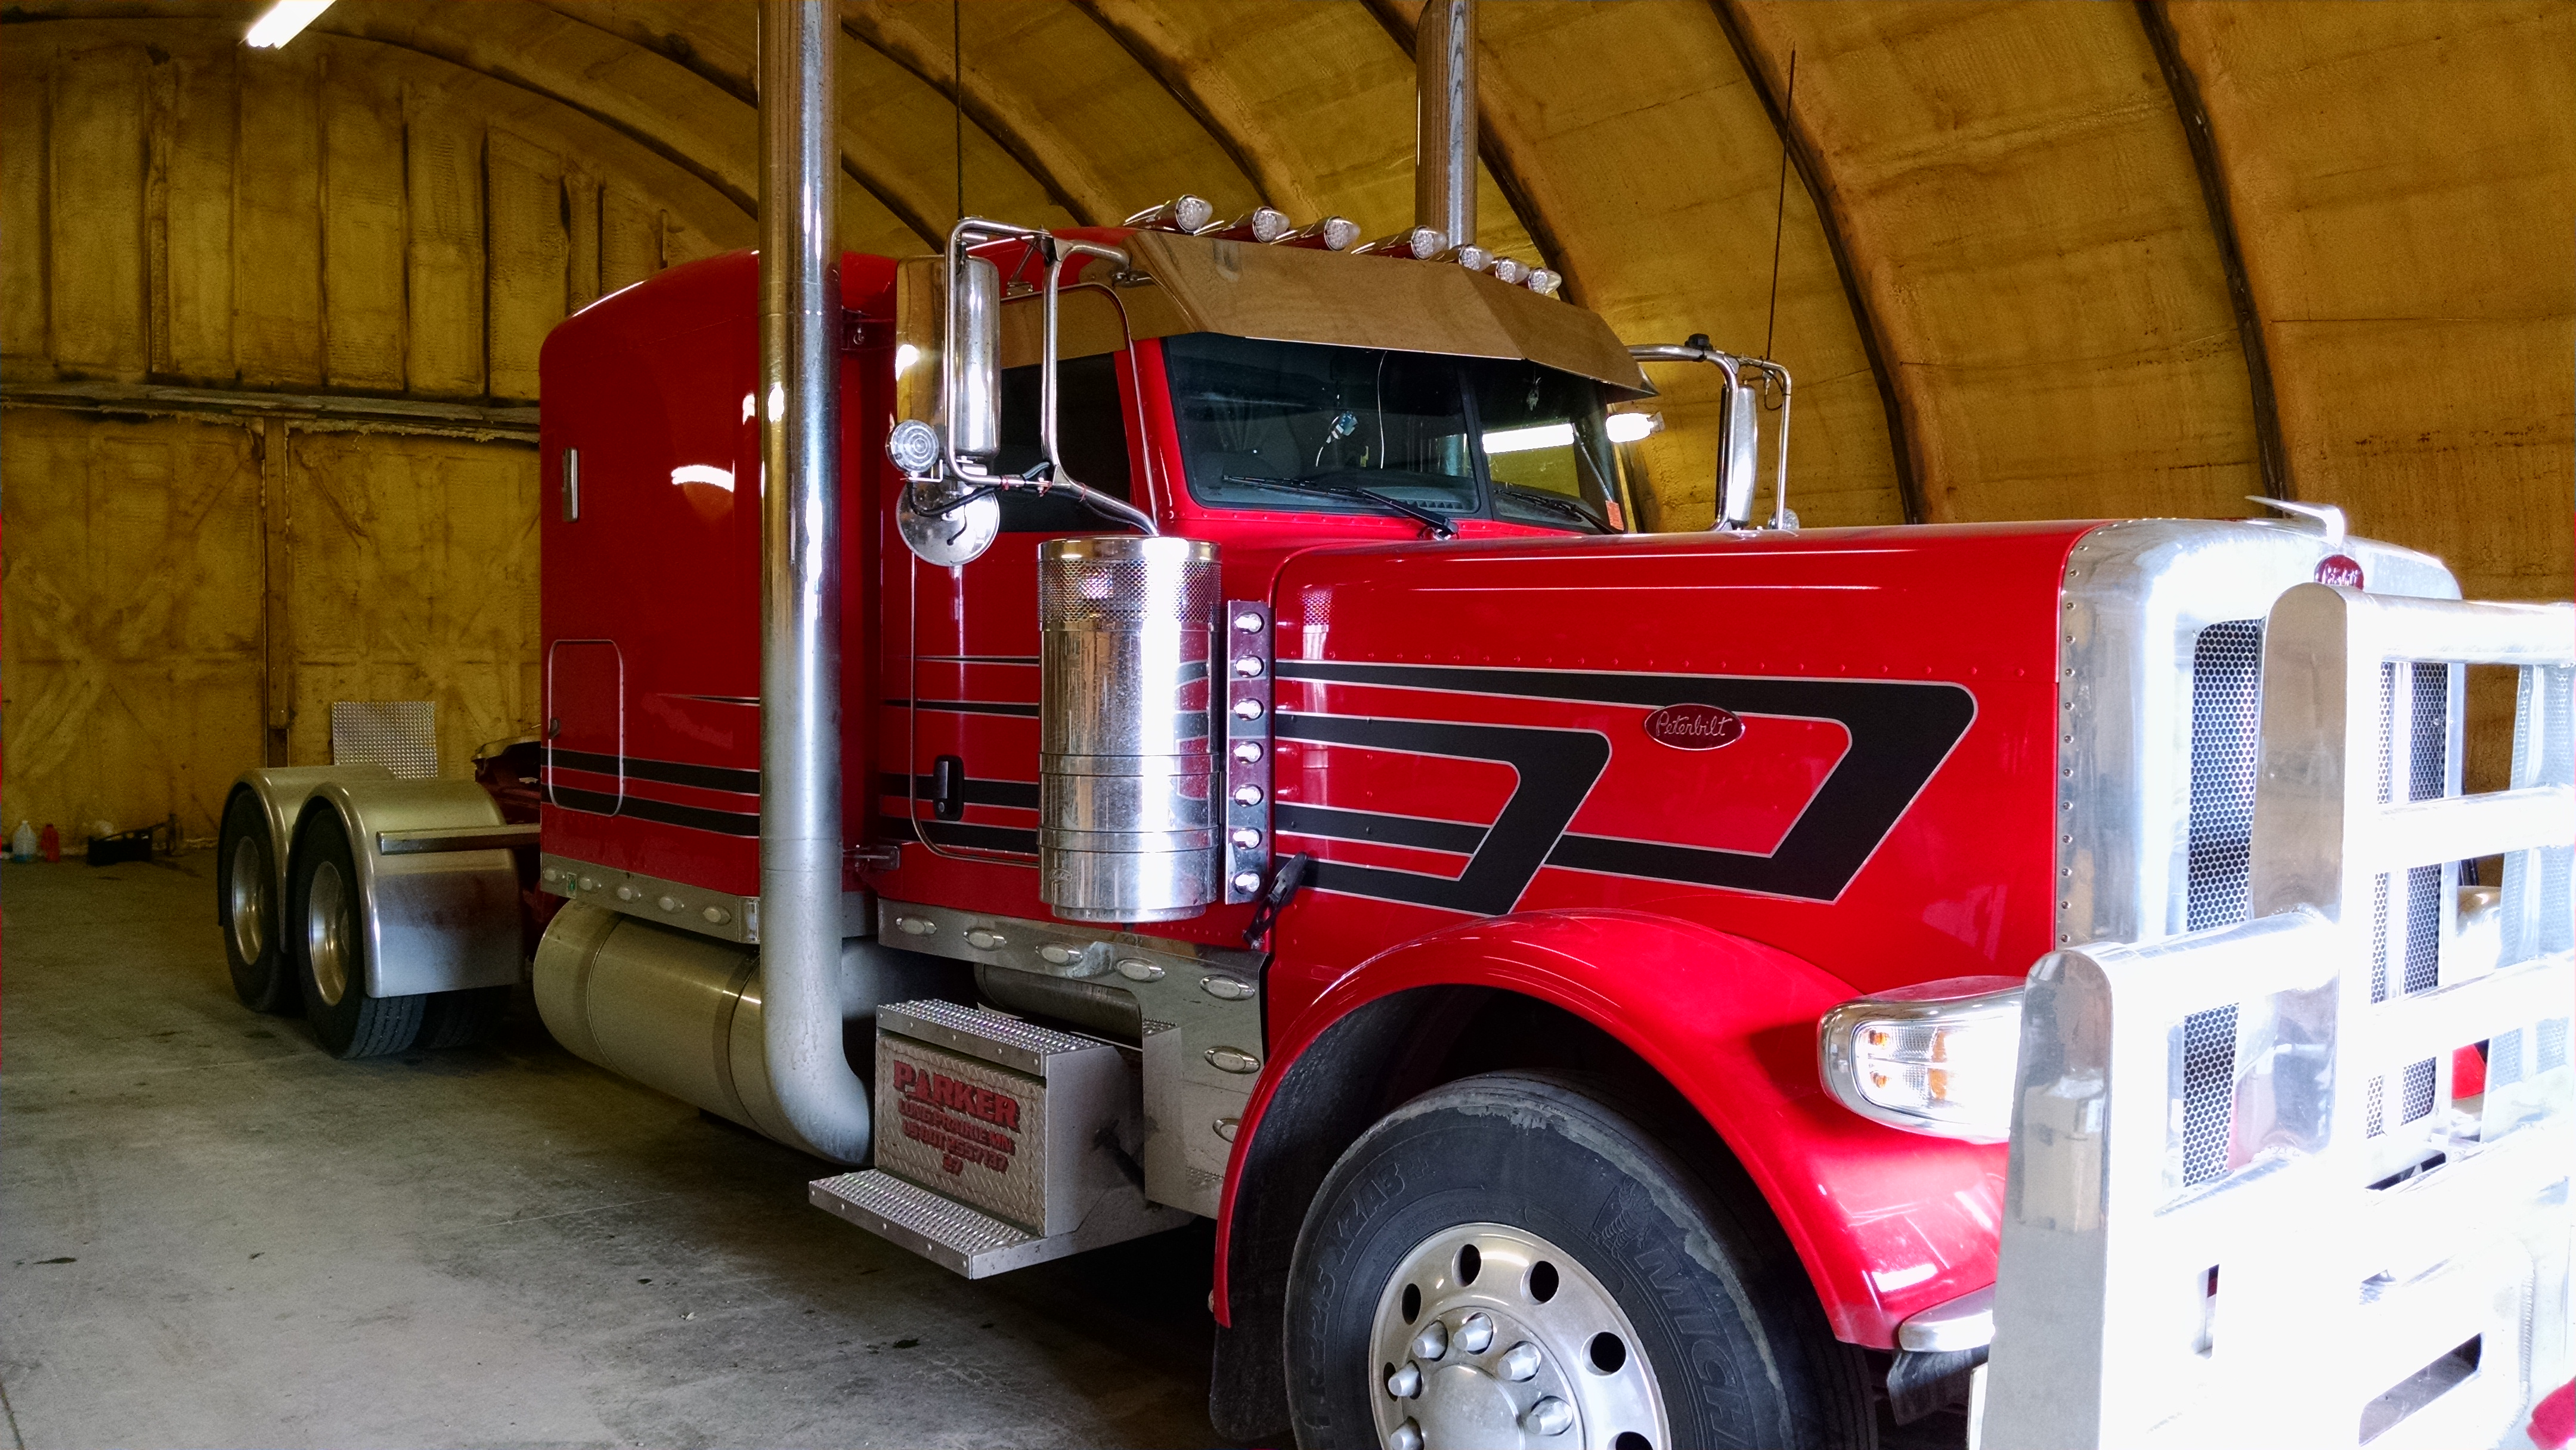
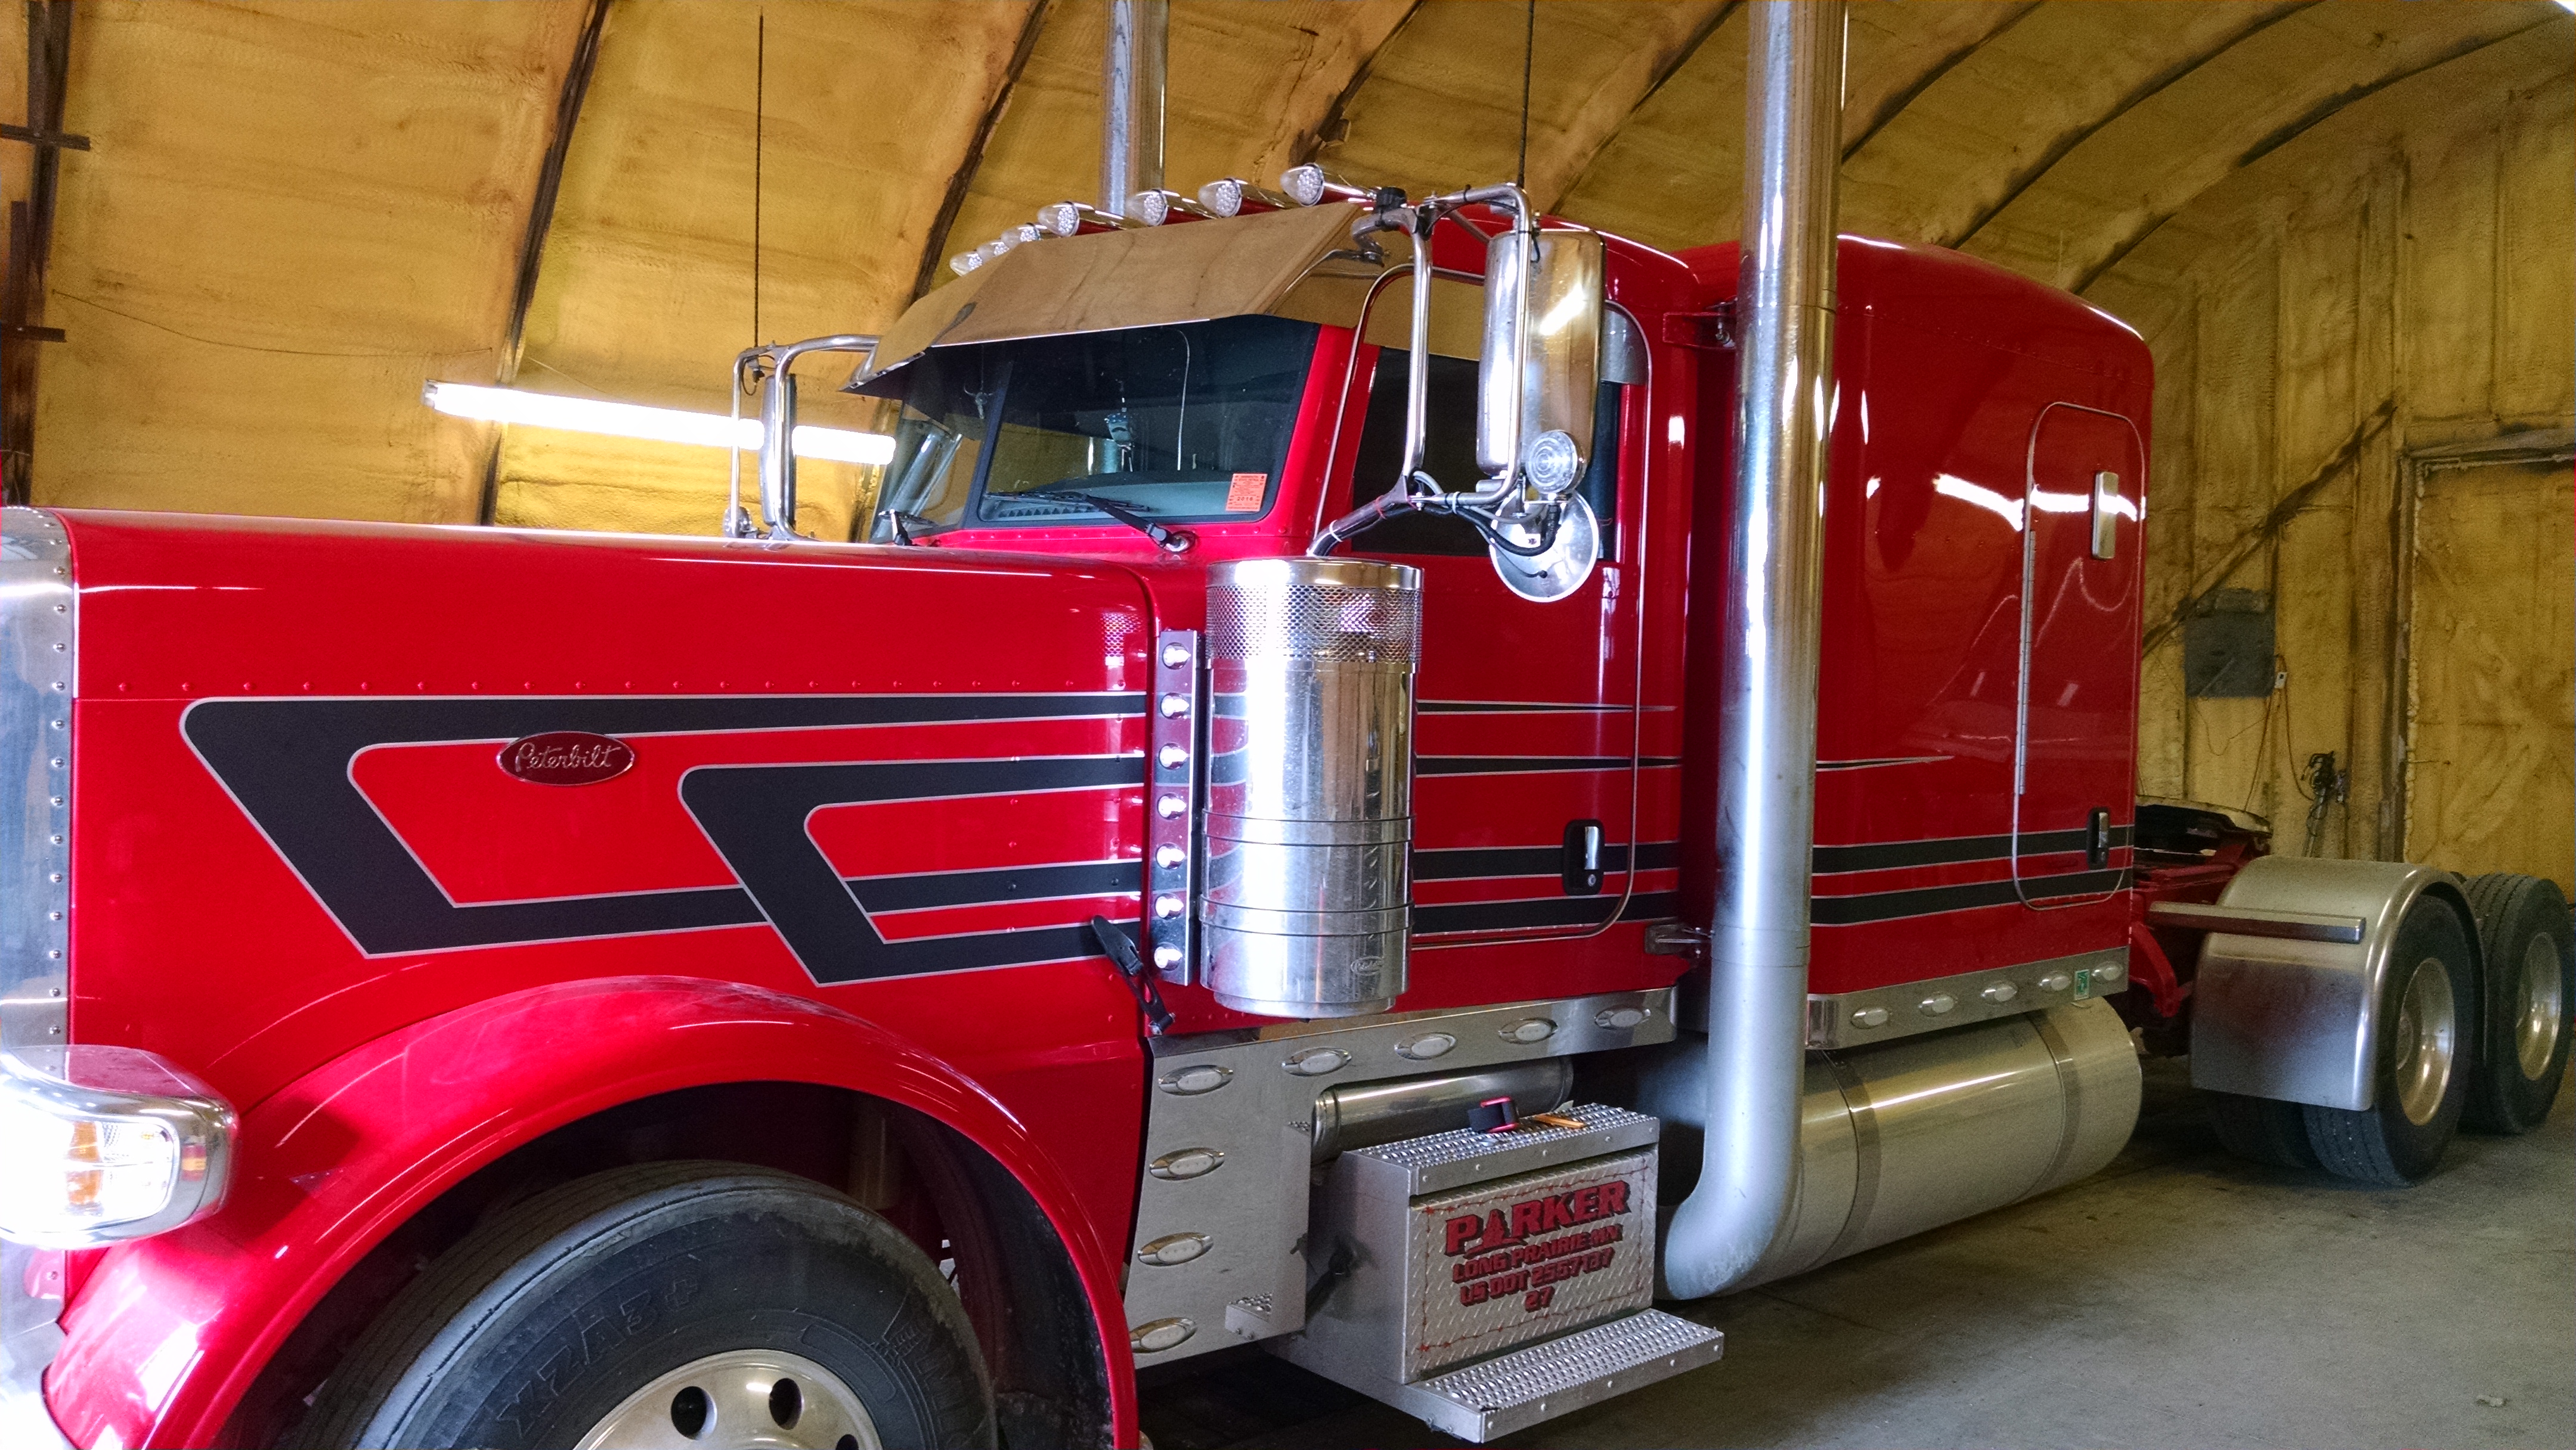
On 5/21/2017 at 10:30 PM, Wildgoose said:That is super clean work. I manage a mid sized road construction company by day and so am around a lot of trucks. Very nice job. Are those pinstripes cut out and placed on top?
Thank you!! I used 3M 1/4" wide pinstripe.
-
On 5/18/2017 at 9:42 AM, Koldnrg said:These are all very sharp! I would be a little too intimidated to attempt a large install like this right now... need a bit more experience. You do these dry or wet?
Yeah it was alittle intimidating but it's just like installing many smaller decals. The longest one was 78" long. I dry installed everything except the back half of the hood (I center hinged it) I tried to do it dry but with the overall length and having the air filter housing and running in to everything else, I couldn't get it to lay down without sticking to itself.
-
How does the cutting strip look? Does it sink down or is damaged where you are having trouble?
-
3
-
-
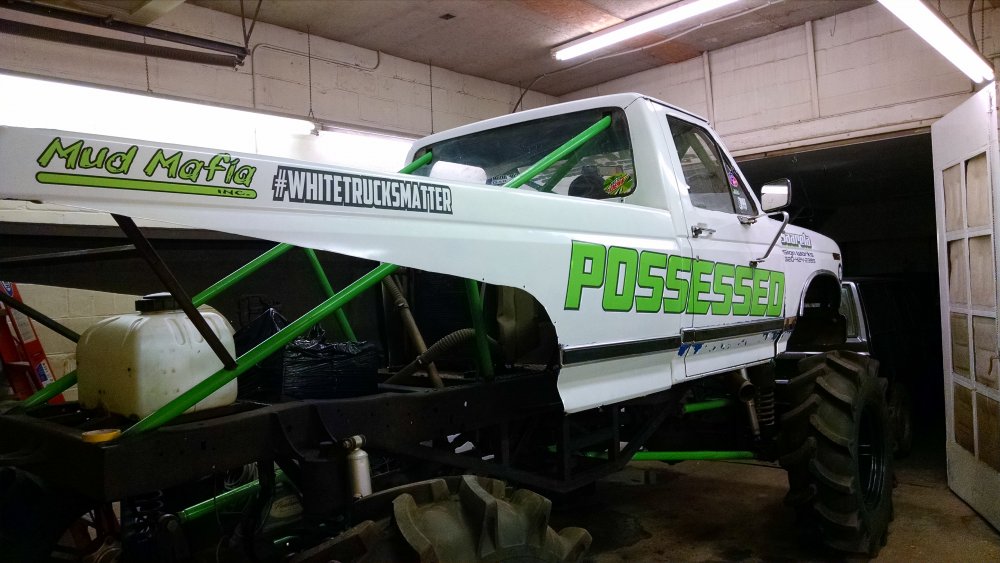
Here's the final one of the trucks. This truck is bright red with flat black stripes and silver pinstripes.


-
3
-


Race Car job
in Show your work
Posted
Everything on the car was designed and cut using Sure Cuts Alot Pro on a laserpoint 2 cutter. A couple things that I feel that make a "racing style" number is:
1. Has to be a bold looking font. Nothing script for numbers unless it's an added letter to the main number.
2. Needs to have at least one outline of a contrasting color with a drop shadow.
I agree with wild goose on the number design, it's definitely easier starting with a straight up font and tipping them back then taking an italics number and stretching them to make it look right for the right side of the car.