

Nicole B
-
Content Count
9 -
Joined
-
Last visited
Posts posted by Nicole B
-
-
I don't know vinylmaster but this is how I did it in Illustrator.
You select everything, then you go to the Shape builder tool then select the area on either side of the curves. It will make the wireframe into three separate shapes
Thank you for the help. Unfortunately I don't have AI but if I ever get it, I'll have the instructions. Thank you.
-
Actually, I did it in graphtec pro studio.
I don't know if I could say what I did 10 min ago. Just kind of winged it and it worked.
bikemike - I really appreciate your help, this helps me finish my project.
BUT if anyone knows how to accomplish this in vinyl master I would really appreciate the advice, as I will need to do this type of thing a lot. Thanks!
-
Just the boots?
OMG, yes! Thank you, that is exactly what I need. How did you do that? I need to be able to do this type of thing to lots of files.
-
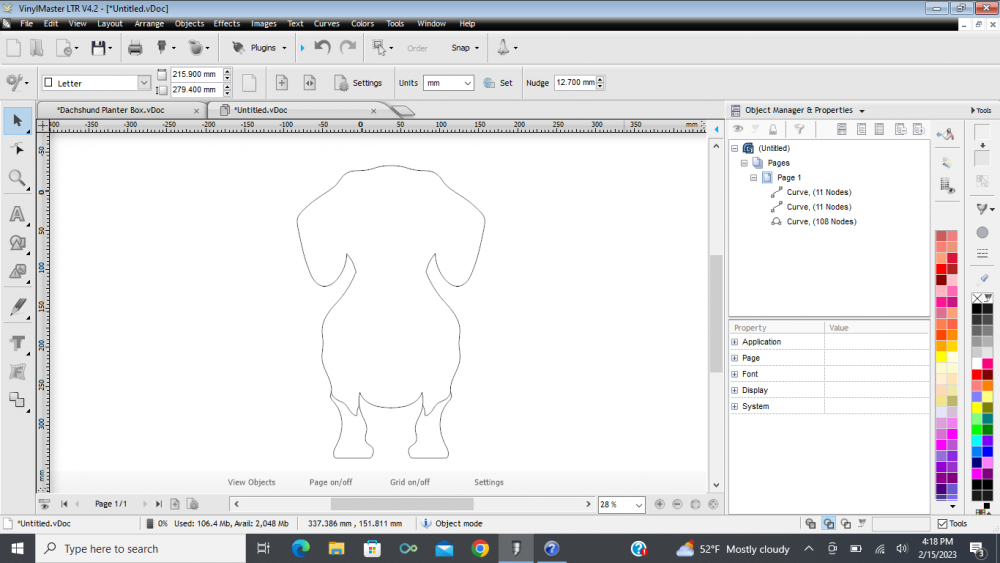
Can't you ungroup it? Select all of it, As in arrange>ungroup. Then select the legs.
No this does not work, you can see what it looks like when I ungroup in the screenshot I attached.
copy > paste > edit out the nodes you don't need until you're left with what you're looking for.
Per your reply, I tried this and while I can delete most of the nodes of the body, once I get down around the curve in the legs, it starts changing the shape of the legs as I try to delete nodes. I tried using the break curve tool (my first time using that) but for some reason it doesn't break the curve like in the video I watched but instead just changes the shape of the curve.
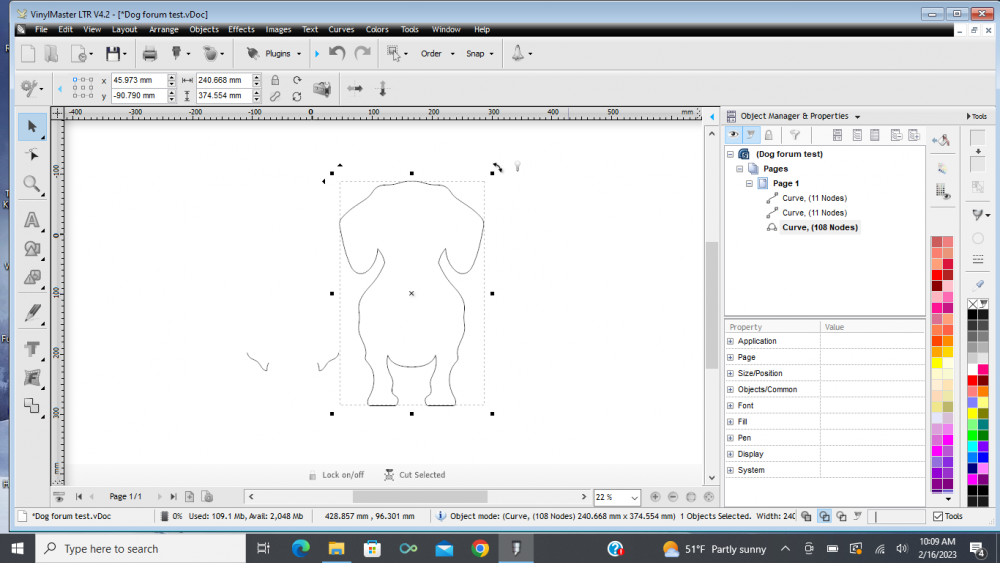
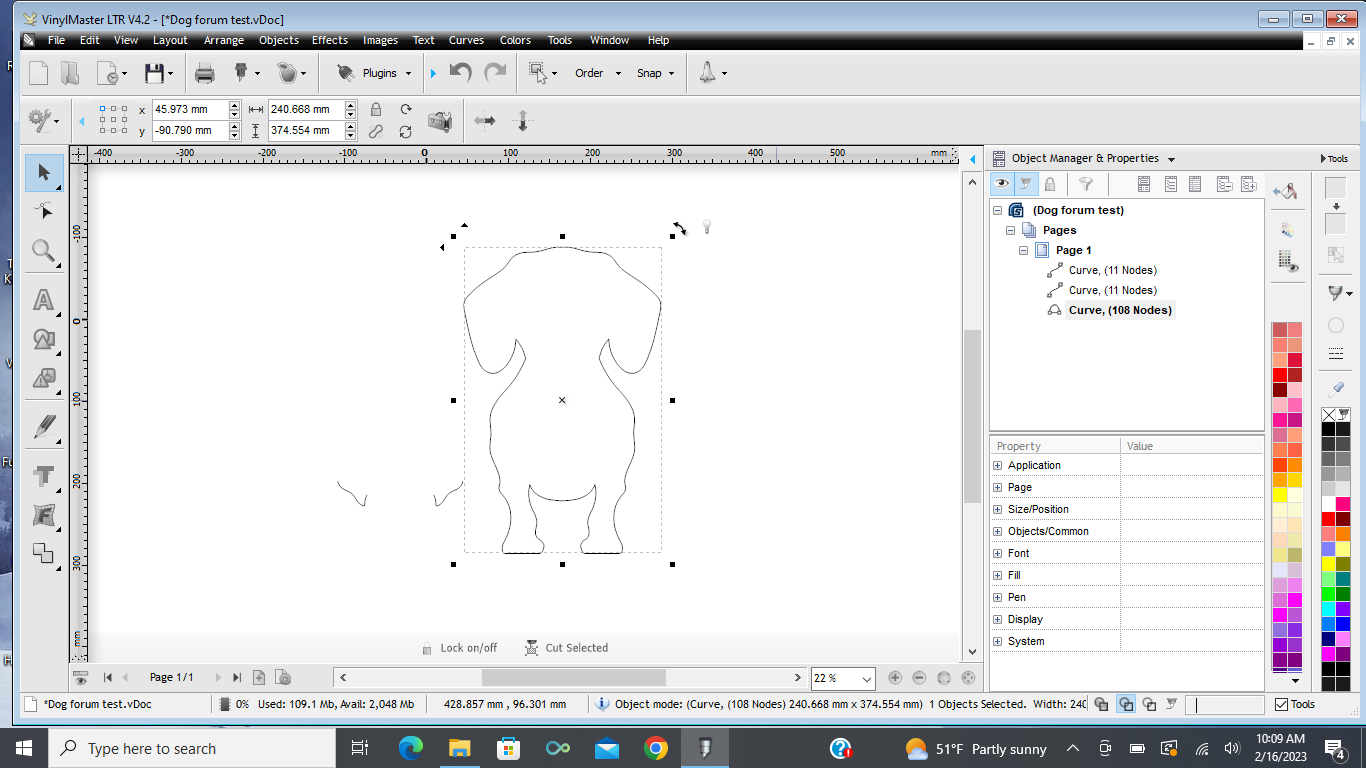
See the information on the right. It seems it has 3 different nodes/curve. What I believe from the screenshot are it is separate for the body, separate for the legs and separate for the curved joiners. I may be wrong, but we need to have a look at the actual file to suggest what is the issue. Any chance you can share it, then we can have a look if it suits you
Yes, the left leg line is the first curve, the right leg line is the second curve and the body is the third curve. I have attached the ai file. Please note there are a lot of other images in that file, I had just deleted them out for the initial screenshot to make it simpler to explain.
-
I purchased an .ai file (screenshot of image attached). It's a dog with different colored legs. I need to ONLY cut the portion of the legs that are below the curved lines, I don't want to cut the dog body. Both the body and the 2 separate lines were created using curves. I have tried highlighting the body and lines and using punch, trim, intersect, keep, etc. everything to try and slice this body away. just leaving the legs, but nothing works. It just makes either the dog body disappear or just make the leg lines disappear. What am I doing wrong?
-
How do you guys apply a long decal (oracal 651) to a wall and make sure it’s level? Basically once I stick part of it to the wall there’s no peeling it off to reapply. What are some tips/tricks to doing this?
-
I added the box and the S and O touch but the T U D I do not. When I cut the text on my titan I only measured the T by hand (because it was the easiest to measure) and it measured 6.0 (like I had set for the physical size). I did not measure the other letters. So I did just now since I see they are not touching the box on the screen. The TUDI are all 6.0 but the S and O are both 6.2. So I guess if I wanted the largest letter to be 6.0 I'll set that on the left side knowing that the smaller value on the right will only be for some of the letters. I just didn't think by using all caps that there would be a difference in the letter height. Thanks for the help.
-
@darcshadow I don't think it's a scaling/calibration issue, because if I cut an image, say a square and I set the height and width to say 4.1, my titan cuts it to exactly 4.1x4.1. This only seems to be an issue with text, where I have to enter the height I want into the PHYSICAL size box, rather than the size drop down that is on the left side. And while that is not a problem per se, it's just that I have no way of knowing the exact width unless I actually cut it. So when I set the physical height of the font to 6, and it shows the selected object (value on left) as 6.2H and 31.027 W and my cut comes up just short of the 31.027, I do believe that to be an accurate (calibrated) cut, because it's actually cutting according the the 6, and so of course it won't be 31.027 wide, because the 31.027 value is based on a height of 6.2. My cut came to 30.93. Which for personal use, I don't care if its 30.93 vs 31.027, but when I am sending a proof to a customer and say its 31.027, it can't be 30.93. Hope that wasn't confusing. Bottom line, when I cut a shape, the titan does cut to the exact measurement I have entered. This is only a problem with text.

Punch out from 2 Curves
in VinylMaster CUT, LTR, PRO & DSR
Posted
Thanks Darcshadow, I'll take a look at Inkscape