

vxtacy
-
Content Count
16 -
Joined
-
Last visited
Posts posted by vxtacy
-
-
-
2 hours ago, darcshadow said:That really looks like you're cutting into the backing paper. If so that means you still have too much blade exposed. No matter how much pressure you apply on a hard surface you should not be able to cut the backing if the blade is set correctly.
i've adjusted further to make sure its a lot less than that now! thank you:)
-
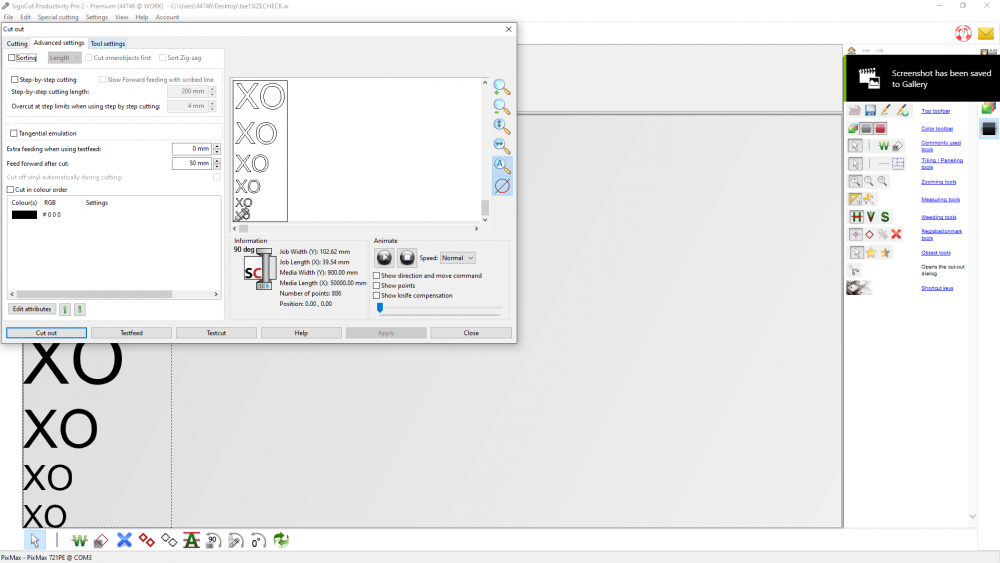
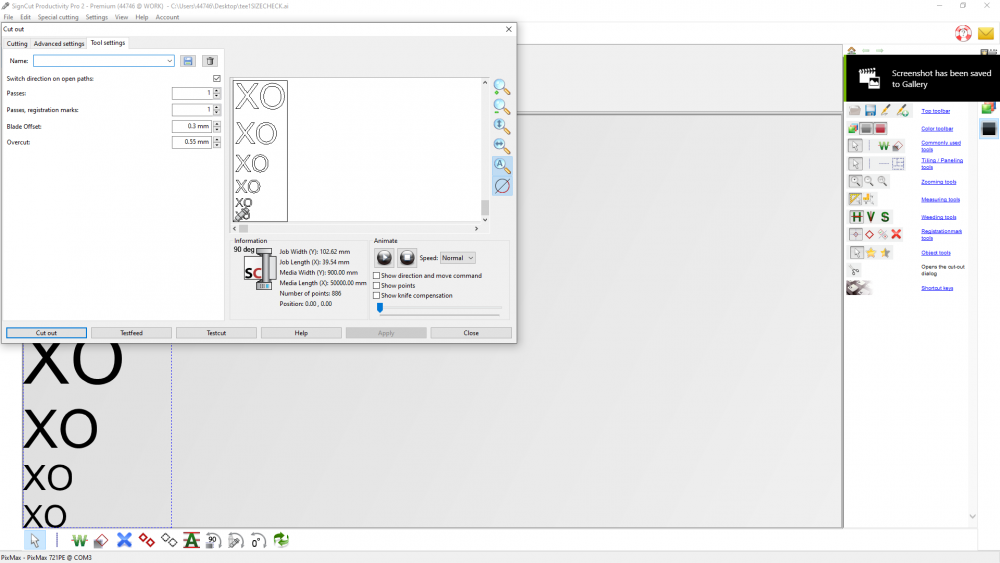
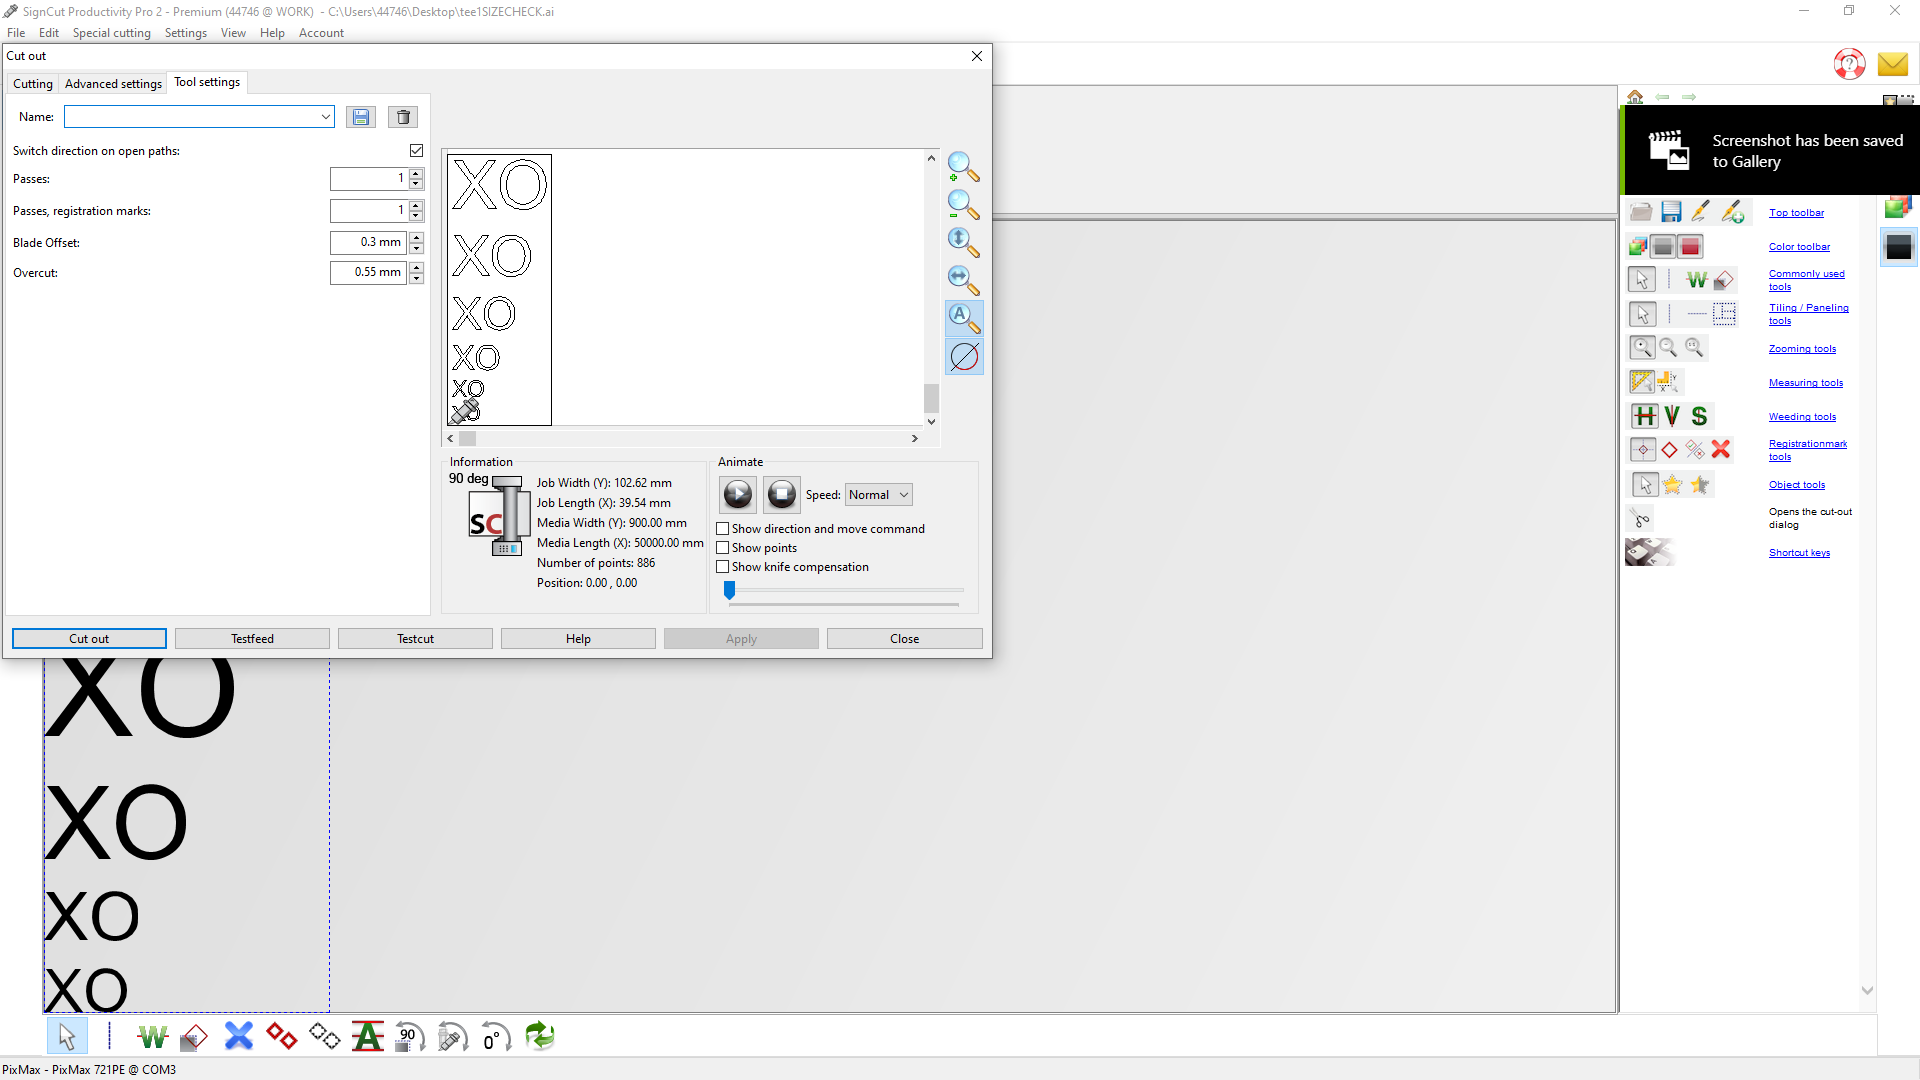
7 minutes ago, Dakotagrafx said:In your last picture t shows the software set at .3 offset, but is the software or the plotter itself actually setting the offset being used?
i havent been able to locate an offset option on the machine
-
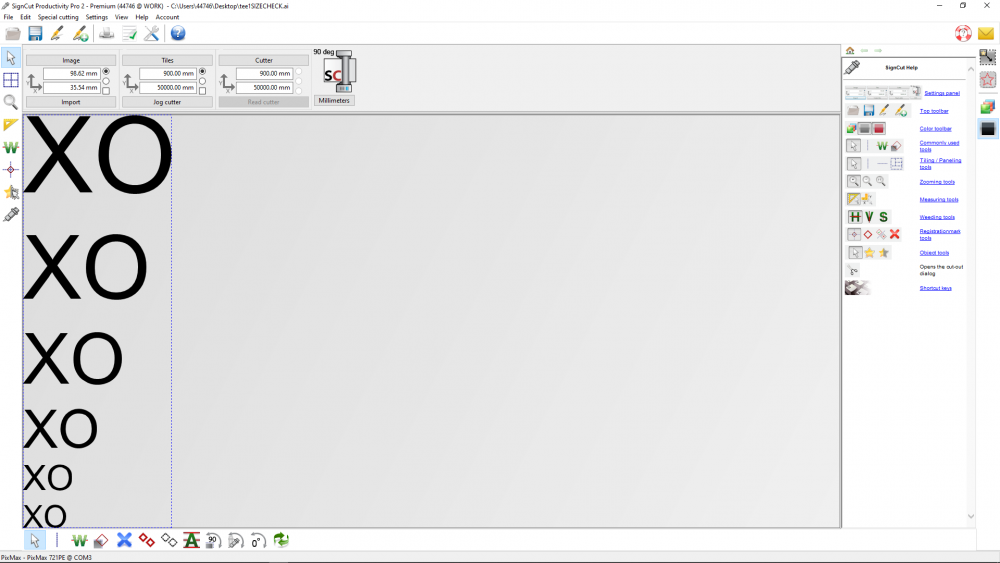
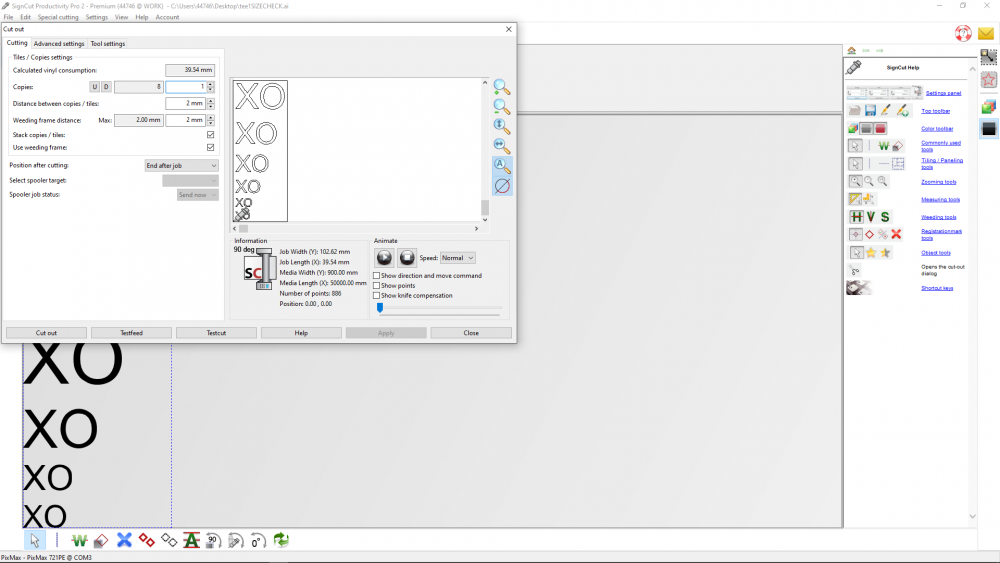
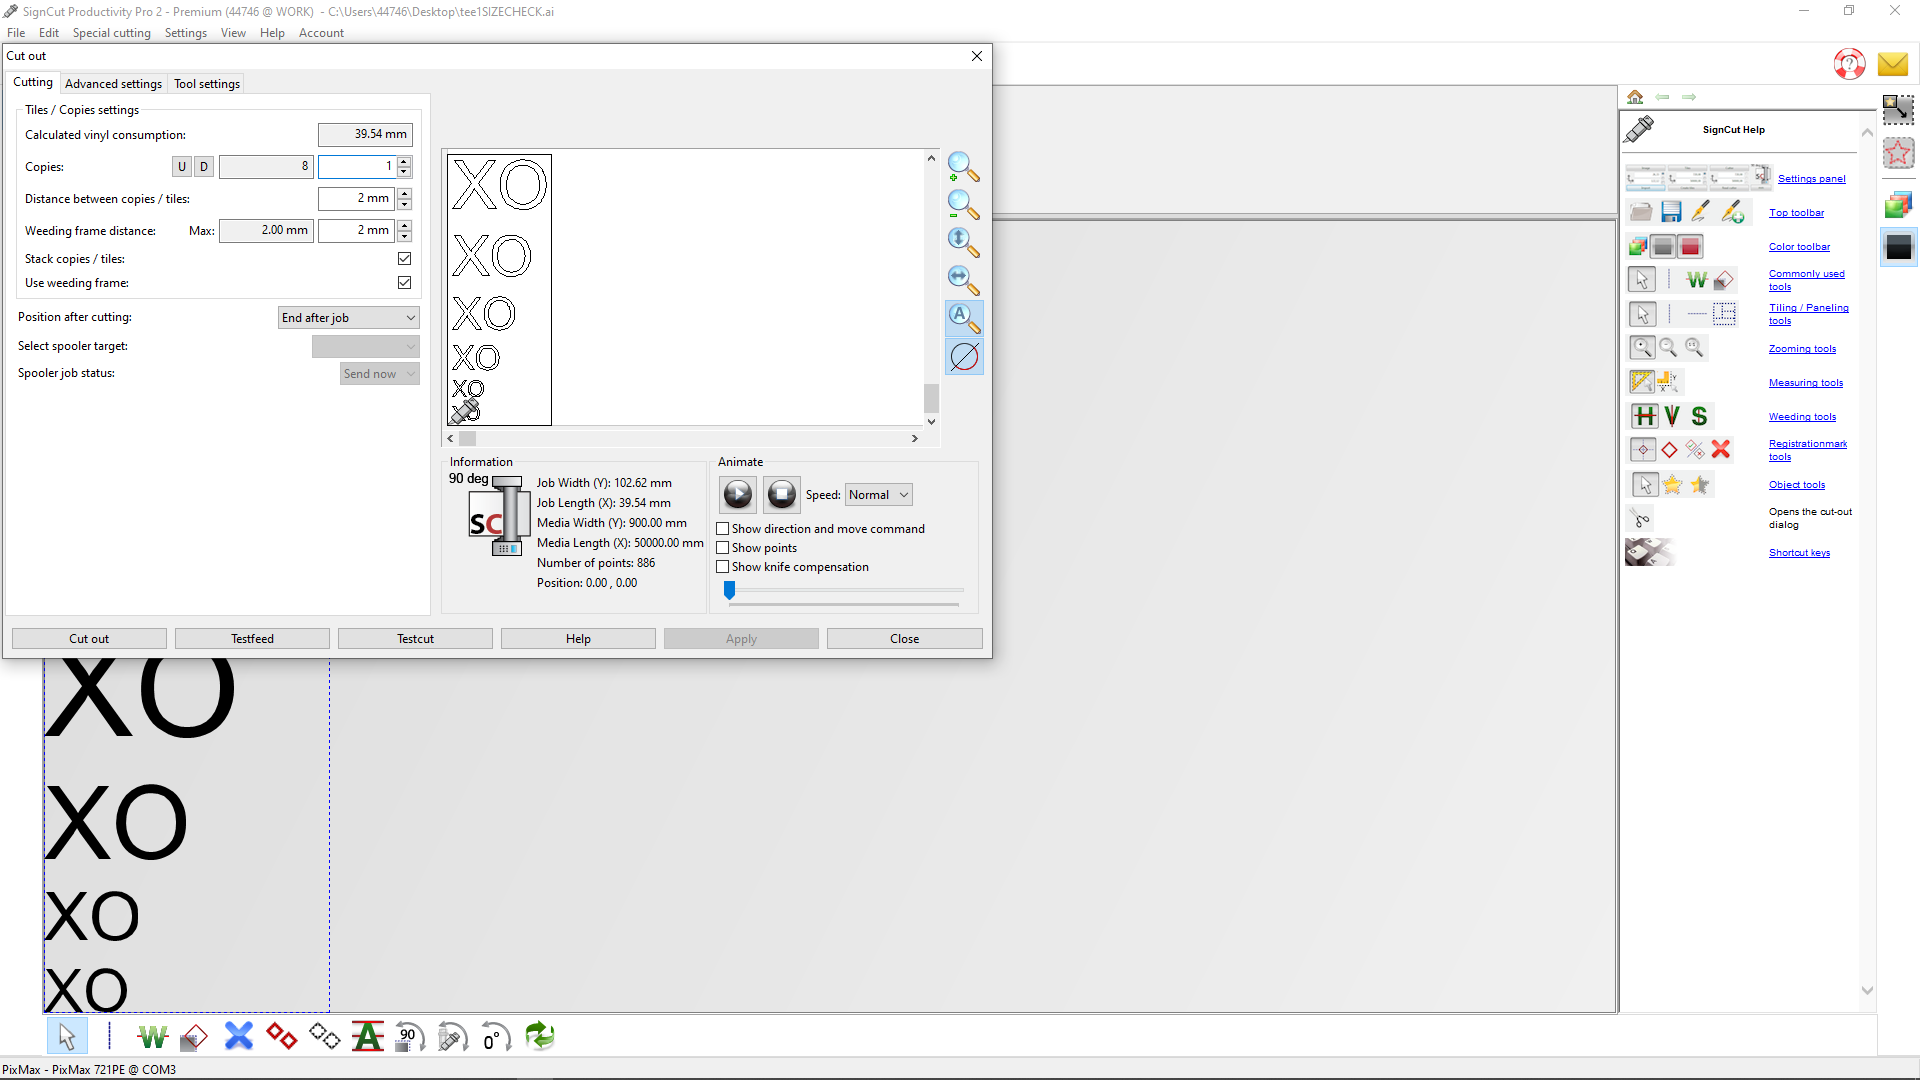
1 hour ago, vxtacy said:i'm just on a livechat with the support currently! these are what i see on my software, and of course! that makes perfect sense, i'm currently a student and i've always used illustrator as its an amazing software and i dont think i'd wanna use the signcut software to make the designs unless absolutely necessary
 0.03 to 1mm
-
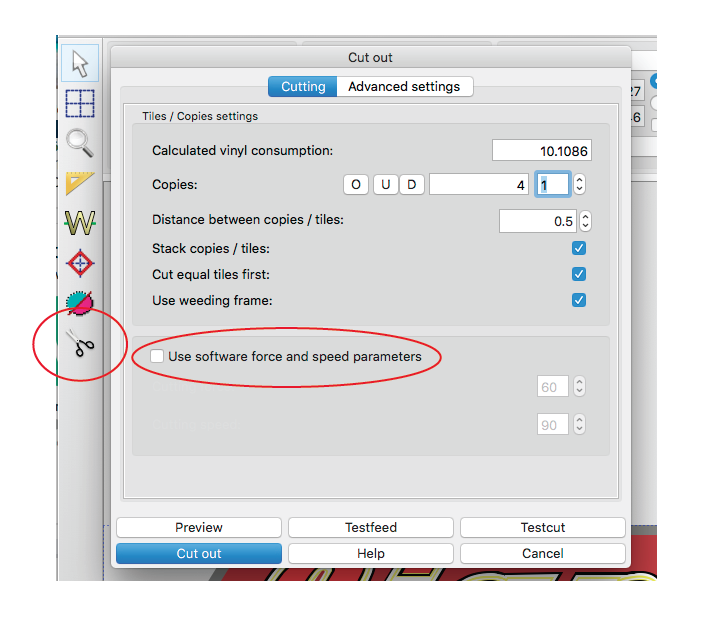
11 hours ago, Wildgoose said:So not knowing much about the pixmax cutter. On the cutter itself can you get to a screen that lets you adjust the blade offset or is it totally up to the software? I use the older version of SignCut but it will have the same options. In the cut tab (in my version it is a pair of scissors...see pic) you will have an option to either use the machine settings for force and speed or the software settings. SignCut drivers determine a lot of what you see on this and other pages so things may look and be different for you but if you can check that part whether you need to decide the blade offset in the software or if you can set it on the machine itself (preferred IMO) Your layout may be different.
The good news is that SignCut has actual real people who will contact you soon and can even remote in to your computer if needed and get you running. I love SignCut. I use it in large part because I am on a mac but it will work on either platform. I design offsite in Adobe Illustrator and then just use SignCut Pro 1 to cut with. The new version you have has design tools I think but I have not tried it out. I own the lifetime dongle so I decided to leave well enough alone and not mess with something that is working for me.
i'm just on a livechat with the support currently! these are what i see on my software, and of course! that makes perfect sense, i'm currently a student and i've always used illustrator as its an amazing software and i dont think i'd wanna use the signcut software to make the designs unless absolutely necessary
-
11 hours ago, Wildgoose said:So not knowing much about the pixmax cutter. On the cutter itself can you get to a screen that lets you adjust the blade offset or is it totally up to the software? I use the older version of SignCut but it will have the same options. In the cut tab (in my version it is a pair of scissors...see pic) you will have an option to either use the machine settings for force and speed or the software settings. SignCut drivers determine a lot of what you see on this and other pages so things may look and be different for you but if you can check that part whether you need to decide the blade offset in the software or if you can set it on the machine itself (preferred IMO) Your layout may be different.
The good news is that SignCut has actual real people who will contact you soon and can even remote in to your computer if needed and get you running. I love SignCut. I use it in large part because I am on a mac but it will work on either platform. I design offsite in Adobe Illustrator and then just use SignCut Pro 1 to cut with. The new version you have has design tools I think but I have not tried it out. I own the lifetime dongle so I decided to leave well enough alone and not mess with something that is working for me.
Hello wildgoose! Thank you for coming back to help! The machine setting I’ve included down below, I believe it’s only on the software I’m able to set the offset

-
5 minutes ago, Dakotagrafx said:wildgoose is our signcut expert - hopefully he will show up
I hope so too! You guys have been so much more informative than the manual I received with the cutter 1000%
-
 1
1
-
-
8 minutes ago, Dakotagrafx said:I would have expected to see more of a difference - what cutting software are you using (some have offset in them that will override the plotter) what degree blade are you using?
Signcut support have sent me a link to this about offset

-
4 minutes ago, Dakotagrafx said:I would have expected to see more of a difference - what cutting software are you using (some have offset in them that will override the plotter) what degree blade are you using?
I’m afraid I wouldn’t be able to tell you

-
2 minutes ago, Dakotagrafx said:I would have expected to see more of a difference - what cutting software are you using (some have offset in them that will override the plotter) what degree blade are you using?
That’s what I expected as the jagged edge effect didn’t occur as I’d expected from seeing how the difference should be, I’m using signcut pro 2 and blade wise
-
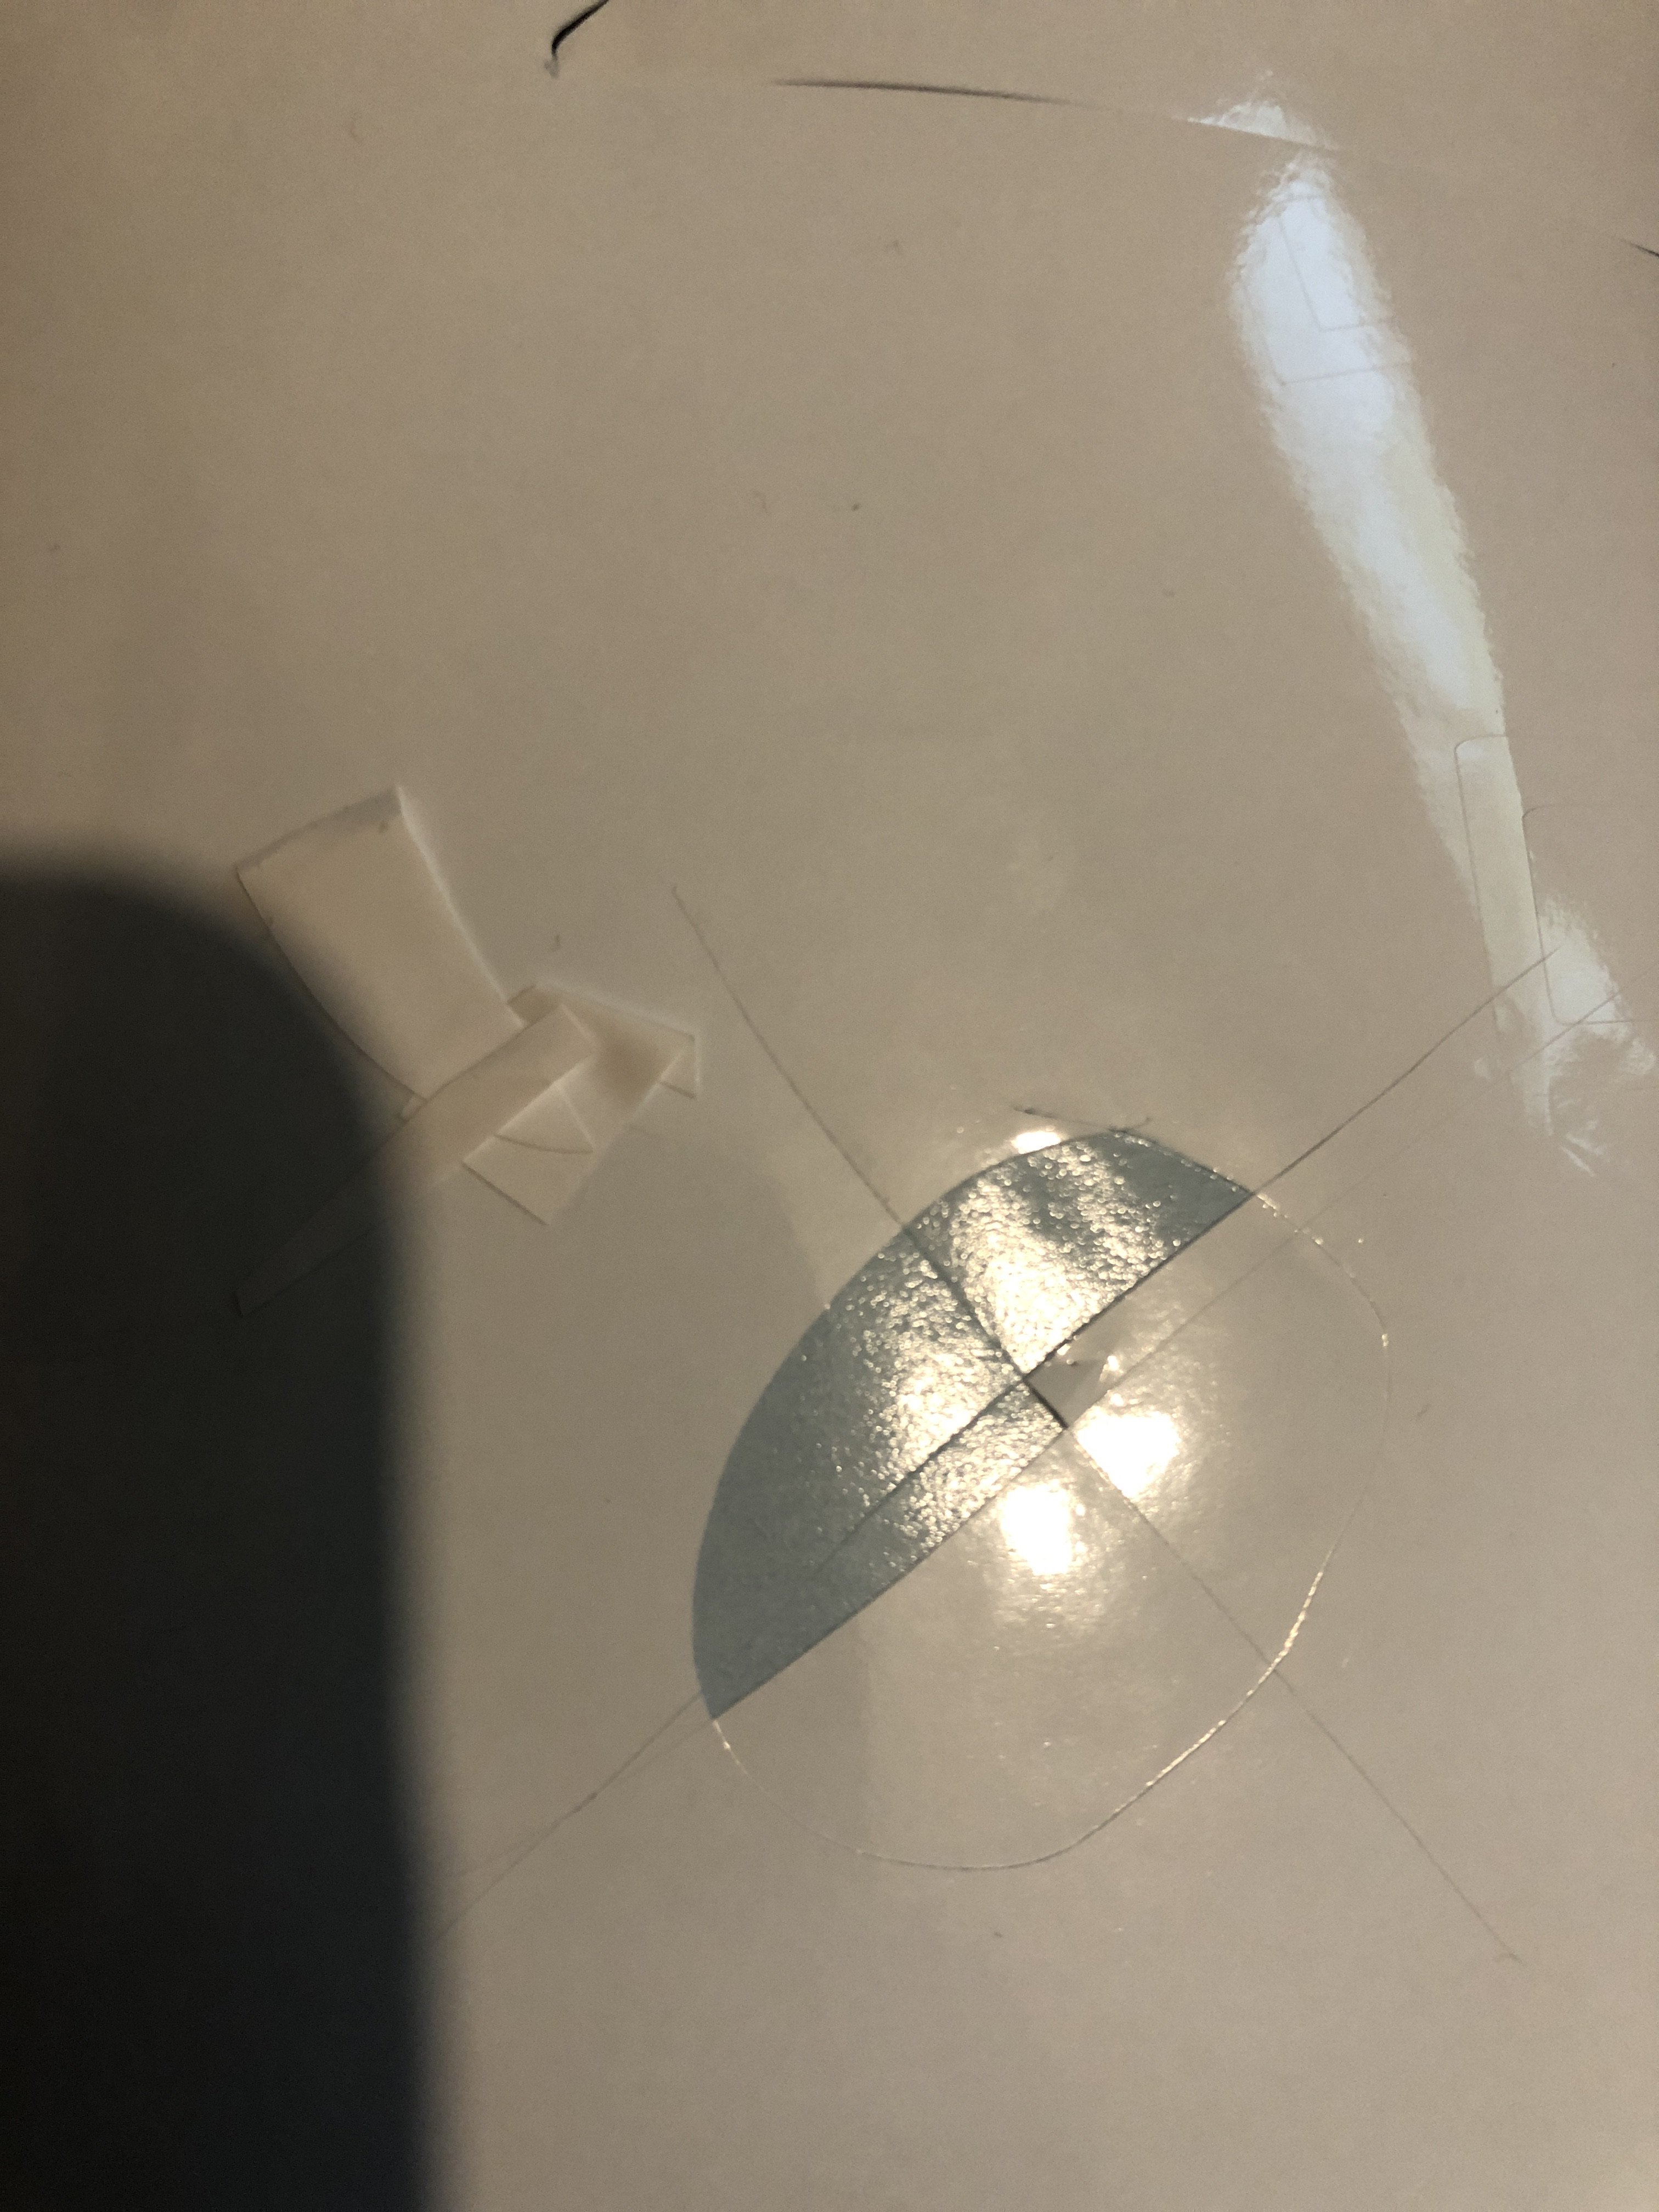
4 minutes ago, Dakotagrafx said:sure looks like some deep cuts in the backing paper - maybe just me but . . .
Think I used a bit too much force by my hands I’m afraid:’)
-
22 hours ago, Wildgoose said:The process is more than a single step.
1. Set the blade exposure (often called the blade depth but is different than the cutting pressure) There are often instructions that are WRONG that say use half the thickness of a credit card. That is way too much and can cause you to ruin a good blade tip. To set this correctly remove the blade holder from your machine and, by hand, drag it across a piece of scrap vinyl with some force. Not super hard but enough to definitely cut. You should only be cutting through the vinyl and maybe half way into the paper backing. If you can cut all the way through then you have too much sticking out. When you get this set correctly you know that it is impossible to cut clear though. Typical cheap vinyl is 3 mil thick and high end vinyl is 2 mil thick so if you set this on 3 mil vinyl (cheap stuff) you will be good for both as well as most HTV. Occasionally you may find material that is thicker and you'll have to reset it but otherwise for normal day to day work you won't need to make adjustments to this again.
2. Set your speed and down force to relatively slow and light settings. I recommend about 1/4 or 1/3 of the max speed. If your machine can cut at 400 set it at 100 to start with. You can always speed it up later. For pressure you will want to start off light and do small increments until you find the pressure that will cut all the way through. When you get the pressure set just right you should be cutting cleanly through the vinyl and scratching the paper carrier but not be able to feel the cut from the back side. If you cut a little too deep you will find the backing paper sometimes coming up with the vinyl.
3. Set your blade offset whatever the owners manual said was the recommended amount. You will have to tweak this but they will usually tell you what to start at. Typically .25-.35mm is common.
4. If your software has a test cut option use it or you can create a test by making a small 1" square and cut it. If your cuts look like the one you posted you have too much offset.
5. There is a thing called overcut that sometimes needs to be used if the ends of your start and end points don't meet. Most of the time you won't need this. If you do it theoretically would be somewhere around the same value as your offset or less.
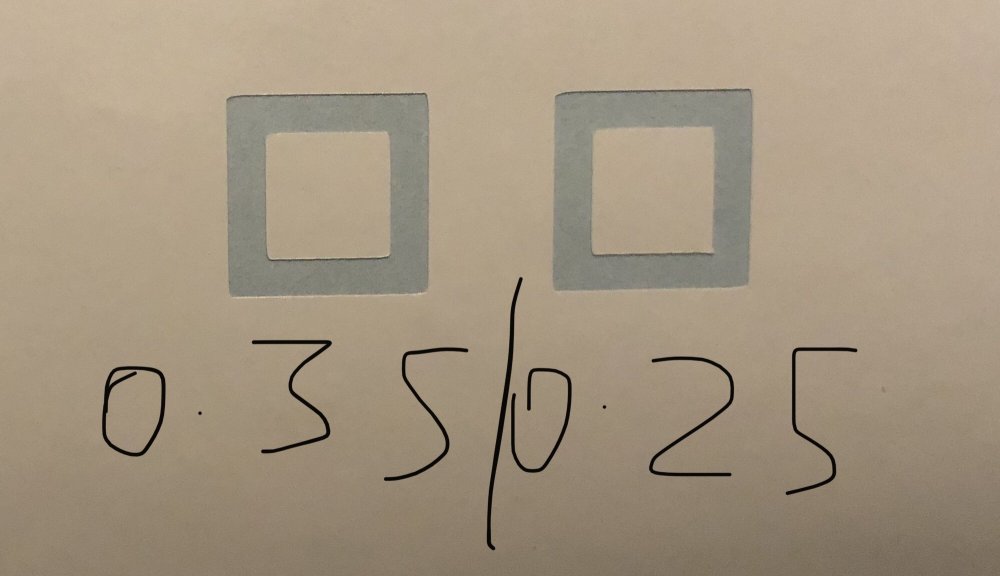
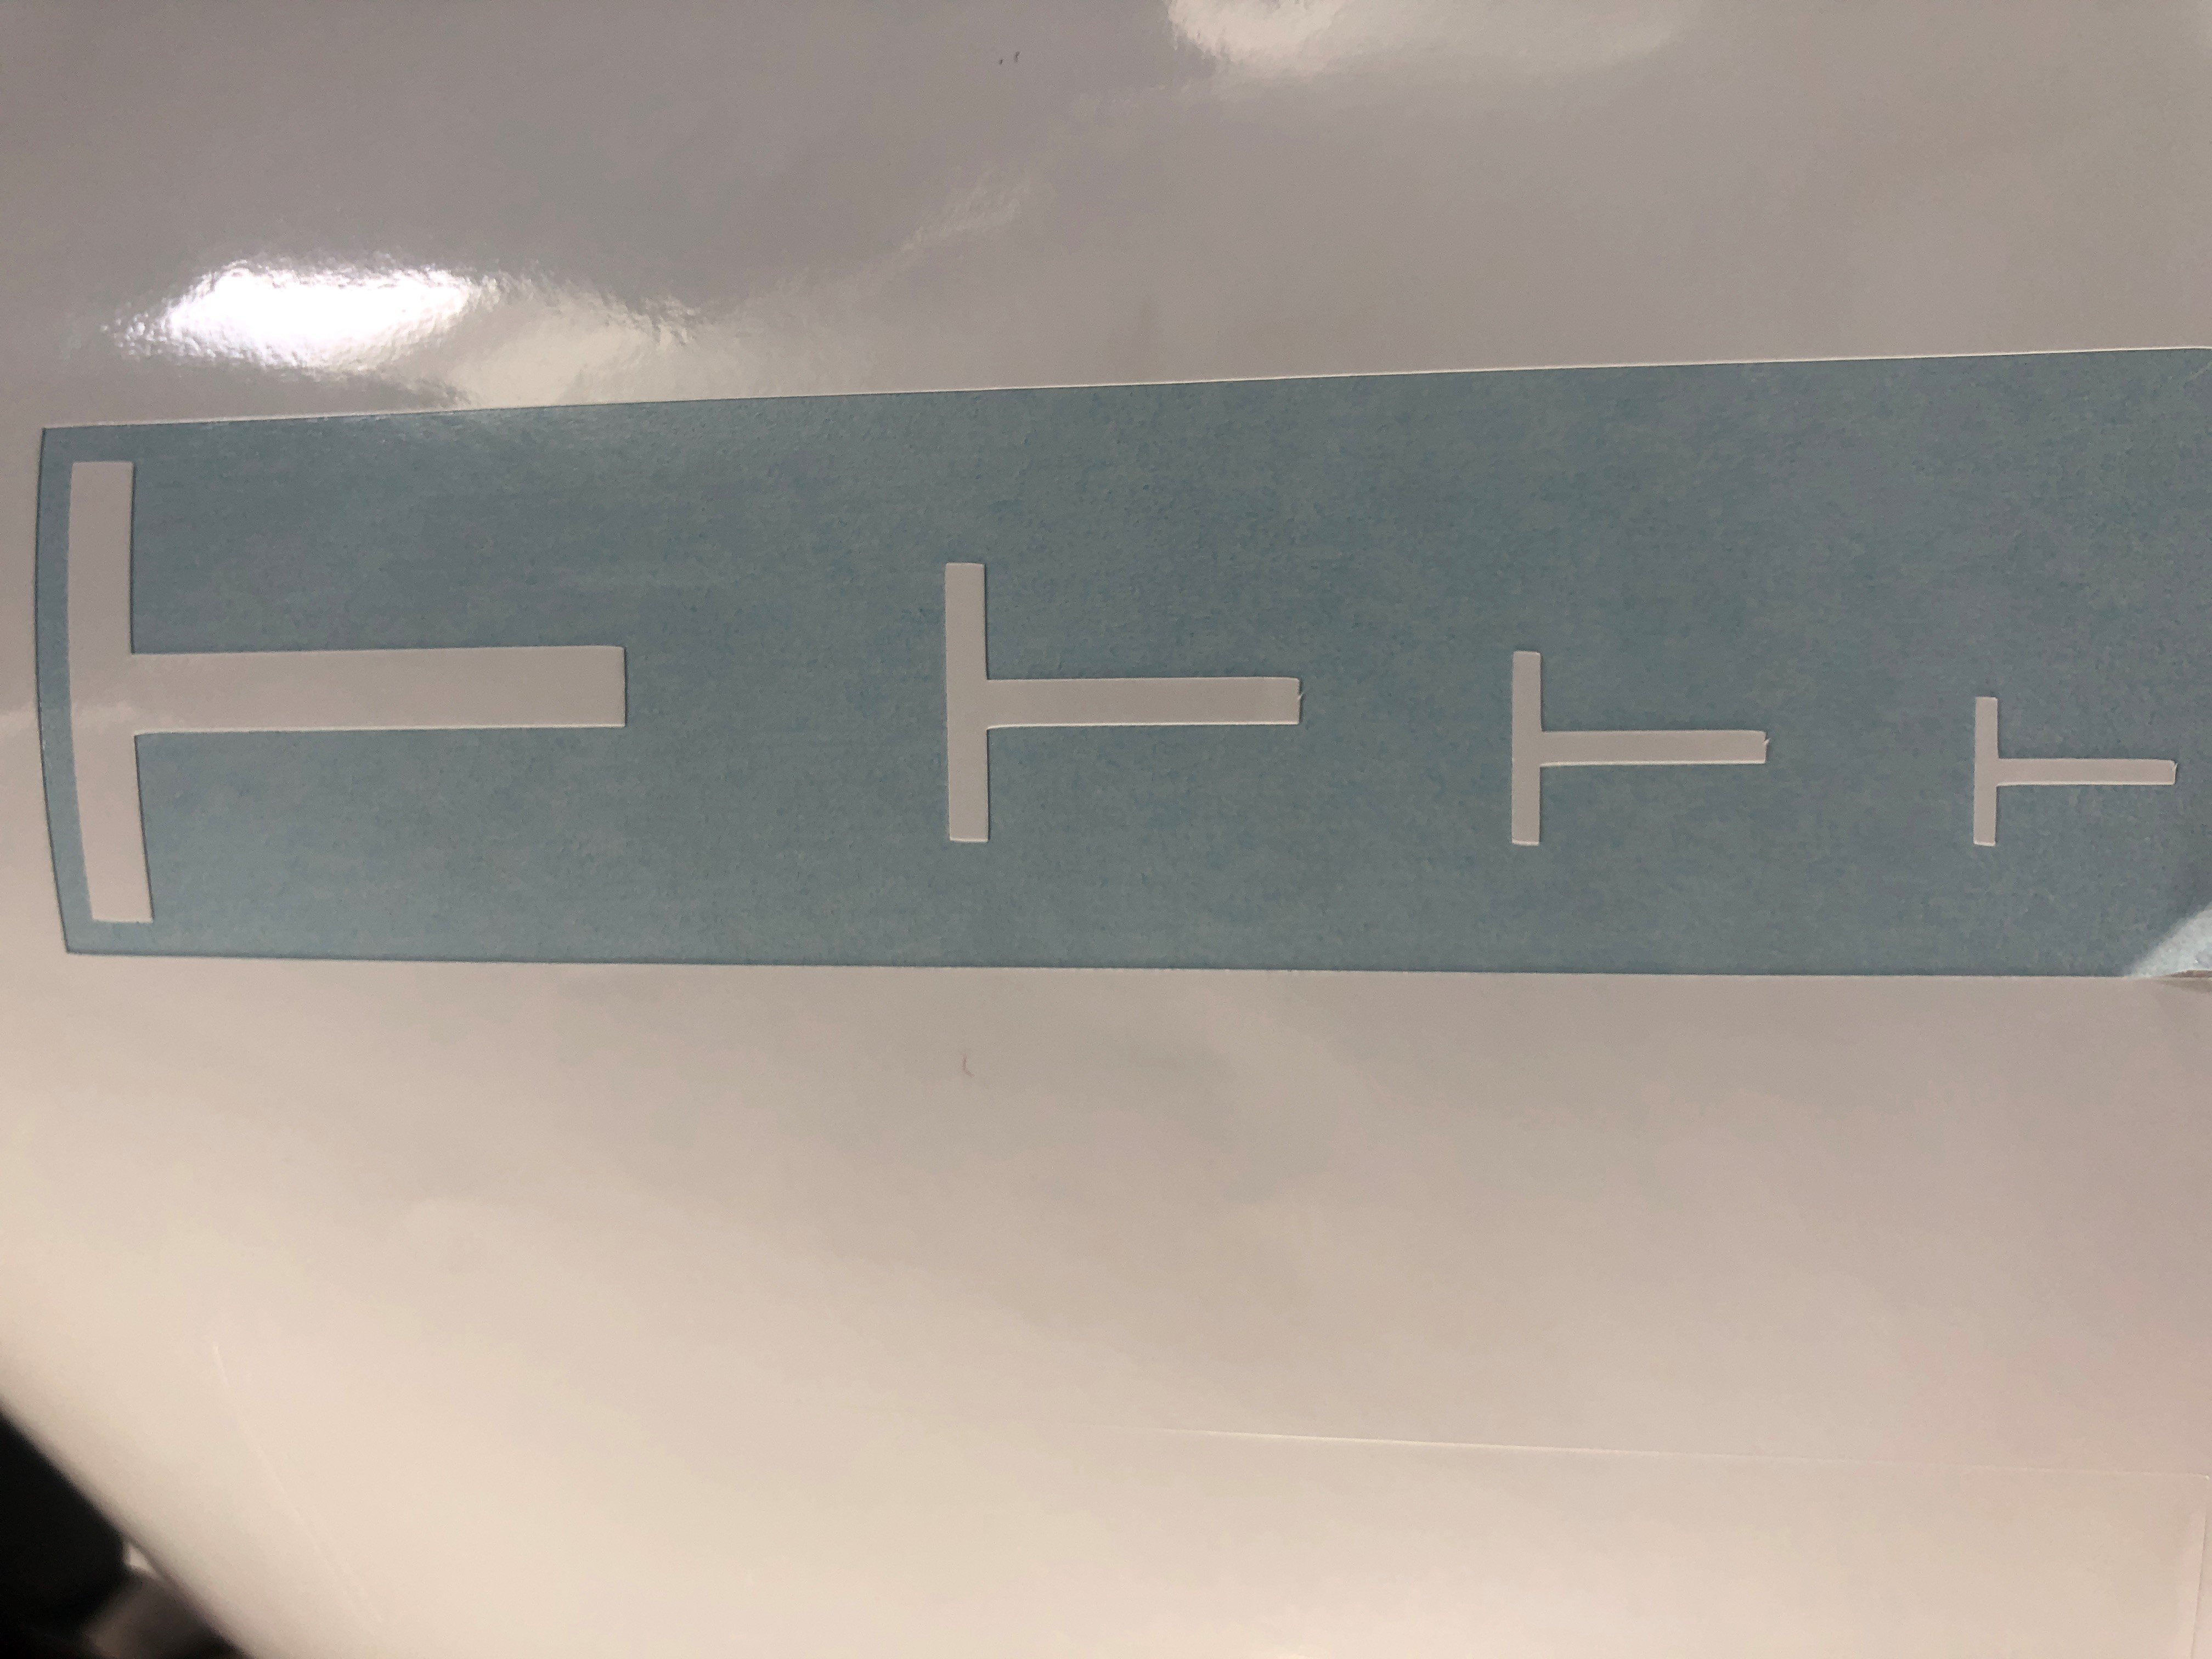
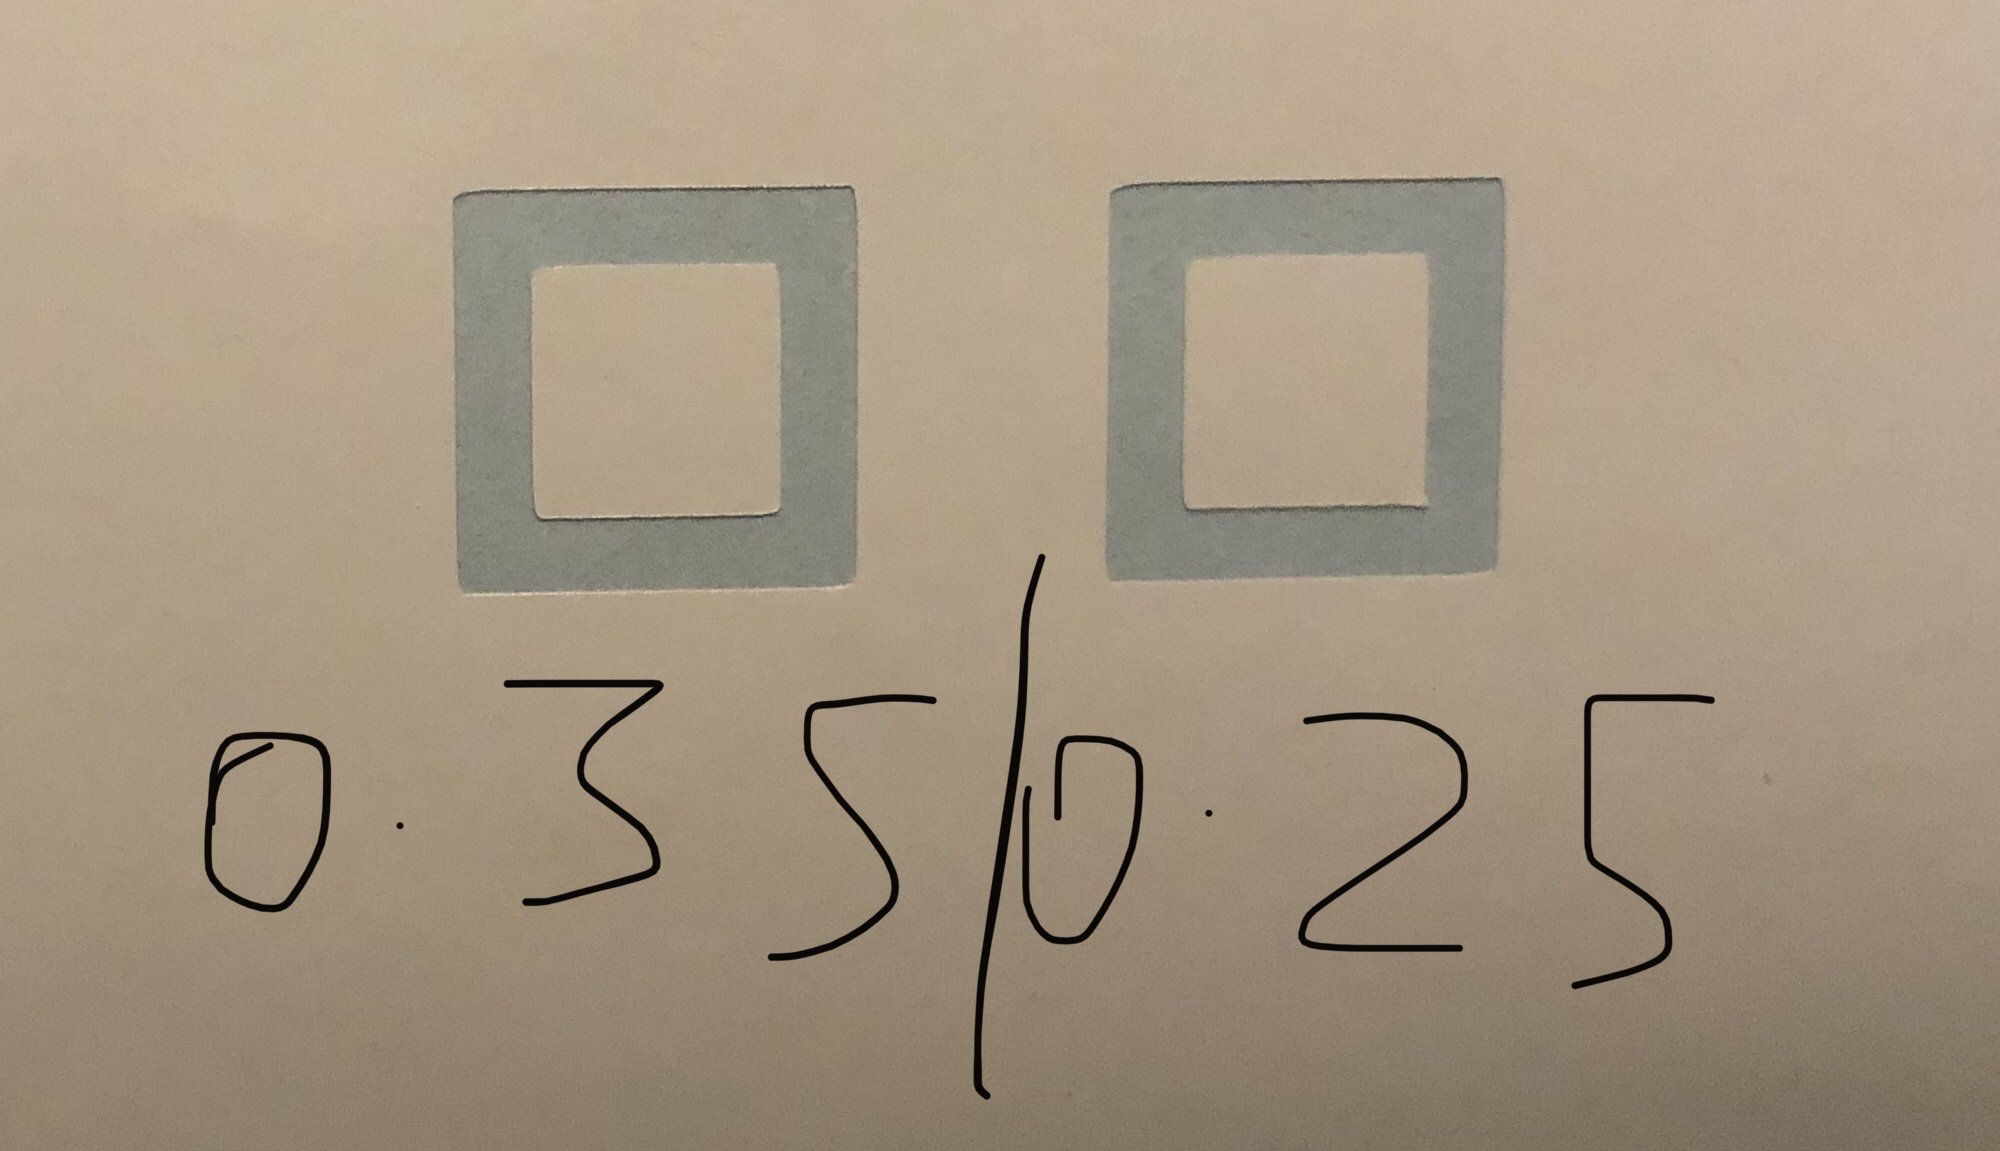
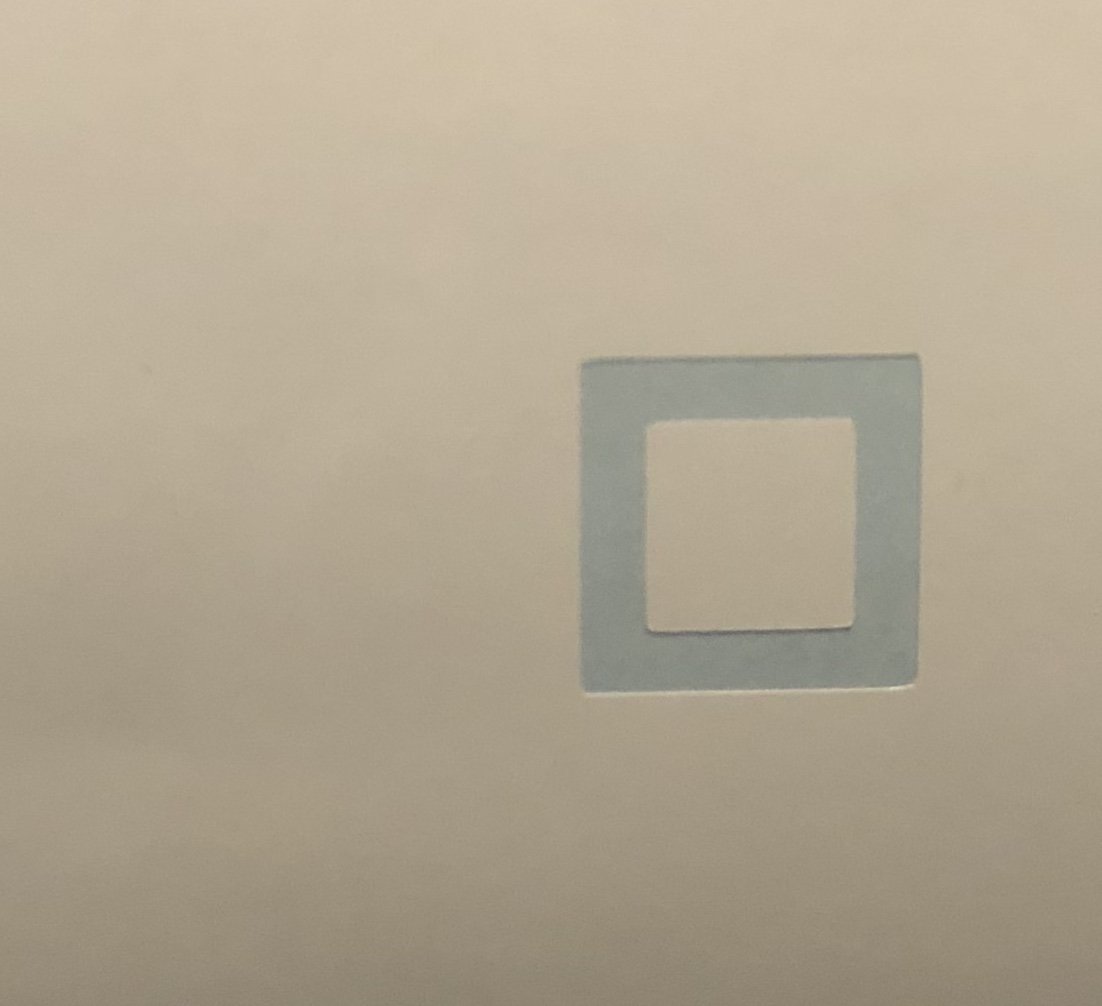
3. These are the test cuts at 0.25 and 0.35, neither are squaring off as much as I expected it to, at 0.35 the corner caught a little bit when weeding
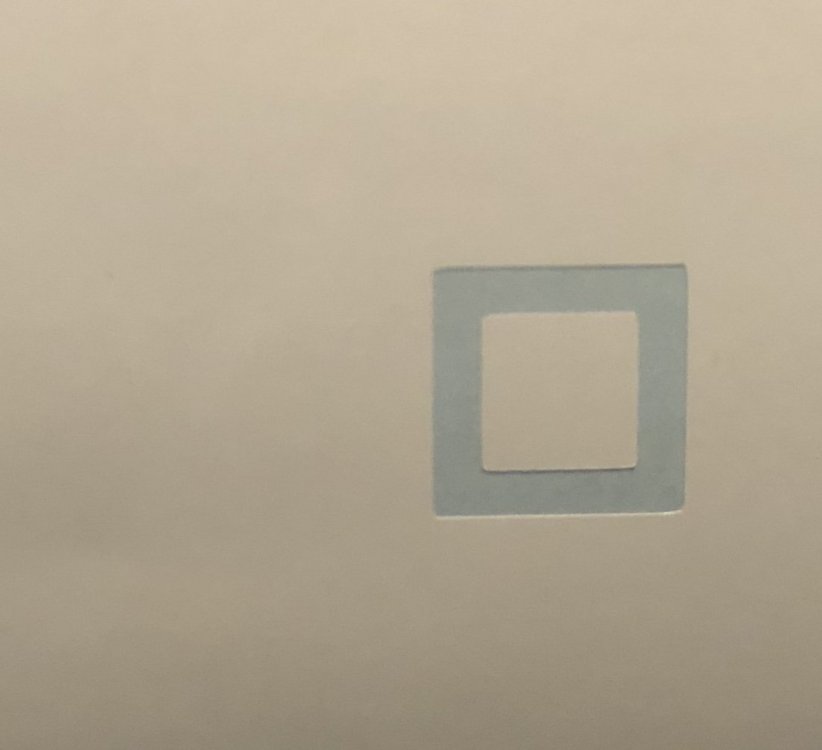
this last one is 0.13 offset
-
22 hours ago, Wildgoose said:The process is more than a single step.
1. Set the blade exposure (often called the blade depth but is different than the cutting pressure) There are often instructions that are WRONG that say use half the thickness of a credit card. That is way too much and can cause you to ruin a good blade tip. To set this correctly remove the blade holder from your machine and, by hand, drag it across a piece of scrap vinyl with some force. Not super hard but enough to definitely cut. You should only be cutting through the vinyl and maybe half way into the paper backing. If you can cut all the way through then you have too much sticking out. When you get this set correctly you know that it is impossible to cut clear though. Typical cheap vinyl is 3 mil thick and high end vinyl is 2 mil thick so if you set this on 3 mil vinyl (cheap stuff) you will be good for both as well as most HTV. Occasionally you may find material that is thicker and you'll have to reset it but otherwise for normal day to day work you won't need to make adjustments to this again.
2. Set your speed and down force to relatively slow and light settings. I recommend about 1/4 or 1/3 of the max speed. If your machine can cut at 400 set it at 100 to start with. You can always speed it up later. For pressure you will want to start off light and do small increments until you find the pressure that will cut all the way through. When you get the pressure set just right you should be cutting cleanly through the vinyl and scratching the paper carrier but not be able to feel the cut from the back side. If you cut a little too deep you will find the backing paper sometimes coming up with the vinyl.
3. Set your blade offset whatever the owners manual said was the recommended amount. You will have to tweak this but they will usually tell you what to start at. Typically .25-.35mm is common.
4. If your software has a test cut option use it or you can create a test by making a small 1" square and cut it. If your cuts look like the one you posted you have too much offset.
5. There is a thing called overcut that sometimes needs to be used if the ends of your start and end points don't meet. Most of the time you won't need this. If you do it theoretically would be somewhere around the same value as your offset or less.
Thank you so much for the help,
1. blade test done and adjusted it to cut just the vinyl on top manually as well as a little bit of the vinyl and adjusted positioning on the blade holder on the machine to Cut just the vinyl
2. Machine cuts at 800mm/s I’ve set it to 150 mm/s and a force of 70 which seems to work well currently
-
8 hours ago, Dakotagrafx said:first thing I can tell the offset is way off - next question is are you pulling slack from the roll so the plotter doesn't have to straining and slip to pull it off the roll?
Thanks for posting!
What should the offset be? I’ve tried 0.01 to 0.30
and I’ve pulled some slack and tried as well as putting already cut vinyl in and both do the same thing with rounding it off
-
I’m new to vinyl cutters so please excuse any misunderstandings but I’ve recently purchased a vinyl cutter that’s not cutting straight lines even in the test cutting and I would please like some help if anyone would be willing, I’d be so grateful,
jay


Pixmax PME720/1
in Vinyl Cutters
Posted
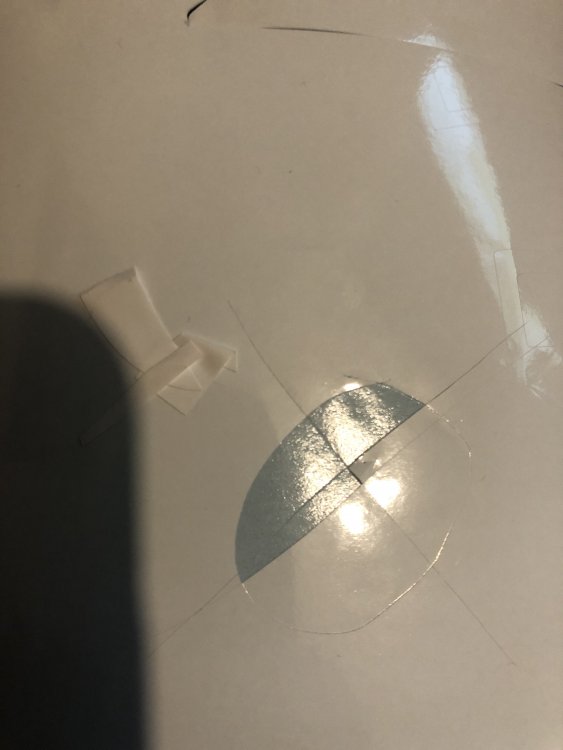
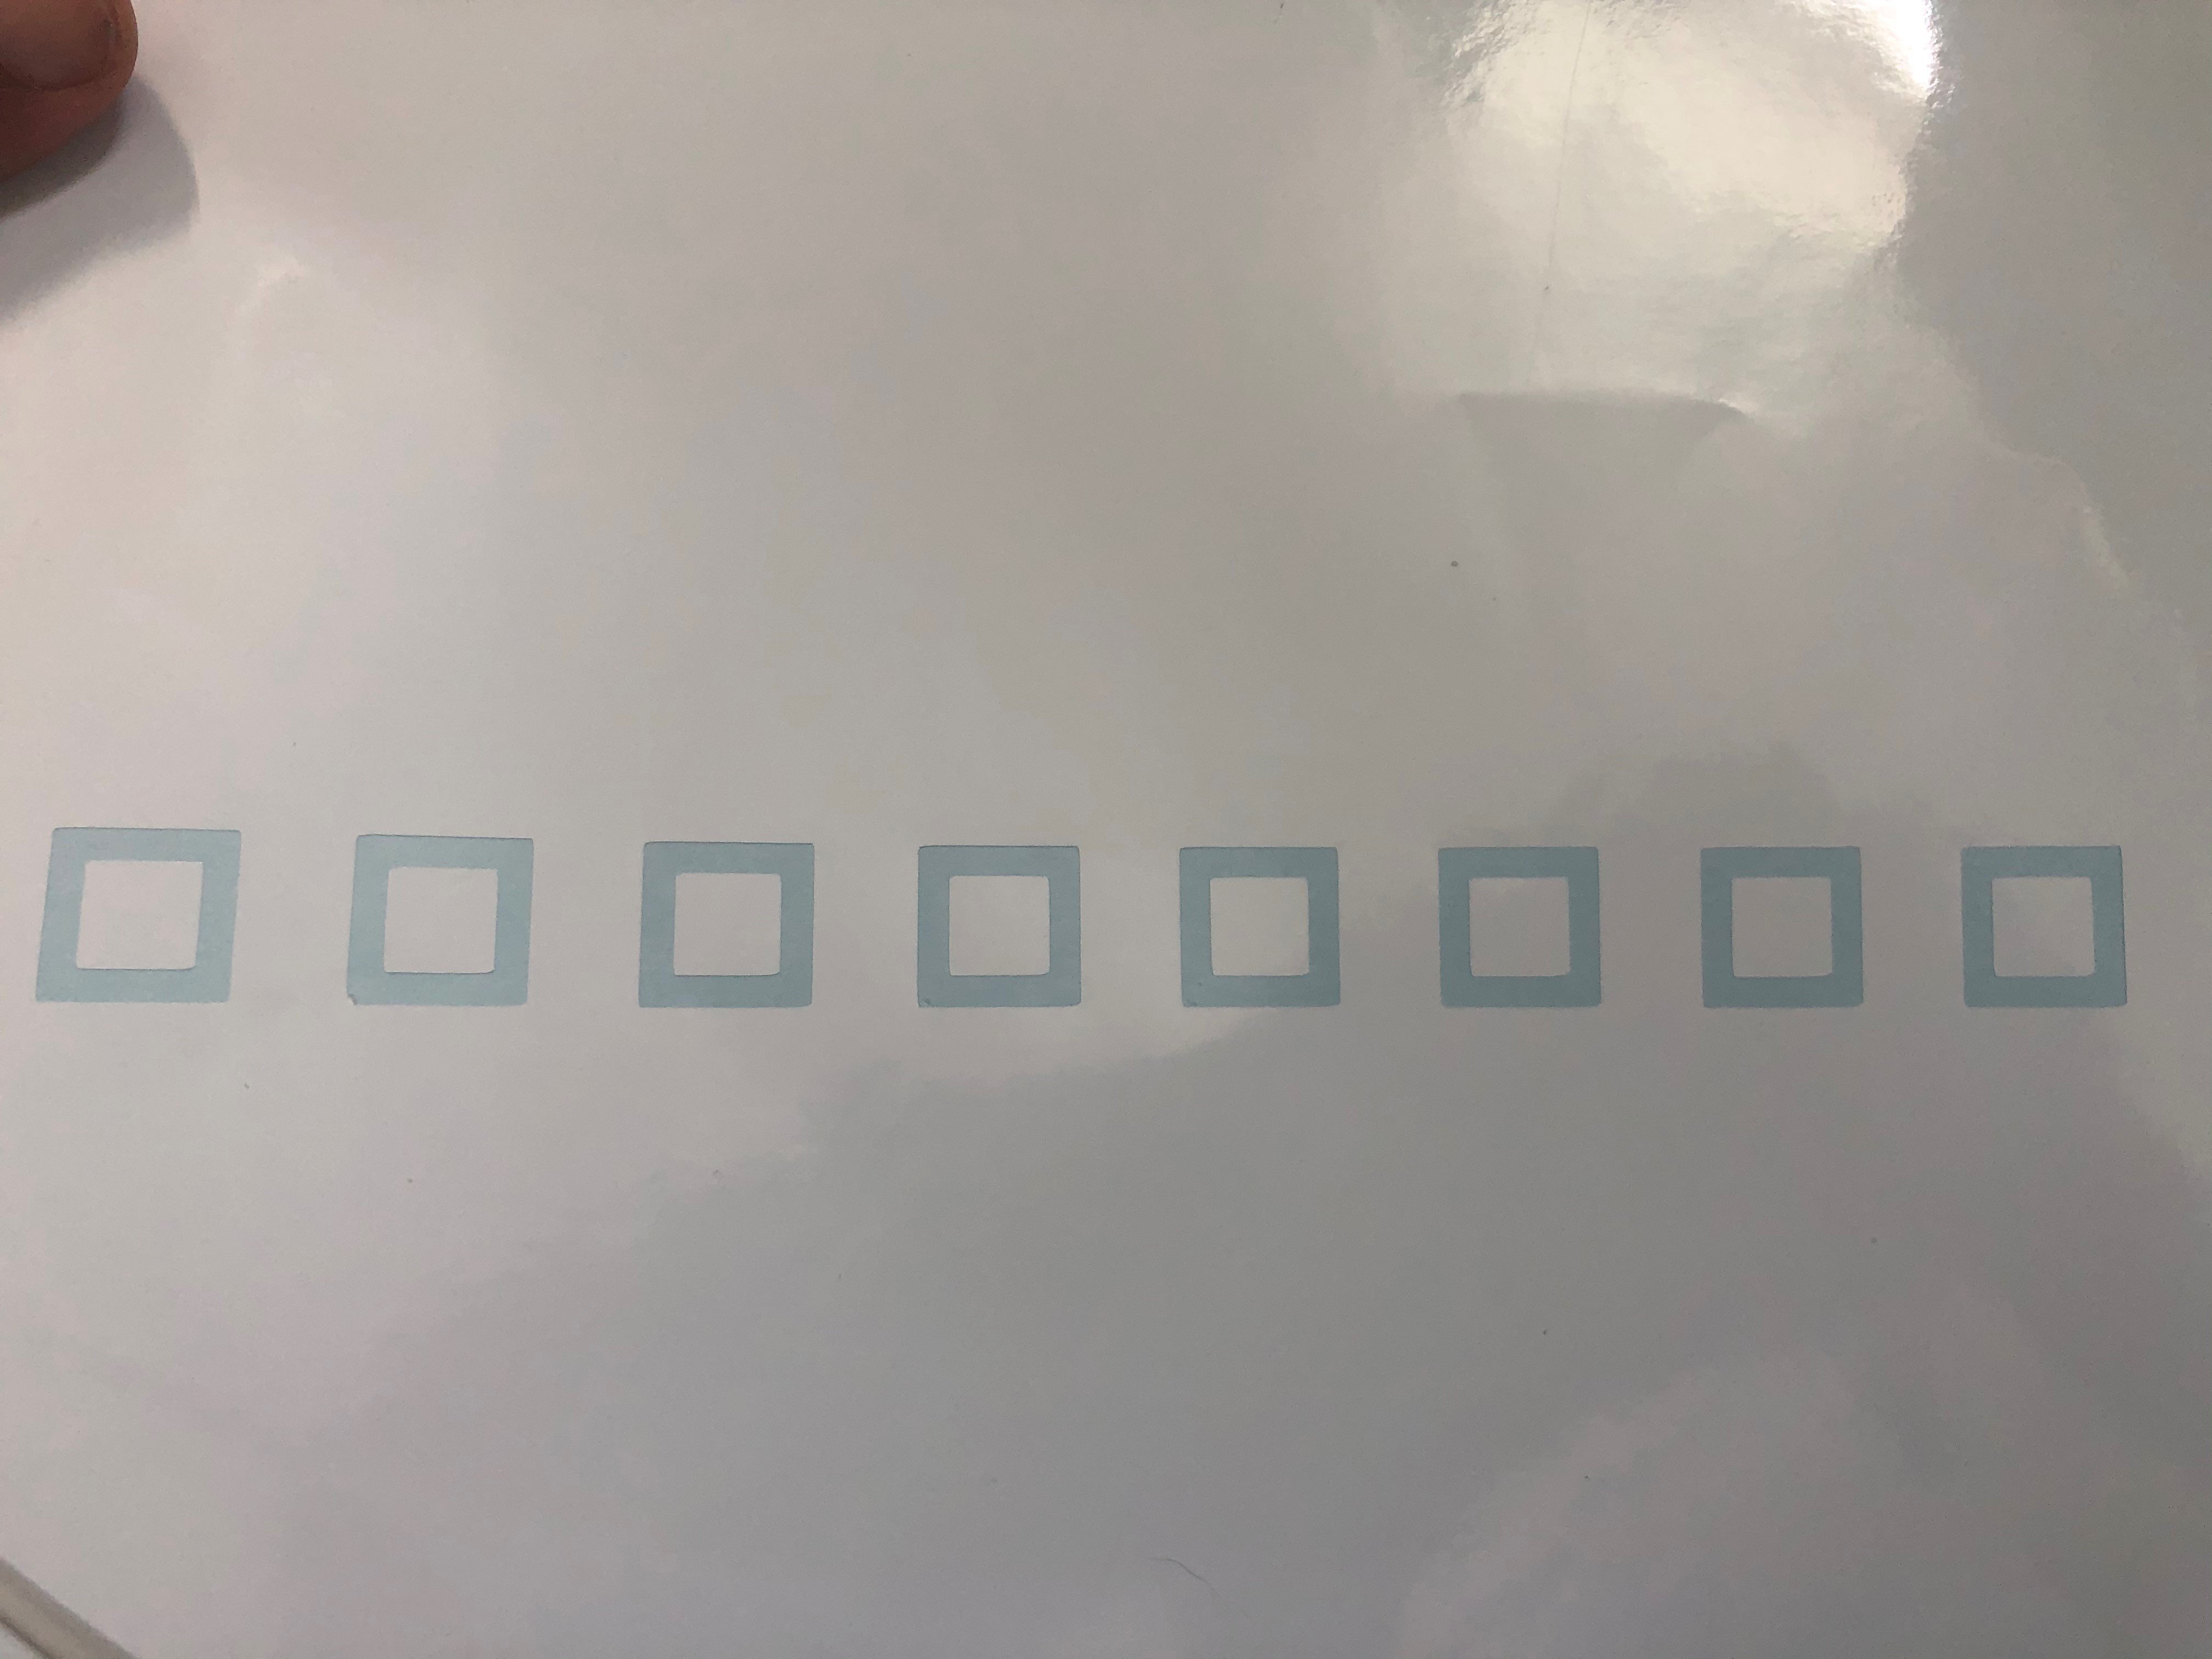
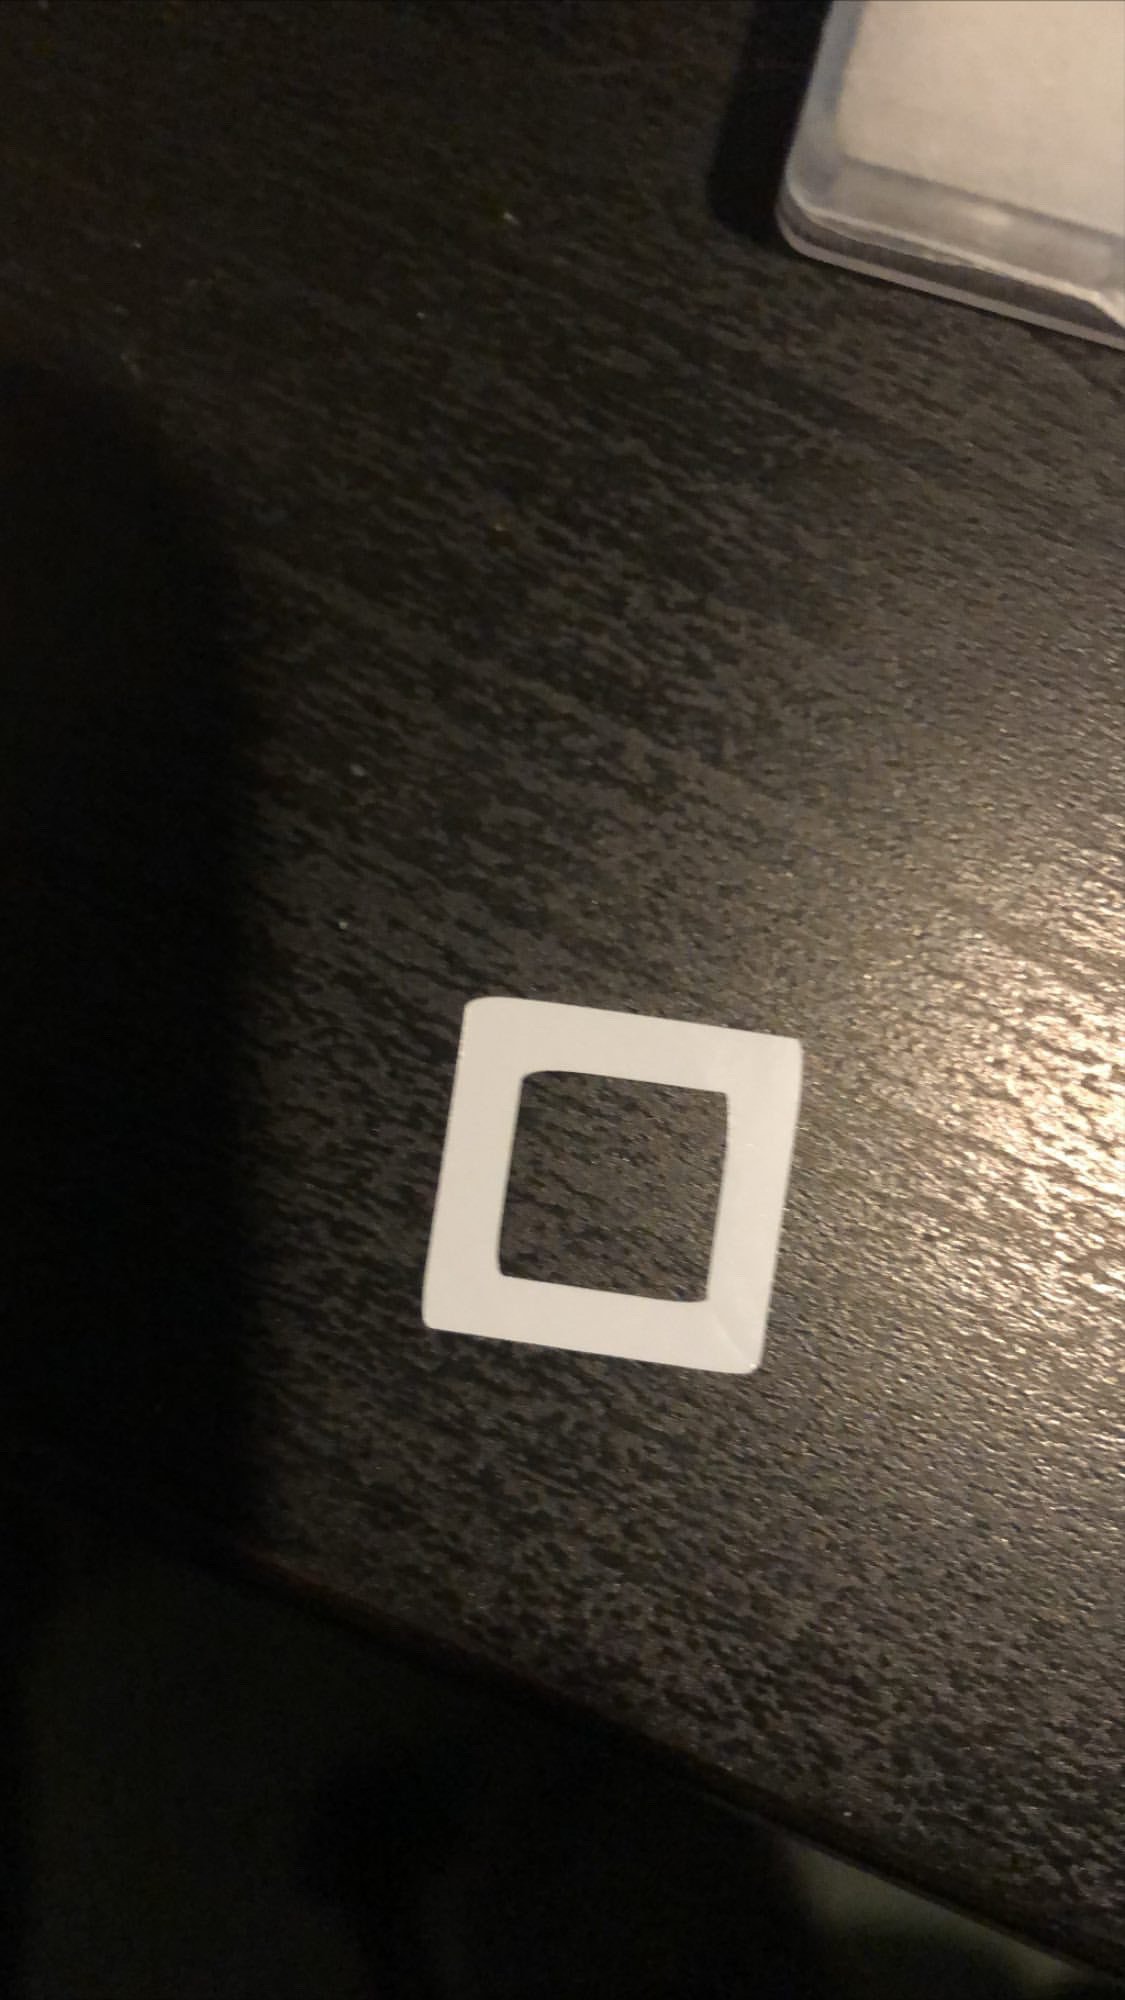
Managed to get my offset actually changing by deleting to reset the signcut folders in my appdata ,
far right is 1mm and middle .24mm -and left is .118