

kainth.c.s
-
Content Count
297 -
Joined
-
Last visited
-
Days Won
8
Posts posted by kainth.c.s
-
-
This please
in Fonts
The folks who do Graphic Design for logos aren't signmakers. They have no perspective on what is required to make a sign using cut-vinyl lettering. In their world, everything is Printed (or reproduced on websites) so Raster output is usually fine.
The worst are those clients who hand me a business card and say "Make my sign look like this"
Uh, no.
In this case, I would ask them for the file for the card or the font name. If not provided, I will disclose them of charging a designing fee which is obiviously a bite into their wallet. I also tell them that it will be close but not exact. It automatically rolls the ball in their court
Believe me mate, it worked a couple of times with me and I ended up getting a proper file to start working with.
It is worse to work with such clients. I guess, you didn't have to deal with graphic designers and architects who are given the charge of producing the signage just because they designed the fascias and are thought to have ideas about signage and their mounting.
-
It depends on the actual dxf file. The truck is, they need to be imported woth the shapes joined as polylines and not exploded. It looks like the dxf you got came to you in the exploded state so when you imported it in VM, it tool a chunk off the main profule depending on the accuracy you selected on your VM sofrware.
Would you mind sharing your file here and I can have a look on the file for you??
I work with dxf all the times and use Flexi for the cutyer. Never had any problems.
Another thing I can think of is the AutoCAD version dxf file is saved as.
-
Hi everyone
Thanks for the suggestions
Slice & Dice! You're right, Mercury is theaccused
I posted the same query in some facebook groups as well. These are the responses I have got
https://www.facebook.com/groups/vinylcuttingforum/permalink/3461367504128165/?comment_id=3462051917393057¬if_id=1688156898613071¬if_t=feedback_reaction_generic&ref=notif
https://www.facebook.com/groups/327464755215909/posts/948663899762655/?comment_id=949064656389246¬if_id=1688146572524782¬if_t=group_comment
-
Hello everyone
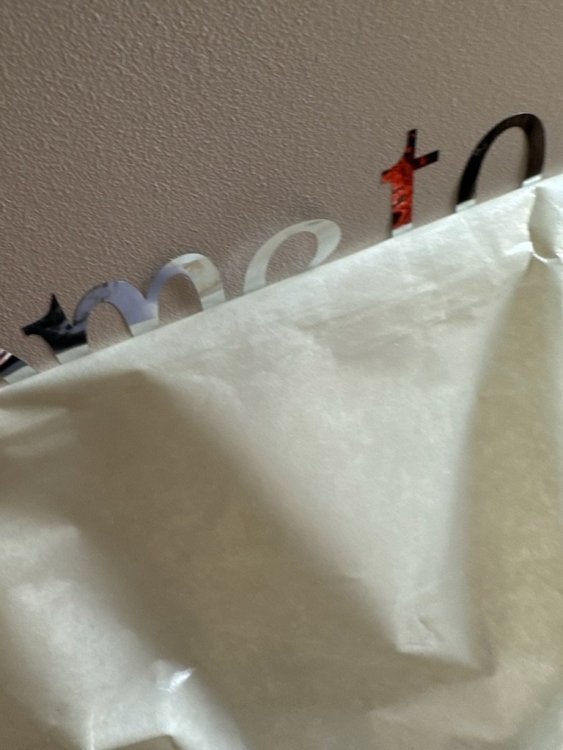
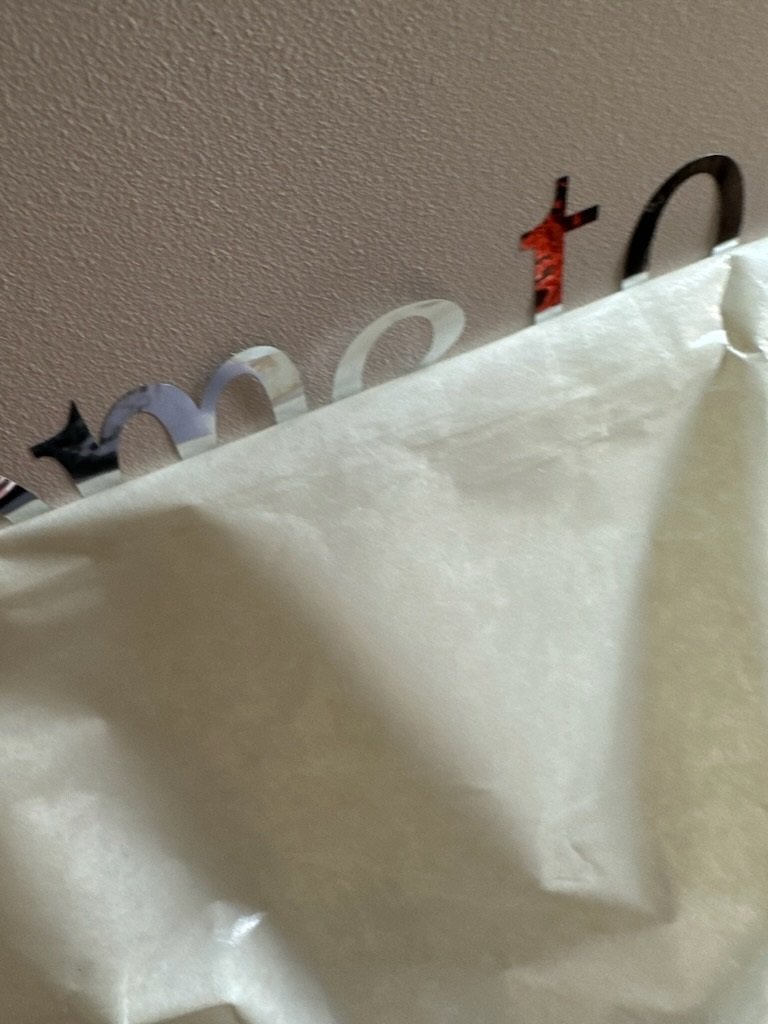
Just curious to enquire has anyone else faced the problem of decals not sticking to a painted surface in extremely cold weather?
Mercury here in Australia is dropping down to 2 to 4 deg celcius and I have some complaints from some people that Mirror Gold and Mirror Silver decals are coming off with the tape.
I have used low to medium tack tape (Politape 130) and the back board was painted a couple of weeks ago before the decals were being stuck.
Also, the decals were applied dry.
I tried the same stuff on the painted wall (as it had similar texture) and didn't have problems while putting it on
I am attaching some pictures for you to have a look on to. Please be mindful it is not an acrylic backdrop and the other colours on the same board got stuck seamlessly.
Any input will be highly appreciated

-
It seems like it has something to do with the feeding rollers, looks like the cutter is not coming back to the same position in case it goes off to another part of the sheet for cutting. Or it might be a static buildup. I use flexi sign for cutting and the way I was able to overcome this issue was restricting a margin of the sheet for cutting at once. I gave a value of 5 inches x 5 inches. So the machine cuts everything it can within that margin before moving to the next part.
See if you can work something out similar to this in your software
-
Obviously, you need to cover yourself up for some stuff ups as well. Please make sure that margin is included. If it is used up, you are covered, otherwise, you are more than free to either keep it with you as an extra margin for yourself or pass a bit of it to the customer in case you want to look after him because of he being with you for quite a while
-
I checked the earlier threads started by him. You're right. He has come multiple times with nearly similar logos and same sort of questions.
Pdf can't be used to cut directly but being in Portable Document Format (PDF), it is one of the lightest file to transfer data over internet. Signblazer does accept EPS files which can be made in Illustrator and many other programs easily.
-
Hate to say this, Kainth, but what you did there is not very useful, at all, from the standpoint of providing what was requested.
.pdf? How is that even cuttable? He wants an SBD file, which I could make in two minutes, but I won't.
In fact, I think this poster is just messing around with us, he was here with the exact same 'threepers' militia logo in 2020.
For the record, Three Percenters have a track record of criminal activity ranging from weapons violations to terrorist plots and attacks. (according to the ADL, the Jewish Anti-Defamation League).
He was given the exact information he needs to do his own cutting file.
If he can't manage it, that's his problem, not ours. -
Have a look at this. Simple shapes like Circle and the percentage symbol can be recreated. Also, the text can be typed on the path. You just need to tweak around with the helmet and the outline
-
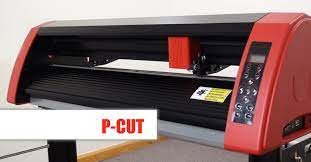
Hello everyone.
I own a Creation PCUT CTO630 as shown in the picture. I need to replace the cutting strip on the machine. I already flipped it and now it needs to be replaced.
My questions:
1. Is the cutting strip 8 mm in width and in teflon? Please confirm if anyone has the cutter or has done it.
2. Will any 8 mm Cutting strip fit on to the cutter or it needs to have a certain profile?
3. If it needs to have a certain profile, wherein I can buy it from? Any ebay link will do.
Thanks in advance
-
Your machine will cut exactly what you feed into it. In this case, your best bet would be to pass the profile through a third party software which can smoothen the jagged edges.
If you feel good, you can share the file here, I will give it a shot
-
Bummer stickers?????
-
Quite possibly as slice and dice mentioned, optical sensor might have malfunctioned or may be the cause of static buildup due to movement of PVC Vinyl that might have caused the tracker to malfunction. As skeeter said, the best suited answer will come from their tech support of forum
-
 1
1
-
-
Alternatively, hit out at free font site, look for decorative fonts or spooky fonts and type the text in the search bar just above the list. It will show you how the text you entered looks in the font
-
-
May be a picture of the signage will help (including the boards). Obviously, getting a new board in and putting the print.decals on it will be quickest and easiest way
-
1
-
-
My company was recently acquired. With that change, I need to change the signage. The vinyl has been on the sign for years, 10+.
I used soap and water and a scraper on one side. Few spots scraped up the aluminum board and still a lot of residue left behind.
Any suggestions?
Any reason why you want to keep the old Aluminum board for the factory?
The only reason I can think of might be if the aluminum board is hard riveted to the warehouse walls
Use heat gun to warm it up and then peel it off. Make sure, it is just warmed up, not cooked as Aluminum will buckle under heat too. For the residue, dab a cloth in turpentine, rub over the board and leave it for about 10 mins.
For new substrate, give Maxmetal or Dibond (both trade names for Aluminum Composite panel) used for Cladding a try
-
Thanks for the advise Kainth, I got a couple holders blue and red from cleancut on my first order of blades, I'll try out the new holder and see if that helps, the original blue graphtec seems good and not loose, I cleaned and lubed with a light oil too. So it's ok to adjust the offset, I thought Skeeter had said to leave it at zero? Or is that just a starting point to fine tune from there.
You need to figure out what is the standard blade holder shape and size that comes with your plotter from the manufacturer. The holders you have may be the aftermarket ones and you need to play around with the settings and exposure to get your cut right. I own a creation PCUT CT630 (Imitation machine from China) which came with a black plastic blade holder of 28 mm Overall length. However, there were some Aluminum blade holders corresponding to the same shape but with 27.5 mm Overall length. This .5 mm difference made the holder to work fine by exposing the blade a bit more and adjusting the pressure. Sometimes you need to do these tricks with the aftermarket blades. With the pictures you have posted, these results come up with the offset issue. Give it a shot mate. If it doesn't work out, then you can bring back the offset to zero and look for some other cause
-
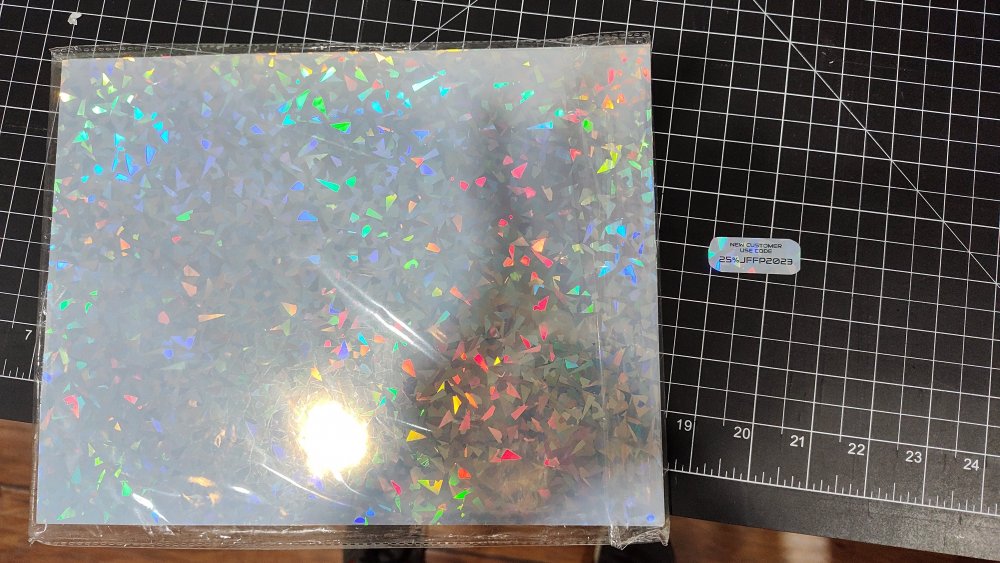
Yeah, I didn't think it was relevant at first, my friend had gotten it and only ran it about a month before moving on from it, he was wanting to use it for his side tint gig where he cuts the tint by hand on the windows but I guess it was too much for him to learn. I don't even do vinyl but I do photo prints, this model was recommended for cutting out photo prints on paper with a software called Imageprint red and cut it out add on software that automatically nests photos and creates cut lines, reg marks and barcodes. It does very well with that as it cuts on the channel and not the strip in condition 3 and I do a perforated cut, but I wanted to learn more of how to cut other materials as I was having a hard time to cut stickers accurately to add a coupon code to my business cards, it's a holographic material and having a hard time to read the marks on it, I've come up with a solution I haven't tried yet though as I'll try mounting the 8x10" holographic sticker paper centered to a 13x19" white cardstock paper I can print the reg marks and barcode on, I figure I can do the layout in Illustrator. Pic is the sticker paper and what I'm looking to cut out on right, that one I just cut out by hand real quick that's why it's not smooth, but that's the idea. Thanks for your help Skeeter! I guess I'm going to hold off more testing on this until I get the new strip and blades.
So, being a second hand machine, you will be clueless about how it had been handled in the past. A good choice will be to replace the blade holder as well as the bearing inside it might be playing up. Keep adjusting the blade offsets as well till you get nice crisp corners
-
Quite possible, it might be the vinyl itself. Either it might have gone post its shelf life or exposed to heat or sunlight making it hard to score using vinyl cutter.
-
1
-
-
I don't know vinylmaster but this is how I did it in Illustrator.
You select everything, then you go to the Shape builder tool then select the area on either side of the curves. It will make the wireframe into three separate shapes
-
Summa D series are old & reliable machines. What I remember from the top of my head are these are one of the few machines along with Creation and Graphtec which have 0.6 inch blades to fit in their holders, rest all have 0.8 largely to suit Roland type Blades and holders. Great in reliability but you need to remember they might have stepper motors for the blade carriage and rollers which are very likely to develop positioning errors over the time. The extent of the errors depends on how roughly the machine has been handled in the past. Give it a shot and it would tell you itself. You need to go slower with these machines and they will look after you. I have a imitation of Creation PCUT CT630 for the last 8 years. Never had an issue except a few positioning errors which are pretty much obviuous keeping in mind the age and the usage of the machine
-
1
-
-
See the information on the right. It seems it has 3 different nodes/curve. What I believe from the screenshot are it is separate for the body, separate for the legs and separate for the curved joiners. I may be wrong, but we need to have a look at the actual file to suggest what is the issue. Any chance you can share it, then we can have a look if it suits you
-
I’ve adjusted speed, pressure and blade a bunch of times and I’m not sure what else to do.
A few pieces of my decal keep wanting to come with the bigger piece of vinyl.
I’m using 651, it happens on different designs.
Please share a photo of the artwork and a zoomed in cutting line done on the vinyl. Also, I guess it may be beacuse your cuts may not be closing properly. A zoomed in image of the cutting line done for a small shape will clarify


Laserpoint 53" and VinylMaster Cut v4.3 intermittent cut problem
in LaserPoint Cutting Plotter Discussion
Posted
What type of connection port it is? USB or Serial. My machine used to do the same thing until I switched it to the serial RS232 9 pin port. If you happen to have that port on your machine, give it a shot.
Morever, if you think it is right, you can share the file so someone can look for hidden layers and objects. Also, when the cutter is in operation, get someone to stay near the cutter and listen to some abnormal noise it might make before messing up.