

Turtlemechanic
-
Content Count
36 -
Joined
-
Last visited
-
Days Won
1
Posts posted by Turtlemechanic
-
-
Okay,makes since now.
I removed the rubber feet all together
Should I put tem back on to isolate vibrations etc.
And I am putting a wire frm lug to self tapper in frame also.
This makes more since with rubber feet attatched

-
I thought that I was trying to control surface buildup of static electricity?
Since all pcs are Powder coated that means all powder coat would have to come off on all joints before assy. to give the whole frame a good ground.
as assembled the grounding your getting is strictly from P/C removed by threads and the bottom of the screws as they are tightened down
Static electricity follows outside the powder coated frame right?
So exactly what are we trying to accomplish with grounding?
-
I wasn't expecting this to be a pic by pic tutotial...so I will take it apart and redo some pics this weekend and edit it.

I hope this doesn't come across wrong....When I attatched the plotter to the stand I used 4 screws into the same surface that the ground lug uses so I have 4 ground connections to the stand correct?
-
get all 4 started before tightening down
now you'll have 2 legs done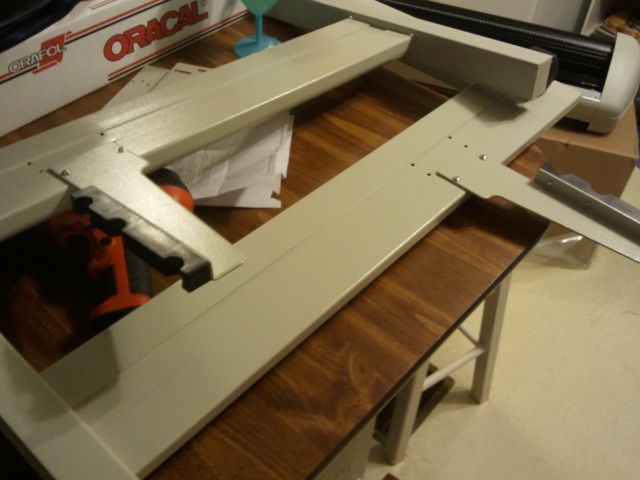
now lets put the cross beam in place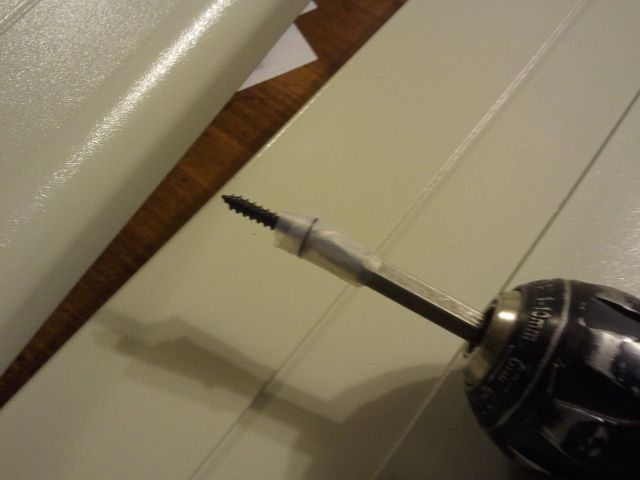
it helps to tape the screws to a bit before trying to get them into the sides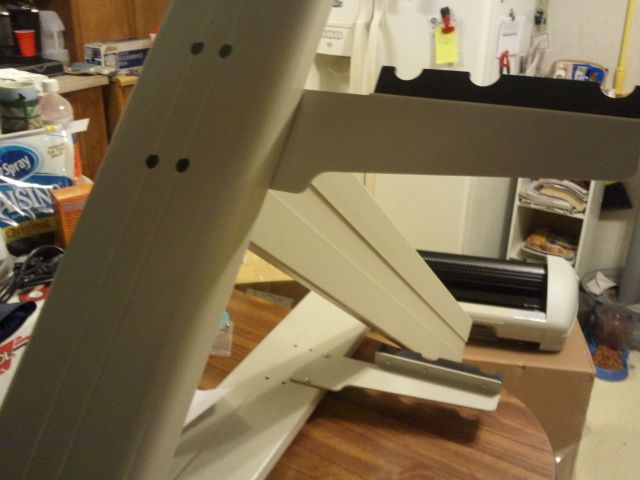
do otherside and walla
mount the roller mounts towards the back of stand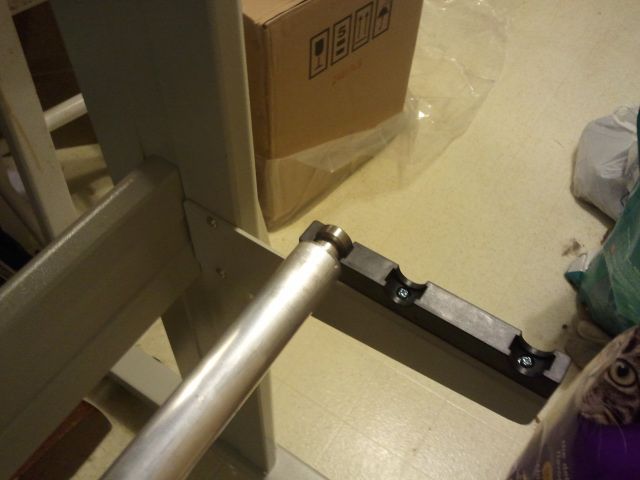
I had to redo these since the first time they went on back wards...no big deal roller lines up now.
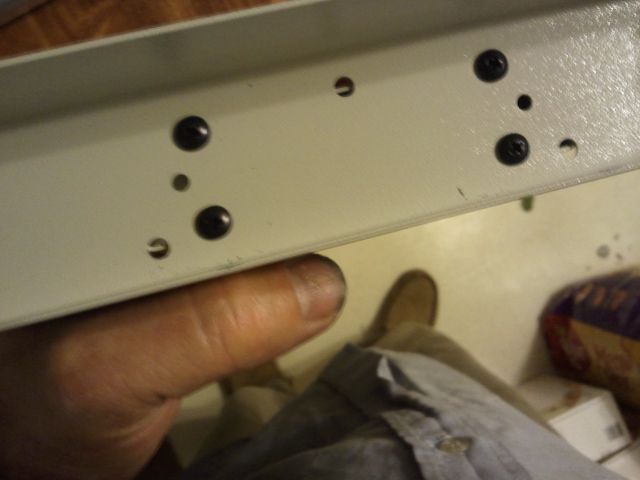
next was to mount the plotter/cutterremove the 4 rubber feet (save screws for reinstall)
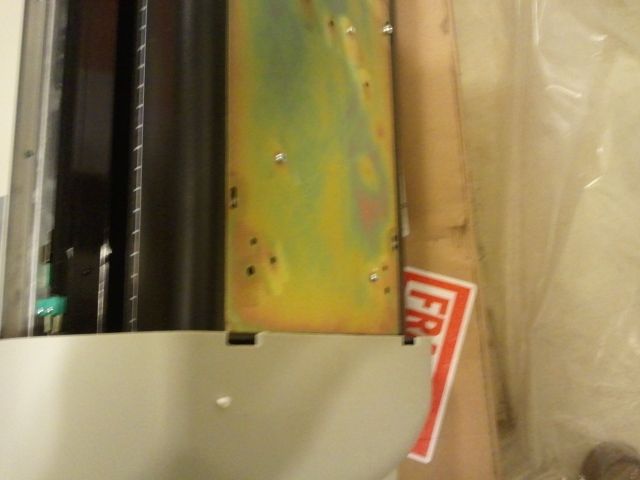
notice same screw holes as before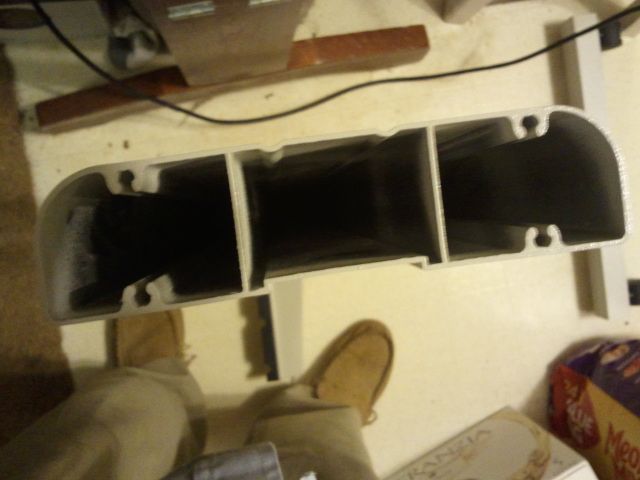
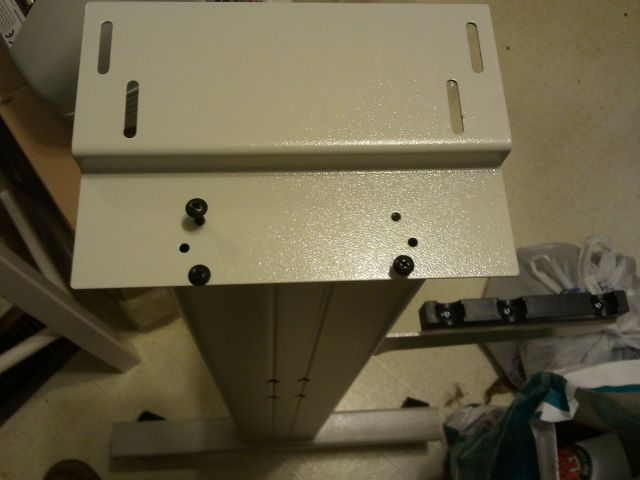
mount both plates to top of leg up rights
and set plotter on top and reinstall screws from rubber feet into holes that feet came off of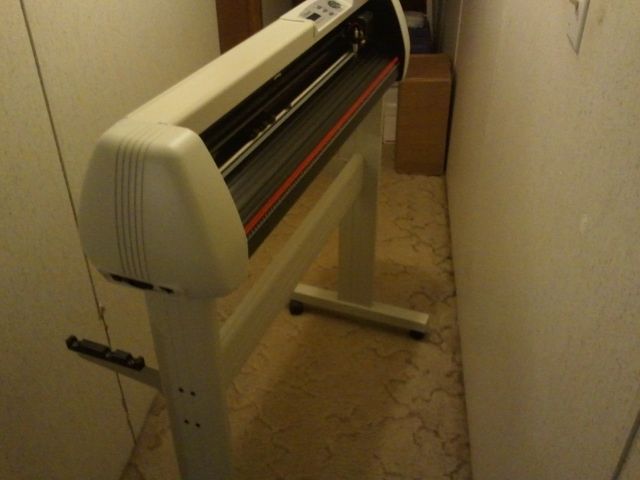
next
-
 1
1
-
-
Not sure if this will help someone or not,it was knda fun to do
.
.
.
I recieved my 34 SC cutter yesterday evening (I ordered on tue)
Very good job with packing
After labels where stuck on the box,they wrapped it in very heavy plastic and banded it,they even
folded the ends down so water would run off and not in!
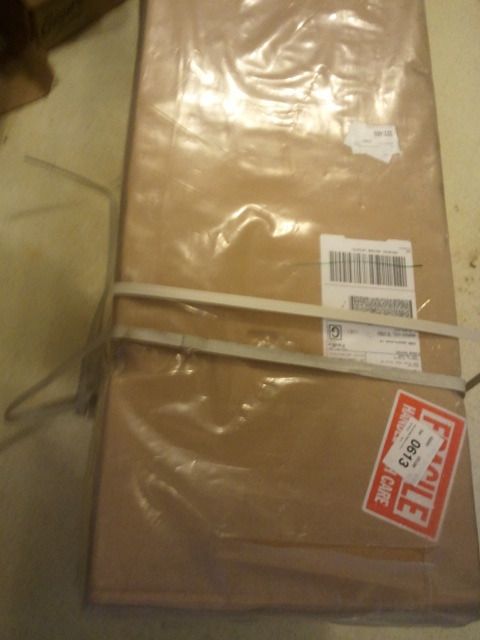
Very good job with packing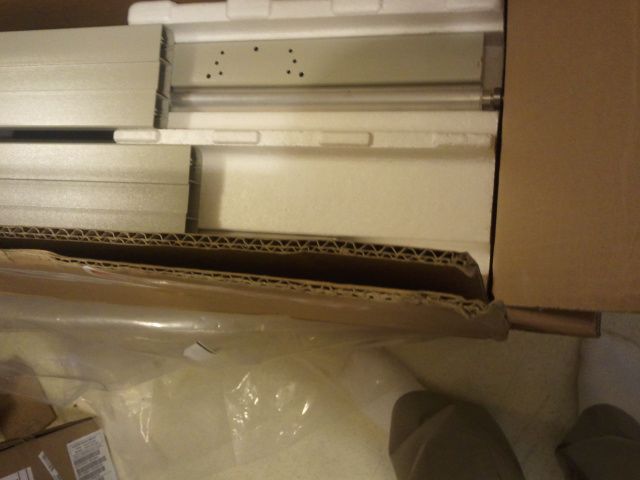
So I unpacked it and was upset that there wasn't an assembly sheet included,I really wanted to readthe 2nd grade chinese Spanglish everyone talks about...oh well
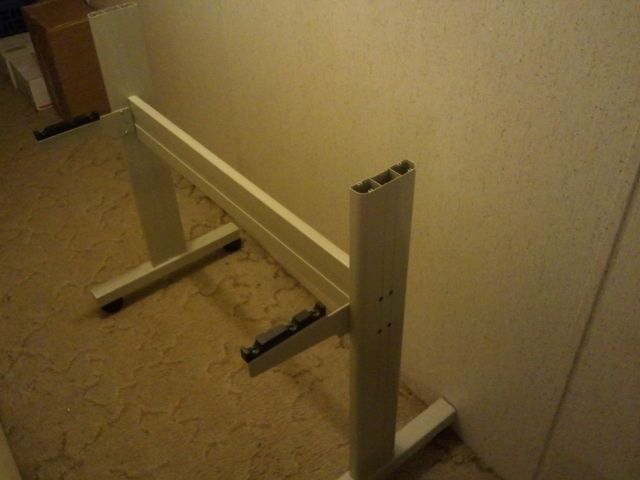
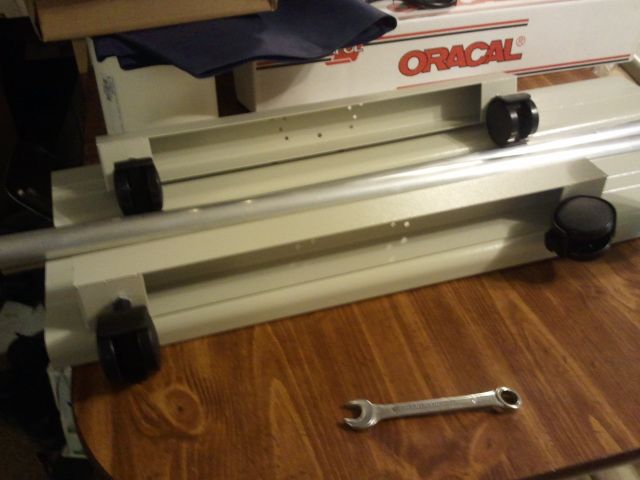
I laid all the parts out and they all looked like they were there so I proceed to assemble

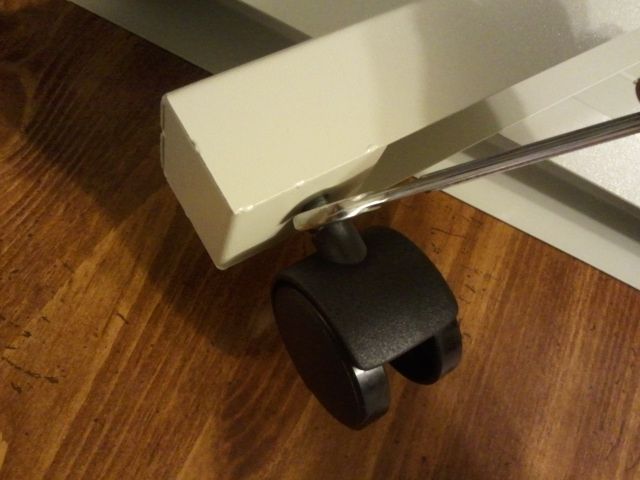
First casters, easy with a 1/2 wrench,notice the holes are tapped after welding nuts so no problems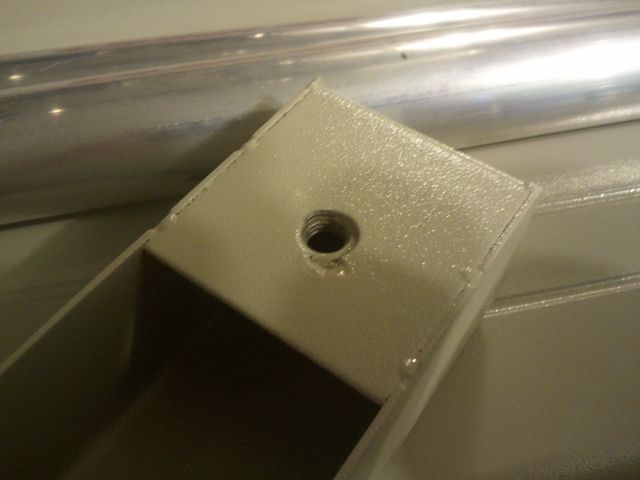
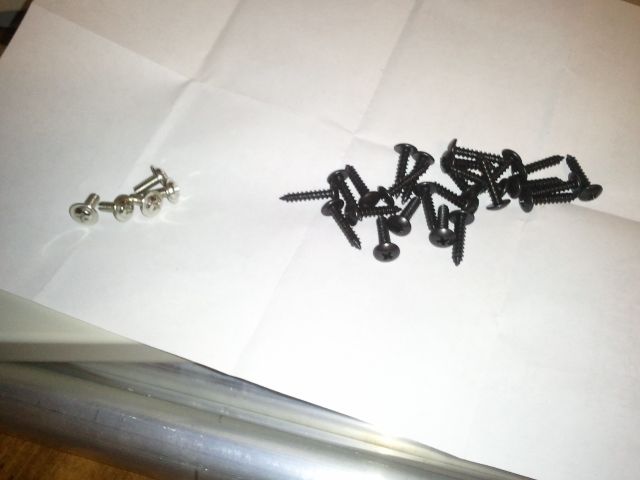
laid out the screws 4 machine screws for the roller mounts and the rest self tappers
notice end of extruded tubes have 4 "grooves for screws to thread into
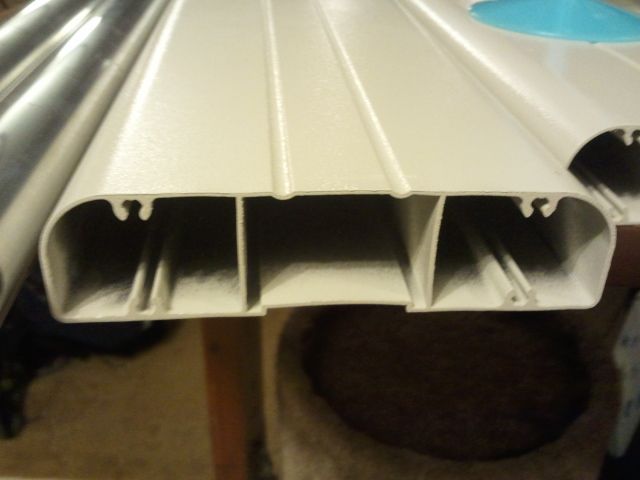
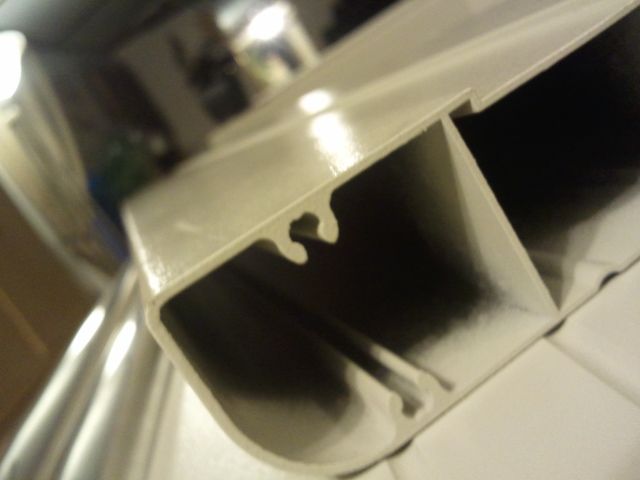
they line up with 4 holes in caster plates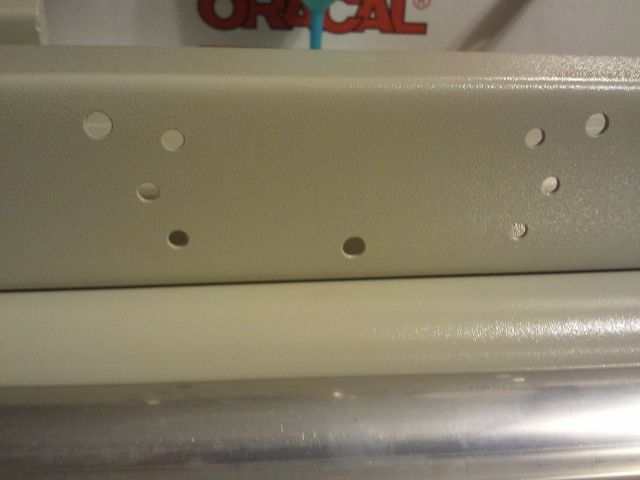
-
Shouldn't there be a tank frontal shot under those crossed sabers...wink
-
grabbed them thanks
-
Thank you Slice n Dice!
-
I am waiting for my SC cutter to show up, tracking says out for delivery at 6:34 am.
Will I have to install all updates or just version 3.042 (or latest)?
TIA
34in SC assemble with no manual
in Instructional Contributions
Posted
I first tested them by flashlight and calipers,then threaded in by hand...no clearance issues.
And thankyou for links,I actually have read a lot in 2weeks before purchase and printed those posts you made for reference last week :smile:
I am going to stay with no rubber feet since we removed them years ago frm our plotters at work.
They print smoother w/o them the head,base and stand would vibrate differently with them installed.
Thank you for words of advice
I picked up a serial card today on the way home from work.