

eprcvinyls
-
Content Count
384 -
Joined
-
Last visited
-
Days Won
3
Posts posted by eprcvinyls
-
-
7 hours ago, Dakotagrafx said:put the app tape on your table sticky side up and then apply the vinyl to that - much easier
I do it that way sometimes. just depends what it is.
-
Okay so are even the cheaper Digital temp presses better then a old analog on? i seem to cant get this old one of my dads to keep the temp where i need it and its small 9x12 so limits what i can do.
i want to buy one but again can't afford $300 or more for one like to find one around $150 found loads on ebay but not sure any good. any brands I should stay away from thanks
-
maybe be sure to start the tape in center and work out? i never had mine curl up like your staying what tape you using? i use medium right now its the paper kind ive got clear on order if it ever shows up
-
Thanks, Well I put the brown /teflon paper on the bottom of the heat press and pressed the front image on both shirts they both look great. maybe i should get another teflon sheet to go on the inside of the shirt also.
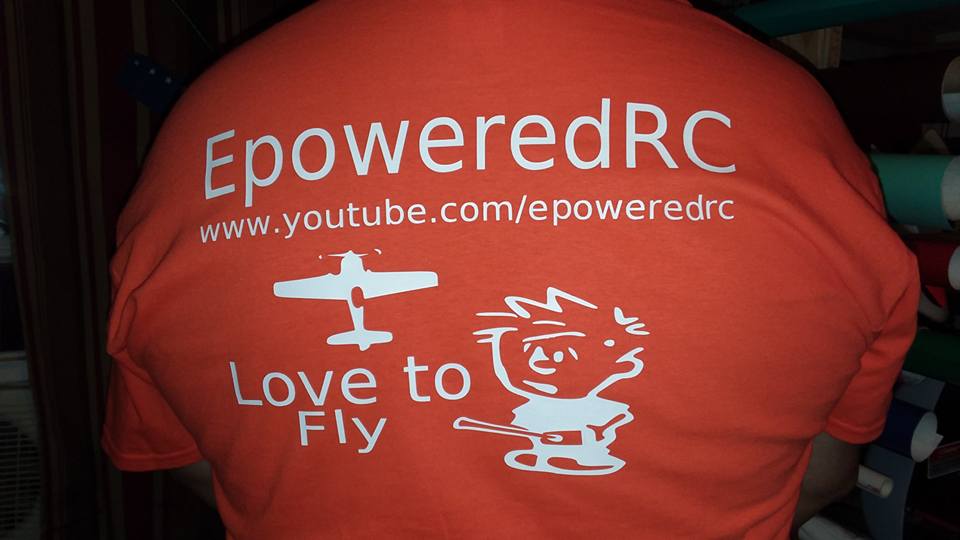
This is my shirt. I fly Radio control planes. I have the big logo on the side of my truck it turned out nice.

-
3 hours ago, dcbevins said:Ideally you want to thread the shirt onto the press so only one side gets heat at a time. If you can't for some reason, something in the middle of the shirt might help like a teflon sheet.

Thank you for the reply, Ive got the back of both shirts finished. the logo on the back is full size 9 inches tall by 12 wide. the thing on the front would just be the name on the left size then her shirt she wants a Pocket sized image put on it.. i'm suppose to use the teflon sheet on top right? is that same as the heat cover sheet i got sorry still learning names of all this stuff
-
Thanks, sorry not been on much lately lots been going on.
-
I never thought about this but as im making a t shirt for my wifes sister. i say you want it on front or back then she goes oh back then we can put something else on the front? i say yes but not sure about this do i need let the shirt completely cool off before doing the other. or need to do close same time as i do the back then flip right on over and do the front or what Do i need lay the shirt one something besides the press to do this please thank you
-
11 hours ago, darcshadow said:Some cutting software has settings that will add extra cuts like this automatically to make weeding easier.
Yeah, one of mine did it but i forget what I turned on to make it split them in the center
-
8 hours ago, Sue2 said:Good job...are they spelled right?
Checking spelling is actually step 2 after creating the file

It wasn't that hard now was it?
If not then the grandmother doesn't know there names i sent her every file i made to make sure she liked them and was happy.
8 hours ago, darcshadow said:I know that is what was asked for, but to me, that looks like it might be a bit on the wide side and the names will be wrapping around to the sides when the shirt is worn.
For your own personal experience, ask for a photo of the kids wearing them so you can get a feel for how something looks laying flat, vs how it looks while worn.
That makes sense.. Never thought about that so this should been maybe 9-10 inches long.
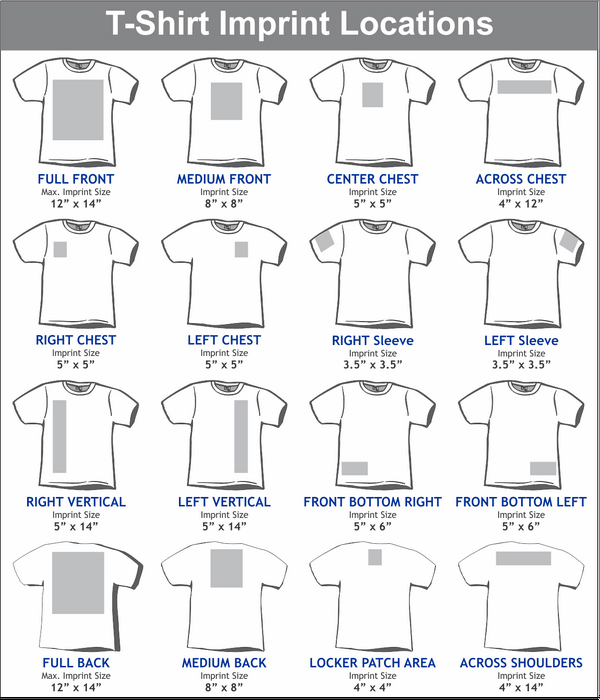
7 hours ago, Sue2 said:I keep a copy of this chart by the heat press to help with size & placement.
Sue2
 4 hours ago, mfatty500 said:
Way to wide for a 4T
That you all, its what the customer wants... I'm not to try to tell them different.. Thanks for the chart i will keep that handy
-
 1
1
-
-
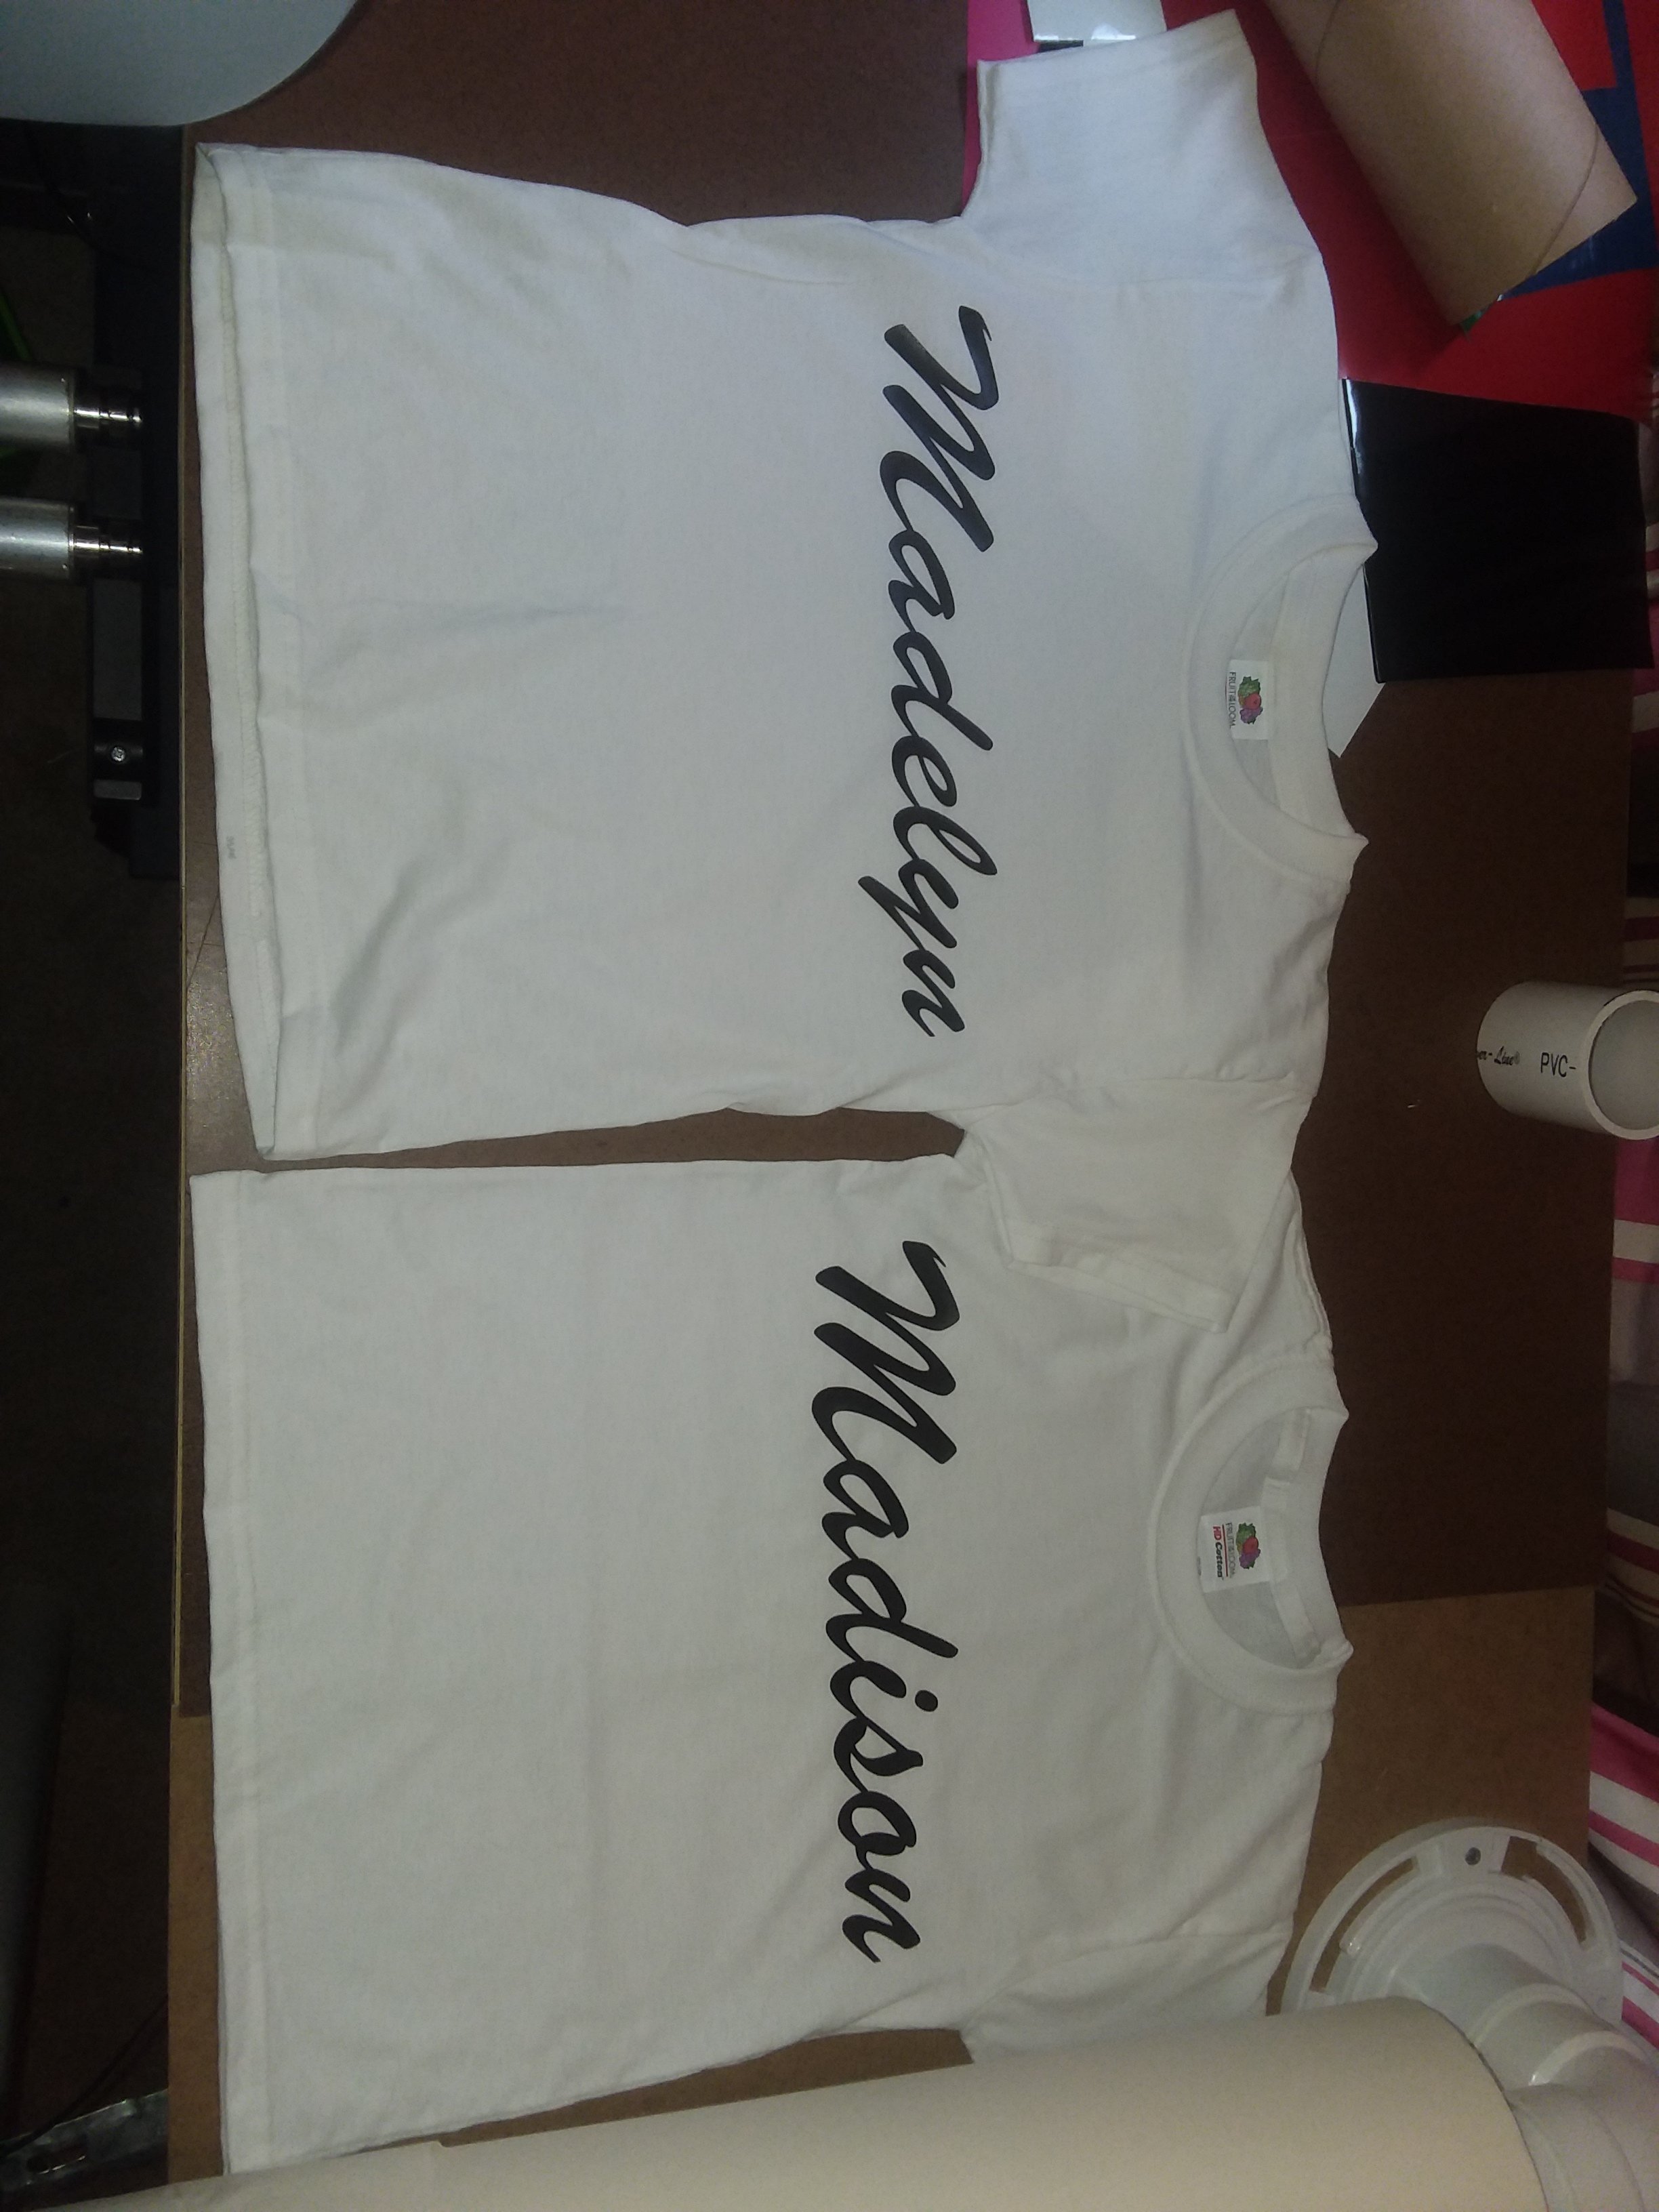
Well I did it, My first 2 shirts are complete.

-
3
-
-
3 hours ago, Wildgoose said:Just a tip from one who does a lot of shirts. Size is deceptive. I still to this day print out a full sized paper copy of what I plan to put on a shirt to see if I have guessed the size about right. I am often scaling up or down because what I thought would be about right was way too large or way too small for the size of shirt or the particular application. 11 wide sounds really big for a 4T kids shirt.
Thanks, yeah I did do that one thing i like about VM is you can print straight from it to my Printer. Well she wanted it all way across the front.
okay so i just cut the first name and it was trying to buckle up some when it went to do the box around the words it got bad wrinkled up.. my machine is on 100 I bumped it from 93 to103 force cause the first test cut didn't cut clean lines
-
-
i don't know why I am so nervous about making a shirt. I guess cause I don't have much HTV. and well the shirt i want to put on only have one.. I need to practice but really didn't buy enough HTV to practice. im just making two names 2.5 inches tall and 11 inches long.. not tiny but not huge i guess either these are going on 4T white shirts for a friends granddaughters. I didn't expect to get a order already.
all i have to do before cut is tell it to Mirror correct?
get the heat press hot.. i can do a pre heat the shirt for couple secs right to get out wrinkles.
then just put the HTV on the shirt where i want it to be. then put the cover sheet back on top and press for 10-15 secs @305f degrees
Then peel the top off and yoru finished..
did i miss anything, any tips? A video i watched the guy sat the HTV on top of the bottom of the heat press to help weed it easier.
-
3 hours ago, jmas said:That's also a good idea for large designs that aren't gong to lift. If you're halfway through peeling a 10 ft design, it's not very easy to keep that 5 ft of sticky vinyl away from everything. Heck, that's sometimes true even for a 2x2 ft design.
Yeah, i did a 12"X12"yesterday but it had lots of stuff on it so cutting away each word and the pic helped.
-
okay so i was working from a picture a friend gave me yesterday, i vetroized it and it looked good but the color was black and white to start with so trying to cut by color wouldnt work.
i guess it wouldn't pick out the light black and light white anyhow the image was a castle with a design in the center.I ended up cutting a white and black of the whole image just to get the inside piece out to put it in the white image is there a way in the soft ware to be able to like draw a box around the inside image just select it and cut just that image? hope this makes sense. this isn't the first time i wish i could do this..
-
Thanks everyone, well i found one trick yesterday, if i have something with multiple words I just barly cut the vinyl between each word and i id one word at a time it worked much better for me. I am sure more i do it better faster i will get
-
4 hours ago, darcshadow said:I'm not clear what you were doing with the packing tape, but in regards to sticking vinyl back onto the backing paper, yeah, that will never stick as well as before. The idea of the backing paper is that vinyl doesn't stick to it.
I have had to do as you describe though, messed up a small part of a design so rather than cut the whole design just cut what I need. So long as you're not waving the backing paper around after you lay the vinyl on it, the vinyl should stay put well enough to get your transfer tape applied.
I've actually built multi colored decals like that. I cut the entire design in one color, weeded out everything except that color, then cut the other colored parts and using the slight impression left on the backing paper from the first cut used them to line up the other pieces. This way I was able to get a multi color design that was a uniform thickness.
I just put it on the back of the new cut and used the whole sheet i cut out to tape to the existing cut i had to redo. hope that makes since
-
Okay, Im not sure if i am the only one who sometimes in weeding there vinyl they just cut that sometimes letters peel up and just dont want to stay down or couple times i didn't even realize i was peeing up some of my letters or words.so i have just been re cutting what is needed but when we go to peel it off the new cut and place it on the original cutting sometimes they just refuse to stick to it, is there something i can do to make it stick?
i cut out the other day a Red Dawg for my truck ( My old CB handle) and the Red and D did great but the W in awg messed up so i just re cut the whole AWG cause the font i had they were connected together. but with it i just cut it way down and took some clear packing tape folded it over itself and stuck to the vinyl backing lined it up then put the transfer tape over the whole thing that worked out really good doing it like that but lots of time it just be a single letter in a word or something.
any advice. besides being sure that when weeding all letters stay down.. not sure why some weed really good and others don't.
Thanks
-
4 hours ago, darcshadow said:The blade offset is to account for the fact that the point of the blade is not actually in the center of the holder. To test if an adjustment is needed cut a a simple square, look closely at the corners and compare them to the image below.

Overcut is how far past the start top point the blade will travel when completing a cut. The value cutters will not always complete a cut, the overcut setting compensates for this by traveling the specified distance extra to ensure that the start and stop points meet or overlap.

Advance after plot is a nice option, it simply advances the vinyl out so that you can easily cut it off. Not sure about the SC, but I know the MH when it does this, the origin does not change. So unless you reset the origin the cutter will back up the vinyl, and since you've cut it off, the vinyl will fall out of the machine and the blade will cut into the cutting strip.
Thank you for the examples
-
12 hours ago, haumana said:I have an original LP and buzz at 60, 40 for the smaller stuff.
What kind of settings do you think you need to change in VM?
Im not sure, just the boxes you can check and the numbers the Blade offset default its on 0.20 and the overcut is 2.00 blade type:drag knife 45degree advanced after plot.... i really not sure what any of that is im using the red blade that came with the machine.
-
4 hours ago, Bridgewater Embrdoiery said:I have an SC. I set my speed to 700 and cut at 60g. I haven't had any issues using a 45 degree knife.
WOW you run it that fast w/o issues.. Ive got my SC2 at 100 speed and about 92 force. im new but seems okay. im wondering for me if there any settings inside the VM i should change.
-
19 hours ago, VinylMaster said:There is an issue with tracing white in certain artwork in the current build (it is not the previous builds), which is being fixed and will be in the next update which is expected to release next week.
I think i finally got it to work, not tried to cut it yet but looked right on the screen.
-
1
-
-
4 hours ago, bikemike said:Consistently an inch? You did the roll back and forward thing?
You have to get the pen in there and play around a lot! That is really bad tracking. Play, play and then play some more. You will get it, but it takes time to get it right.
anything Small it does great but anything longer then 10 inches it does funny things. and I guess I will forget using my scrapes with this thing guess i break down buy the wife a Silhouette and let her use my scraps this thing makes those things twist and turn really bad.
i stuck a 3 foot roll on and it looked straight i now know how to make it feed so feed whole thing and it went over that whole inch.. i backed it back and moved it around tried again it was a little better but still off about half a inch going the whole 3 foot.. my rolls are to short to stay on the rollers tho maybe that is some of it?
-
Me too.... It was warm today 70 but threatening rain and it did rain some while i was out cutting trees with my new chain saw and was trying its best to rain. i think cold is coming again.
Nice bike, most my Cousins and have a uncle that rides
How can i get these designs out of this picture?
in General discussion
Posted
Okay, I posted in another post about something else and no one replied so making one for just this issue.. This is something a friend wants on his truck but were having issues finding Puzzle piece vinyl long enough needs to be 6 foot x 24 inch wide. anyhow how can i get the 2 designs out of this picture so i can vectorize just the 2 different ones? I need the Zig zag that is purple to do it in purple then i need the puzzle piece one by itself. Im using SCAL and Vinylmaster, i can use inkscrape if someone explains how to do it.
Thanks