

stokedgraphics
-
Content Count
56 -
Joined
-
Last visited
Posts posted by stokedgraphics
-
-
Thanks for posting! I just received my samples! I got reflective and printable vinyl. Now, is there a good way to cut down the rolls to a size I can use? I've got a chop saw, but no clue what type of blade to use...
-
Did you ever get an answer? I had this problem with the same cutter. Once I upgraded the memory and set up SignCut to do step cutting, no more problems. Aside from that, the only real static problem I've faced has been due to Siser EasyWeed heat press vinyl. Solution to static (only one that's worked) is to keep a dryer sheet near by. Always keep the machine OFF while loading any material. Wipe down all surfaces of the cutter before loading. If possible, cut what you need from the roll, if not, wipe the roll before loading. Make slower cuts and again, use "step cutting" in signcut. Not sure what it would be in any other software. Static killed the Z Chip in the first 3 months (winter) I had the machine.
-
Is this printer still available?
-
hi all
need a bit of help please
been trying for ages now to sort this file out but not doing very well.
what i need is to cut this so that the colour of the bike shows through it needs a good border if you know what i mean
i keep getting a very thin border which i dont think will stick to the bike
thanks in advance
stu
We're gonna need some more info on this. Are you wanting to layer the colors? When you say good border, are you going to use a laminate over the whole graphic? Where is the bike color going to show through?
If I were doing it, I would do a "path offset" of .25" on the white outline (delete the original path) and another offset on the black by .125" then stack the red on the black and the outlined path becomes the over-laminate to protect the whole graphic. Make sure to make registration marks corresponding to each color.
-
Man! That's an incredible idea! I've been pondering it for a while, with respect to the process and the materials. I had an idea for how to create re-usable stencils. Two options: Since everyone (assumably) has a vinyl cutter, you can cut mylar stencils. If you get a piece of sheet metal (ferrous) and use magnets (lots of little ones) glued to the top side of the template to hold everything down. Another option is to cut stencils out of magnetic sheeting with a metal platen. Just thinkin...
-
Okay, gonna hopefully try it today. I'll be using a test shirt that already has vinyl, but I won't be showing results, since it definitely won't be a show piece...
-
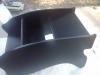
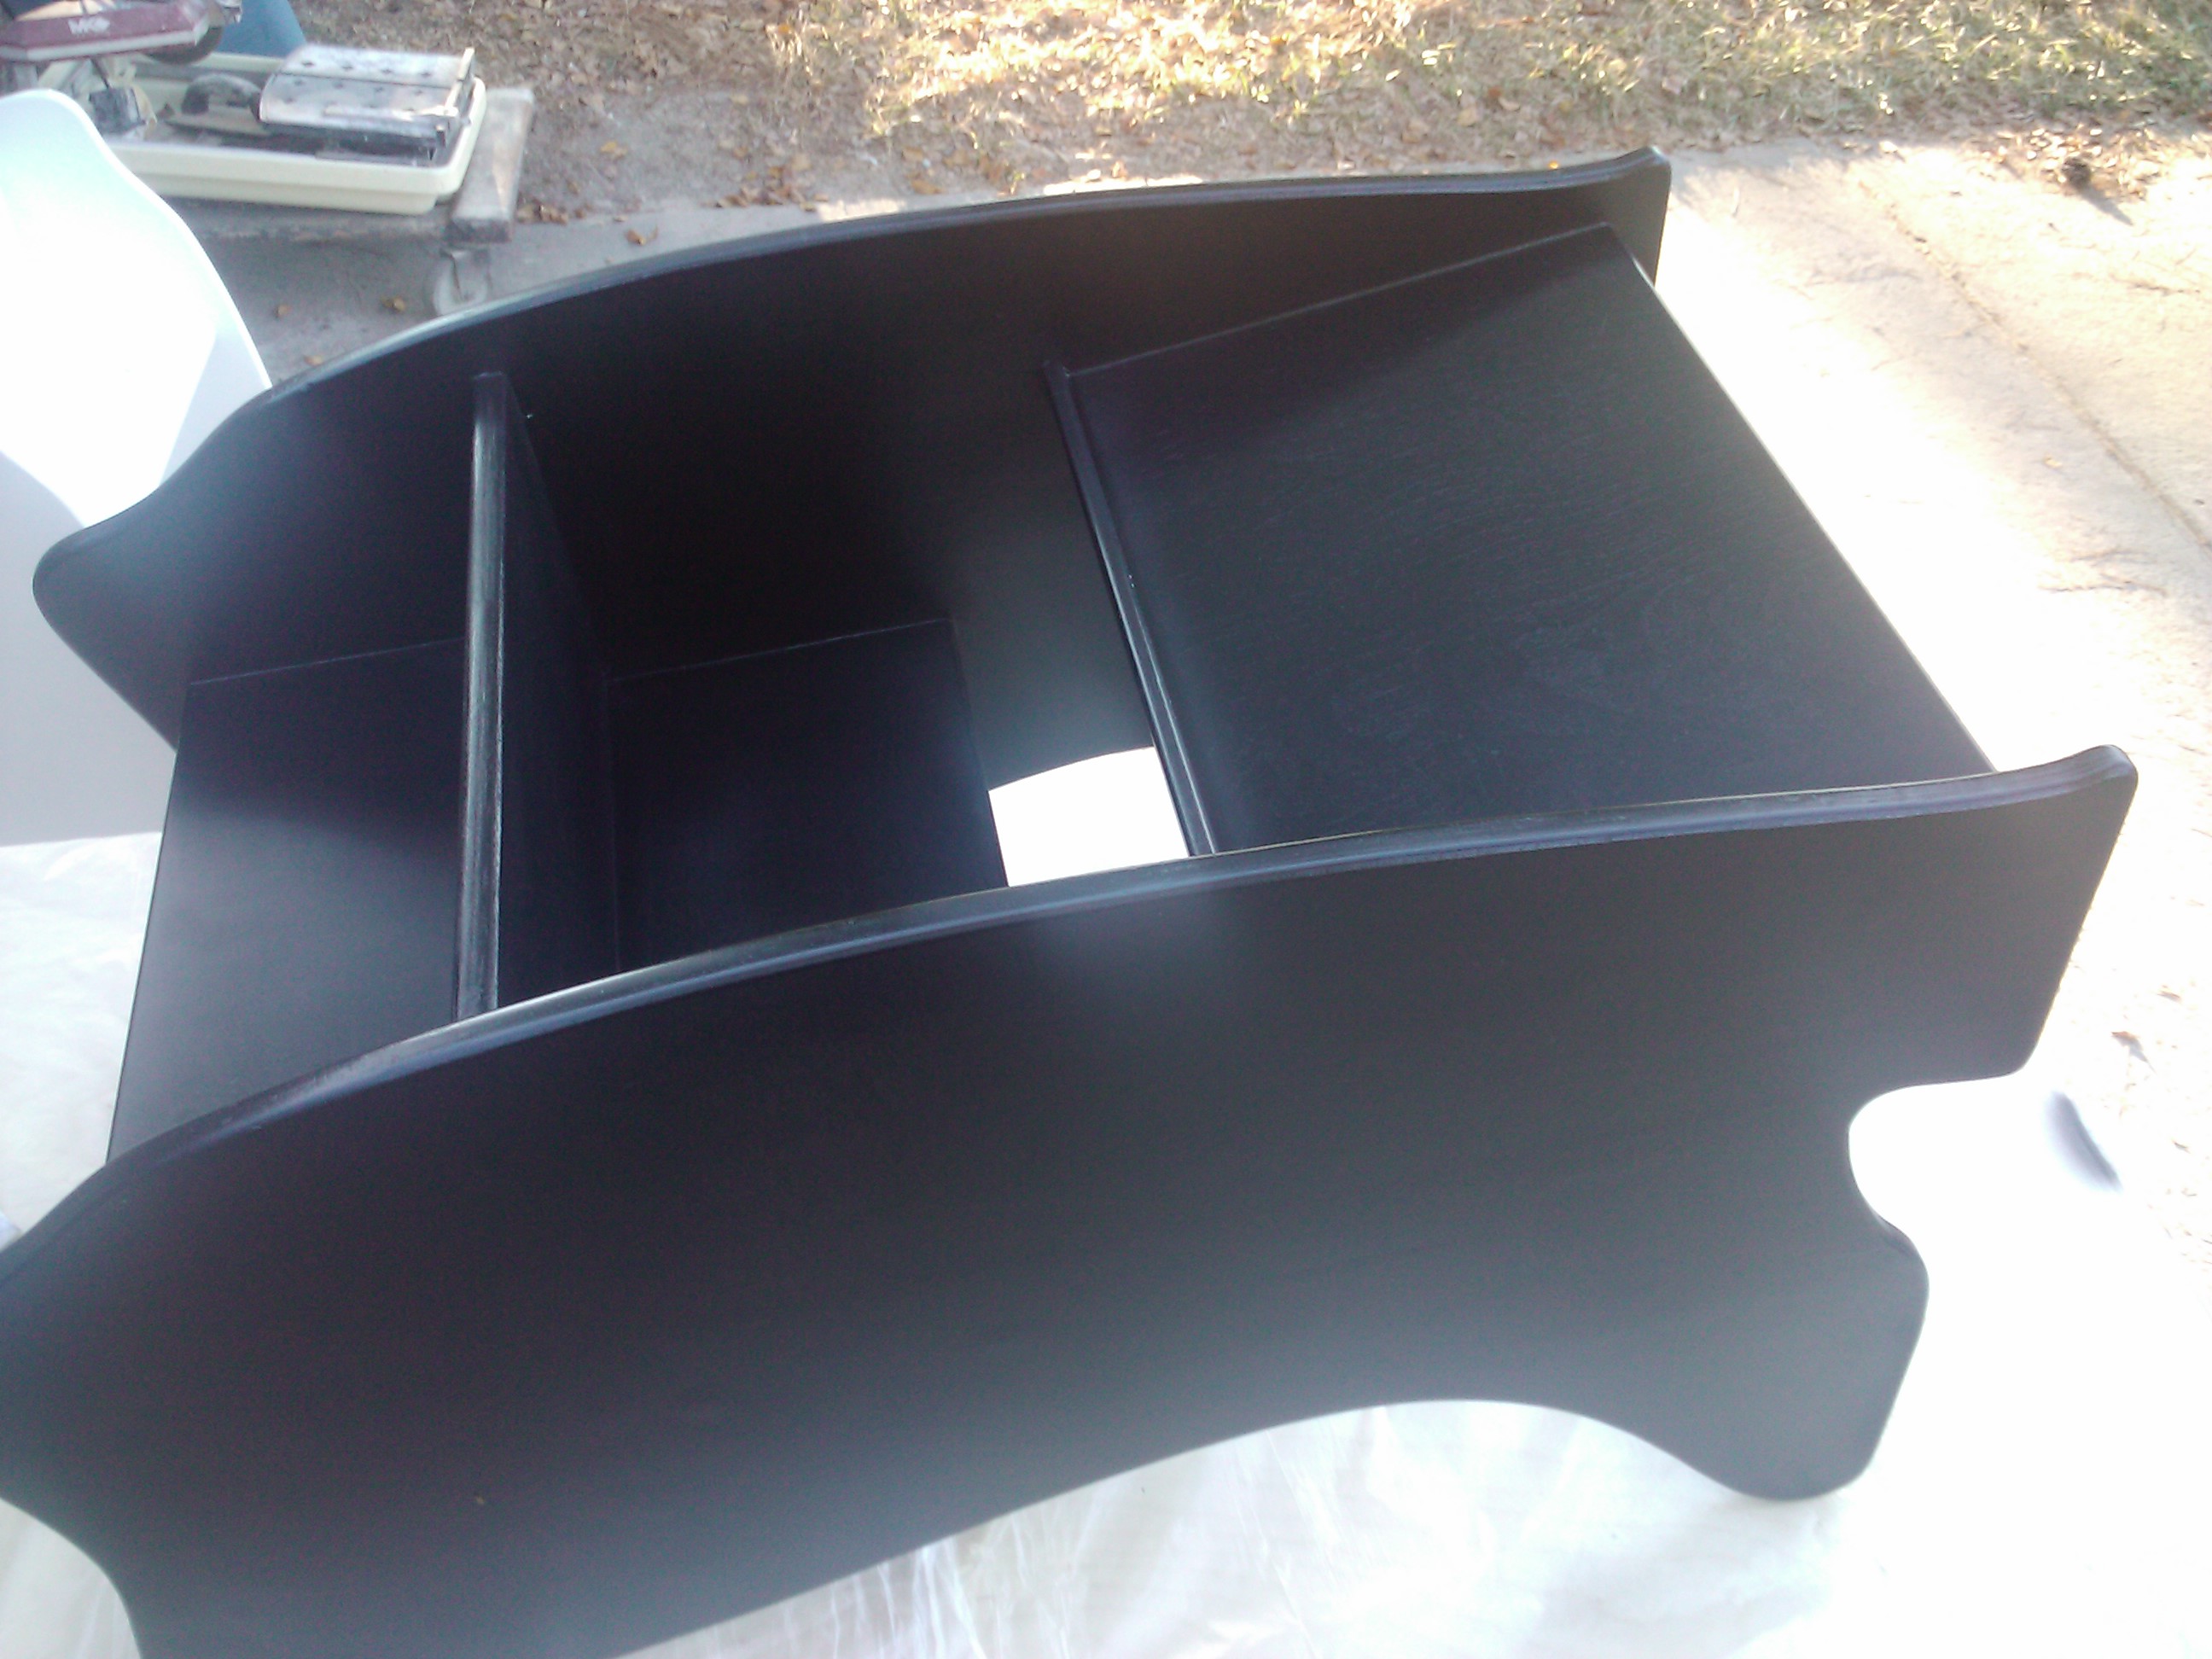
The rockin' boot in desk mode! Such a cool project to build!
This one was sold at a bike rally, then the customer had me do it up in Harley fashion. Unfortunately, lost the camera with the final pic at the bike rally... it was a reeeeeally good rally!
-
The second kick drum in the set.

-
The rockin' boot in desk mode! Such a cool project to build!
-
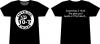
A shirt I made for myself about 8 months ago.
A granite tile that I sandblasted, then airbrushed for my lady.
One of a line of shirts (representation not a pic, don't wanna confuse anyone) in our ID 10-T line of clothing.


-
I don't think I've ever posted any of my work in the forum since I joined, so I dug up some pics, albeit not very good ones, to post and get some feedback on. Most of the pics are pretty big, so I'll have to post them in a bunch of comments. It's easier than going through each to resize.
Your comments are welcome!
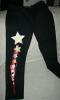
The jeans are my youngest daughter's. This was the very first heat press vinyl I'd ever cut, so it was very experimental for me. The Rockin' Boot is a product that I made with a friend of mine and the vinyl was my first paying gig... one month after receiving it. Hard to see, but it's a rocking "boot", a high chair, and a desk all in one. Pretty cool. We've sold about 15 of them.
This is one of my drummer's kick drums. This was the second item I'd ever installed... one week after getting my cutter.

-
I don't think I've ever posted any of my work in the forum since I joined, so I dug up some pics, albeit not very good ones, to post and get some feedback on. Most of the pics are pretty big, so I'll have to post them in a bunch of comments. It's easier than going through each to resize.
Your comments are welcome!
The jeans are my youngest daughter's. This was the very first heat press vinyl I'd ever cut, so it was very experimental for me. The Rockin' Boot is a product that I made with a friend of mine and the vinyl was my first paying gig... one month after receiving it. Hard to see, but it's a rocking "boot", a high chair, and a desk all in one. Pretty cool. We've sold about 15 of them.
-
been doing some research on buying shirts in bulk and my original plan was to buy like 200 shirts and then press the designs. but after reading tons of articles on this, i saw that it made more sense to just order shirts as i get orders. so where do you guys order your shirts at and what are some favorite brands? im just looking for normal short sleeve black and white t-shirts
thanks
kenny
I buy from Blankshirts.com and Broder Bros. Good prices and quick service.
-
Just to add a point, you'll need a graphics software package like CorelDraw or Adobe Illustrator. I've even used Macromedia Fireworks. Just any program that can create vector graphics which use shapes instead of pixels to represent the graphic. The cutter only sees lines and shapes, not images like photographs.
-
Thanks

Finally the answer I needed to buy myself that plotter.
What exactly is the difference between a brand and a cheap ass plotter?
Lifetime? Precision?
And what kind of information would you recommend me?
Get what you can afford! If you don't have much room, you might get a desktop model like a 12 inch up to a 24 inch. The biggest difference is price and precision. If you want to do decals (stickers) that are printed first then cut to size and shape, you'll need a machine that does contour cutting. That means it can be set to read marks (registrations) and cut around the shape of the print. These generally cost more. If you want to do clothing (t-shirts), glass etching, airbrush stencils, or window graphics, you don't really need contour cutting ability. I would advise a lot of reading on this forum before making the purchase, but if you don't have a lot of money, I'd definitely suggest the US Cutter brands to get you started. If it's a hobby only, you could even get a CriCut or the Raindrop, but those have a lot of limitations. If you do it right, the machine will pay for itself in the money you make with it. Don't listen to negative people. They don't know how to dream and they'll keep you from getting what you want!
-
Haven't been able to find any comments whatsoever about this, so I'm opening it up to discussion before I try it.
I've been screen printing for a lot of years, but I often get orders for just a few shirts and it's not worth the time and effort to make a screen and deal with the clean up afterward for such a little job. My question is, has anyone tried to airbrush onto something like EasyWeed or ThermoFlex Plus? Since the airbrush paint has to be heat set anyway, I was thinking about being able to do shadowing and special effects on multi-layered vinyl. This would open up a whole new avenue for me, but again, I was hoping for some feedback before trying it.
Thanks in advance for any info!
WE'RE STOKED! On Graphics!
-
If you have the money to get a Roland or a Copam, by all means, get it! If not, get an MH series from US Cutter. I bought the 871 about a year ago and have absolutely no problems with it, other than being uninformed to start with. As long as you take care of your machine (keep it dust free, check connections, ground, etc.) you shouldn't have any issues. A lot of people will tell you to go with the name brands, but if you're just getting into the biz, there's no reason to spend so much money. Besides, if they're not paying for it, why listen to them?
-
I've already been using adhesive vinyl for screen printing for about a year now. That was one of the main reasons for buying a cutter at all. One limitation is half-tones or fades. Can't do that with vinyl, so in that situation, you have very little choice but use an emulsion or capillary film. The vinyl is fine for short runs, but after about 30 to 40 prints, depending on the ink, the adhesive begins to break down and let go at the edges of the graphic. If you're doing coroplast signs that don't have to last forever, you can get by with an acrylic ink or even reduced acrylic paint, but be sure to hit it with a clear coat afterward to protect the the ink/paint. Also, be sure to use a high mesh count screens. Most of the acrylics that I've used tend to be kinda thin, so the higher the mesh count the finer the detail without excess buildup. Where exposure is concerned for screen emulsions or films, there are several exposure calculators and test strips that can get you dialed in on times.
As and also ran, When I first started screen printing in high school twenty-something years ago, a buddy used to use the same type of silicone coated backing paper for one-of-a kind prints and he did multiple colors with no screen press at all. When he did half-tones, he would print spot colors (solid colors) then go back and airbrush the substrate color back in to get the fade effects or add additional details as well. Lots of work to it that way, but just goes to show that you have to think outside the box when you don't have the high dollar equipment to get the job done. He also helped me build my exposing unit/light table many years ago, but it's still the same one I use today. I contract out the big jobs to a local screen printer that gives me a great price, so we do mainly the design work and the color separations for those jobs. Small jobs, I tend to get the customer to go with heat-press vinyl for shirts up to about 20 pieces or adhesive vinyl for things like yard signs up to 50 pieces. Lately, I've been doing some etching with an air eraser and etching cream using... yep, adhesive vinyl stencils...
WE'RE STOKED! On Graphics!
-
Really awesome job, but I'm still running an older version of Office. I don't see the updated version that's compatible. Is it still available?
Thanks
-
A little over one year ago I found the MH-871 on ebay and couldn't believe the price. After spending about 3 weeks researching and asking questions about this machine, I bought one hoping the slams against it were wrong. Less than a year after buying this cutter (and dealing with the myriad little issues) this machine has paid for itself at least 8 times over. Since starting with heat press and adhesive vinyl, we've had countless shirt/clothing orders and expanded to include vehicle graphics and storefront signage and lettering. We've almost begun to outgrow this simple machine, so I wanted to document some of the issues and solutions I've come across with my cutter.
1. Static is a big problem and even knocked out the "z" chip (the control chip that raises the blade in between cuts) early on. Solution: Keep a dryer sheet (bounce sheet) near the machine and wipe down (lightly) the surface of the vinyl and all of the contact surfaces of the cutter. Don't know who posted that one here, but it's a life saver!
2. Different materials give different results. Solution: As for heat press vinyl, I've tried many mfr's. and found that ThermoFlex Plus is the easiest to weed and apply and has the best performance for multi-layered vinyl. On adhesives, I've had excellent results with Oracal, 3M, and even the Greenstar that US Cutter sells. Overall in this case, it's true that you get what you pay for.
3. Read, read, READ! The folks on the forums are an excellent source of information, but like many forums, too many people forget to search THOROUGHLY through the forum to find answers. Even the most patient of forum members show their frustration at answering the same questions so many times. Watch the videos that are available and take time to find the info you need before posting a new thread with an old question.
4. It's probably operator headspace and timing... Learning the ins and outs of your equipment will make you a good shop owner. Finding the little known options in your software will keep you from getting headaches and wasting a ton of material and money. For example, in SignCut there is a step-by-step option that has saved my sanity (once I learned about it). This cutter had a tendency to screw up on really large cuts, but once I activated that one little feature, Voila! No more screwed up cuts no matter how long! Though it's not a contour cutting machine, I'm now working on getting it to do just that, though everyone has told me that it simply can't do it. Well, they're right. It can't do it the way a contour cutting machine can, but once I've got the math down perfectly, I'll post a video of this "non-contour cutting" machine doing just that.
5. Measuring tools are your friends! When we got our first 4'x8' aluminum sign job, it seemed like a really daunting task and my partner thought we wouldn't be able to pull it off. SOOOO, I got out my drywall T-square, tape measure and speed square (framing square that looks like a triangle) and began laying out the sign. One thing I've been very good about, is creating my graphics full scale and making notes for the placement in the drawing notes. When it came time to place the vinyl, I printed the notes along with the graphic from Illustrator and had everything I needed to complete the job and gain another happy customer that has spread the word for me and gotten me several jobs! Now, our motto is, "Business cards to billboards... We can do it."
6. Dry vs. wet application. I've used both methods, but wet is definitely the easiest and leaves the least bubbles. Dry application generally gives you one shot at getting it right, so be sure you've got clear transfer tape for those so you can see your measurement/registration marks. Wet is much more forgiving and as for application fluid, you really don't need RapidTac or any other name brand solution. The recipes on this forum are excellent. Mine is 3 cups of water, 1 cup of alcohol, and about 5 drops of liquid dish washing detergent. None of that makes any difference if you don't get your substrate clean, though.
7. Vinyl cutters are only good for a few things, I'm told... WRONG!!! I've made stencils for airbrushing and stippling, paint masking for vehicles, short run films for screen printing (using adhesive vinyl!), sandblasting stencils, and made serious money with heat-pressed/screen printed t-shirts and custom clothing! All that and more with one simple to use machine that cost almost nothing compared to the big name brands out there.
8. Don't let anyone tell you that you can't do it. I built my own equipment, including an exposing unit and screen press years ago and learned so many things along the way. The most important of which was that the easiest way to get me to do anything at all, is to tell me I can't do it. It can't be done. It wasn't meant to work that way. I can, I will, and it does! Experiment! Be willing to fail and you'll learn how to succeed! In this day and age and with the economy in the sad shape it's been in lately, my business is GROWING! I won't turn down any job, even if I don't have the means with which to accomplish the job! I'll research and build what I need, or find someone that will give me a good price and contract the work out. I don't have competitors, I have a network of shops that do my work for me! I still make money and my customers keep coming back!
9. Quit trying to sell a product and start trying to provide a service. Customers can't stand a salesman, but they'll listen to a complete stranger's opinion and trust in what they say. I don't cold call, I visit and shop. When I approach a potential customer, whether in a business or in the grocery store, I don't try to sell them anything. I do my best to find out what they want and give them options to get what they need. I was told once that, "You can have anything you want, as long as you help enough others get what they need." It's completely true.
10. Customer service sux! Nah. US Cutter's customer service has been outstanding! They must be putting something in the water over there. Every single time I've had to call and spend more than an hour with them, they've been patient and knowledgeable about their products. Once again, it's usually operator headspace and timing... or an ID10-T issue. Everyone get that?
So, I guess you can see that I've been extremely happy with my purchase and the performance of my cutter! I'll be sure to post again when it finally goes belly up, but I don't think that will be any time soon... unless it's from over-working it!
WE'RE STOKED! On Graphics
-
 1
1
-
-
I went to Michael's craft store and bought a gift wrap cutter. If fits right into the grooves on the front of my cutter (mh-871) and glides along for a really good cut and doesn't scratch up the machine like an exacto or razor.
-
I've tried several times to vectorize this pic. Got jobs on the table and less time than I need to finish them. Willing to pay a bit, can someone help? Just need the face and hair. Gonna be etched onto a mirror.
Thanks in advance,
Paul
Stoked On Graphics

-
A lot of us have dealt with the static issue. This is an ongoing issue with the US Cutter brand. In speaking with owners of other machines, I get the strangest looks when I tell them about the problem. I bought a Keyspan, another brand of usb/serial adapter, serial card installed in my PC... none of those will solve this problem, as this is NOT a comms problem. I contacted several manufacturers regarding anti-static brushes (i.e. the brushes inside a laser printer) and other static dispersal systems as well as ionic fans. The solution for me has been to keep a dryer sheet (yep I said dryer sheet like Bounty) near the machine at all times. I keep the machine OFF until I have the material loaded, then sweep the areas contacted by the vinyl or vellum including the top of the cutter and the roll of vinyl itself. Sometimes the simplest solution is the best.
Good luck


Combining airbrush with heat press vinyl?
in Other Materials
Posted
I'd completely forgotten about this post. Airbrushing on heatpress vinyl looks great! ...until you wash it. Unfortunately, I had little success in trying this. There isn't much that can protect the paint/ink once it's on the vinyl. I'm sure there's a clear vinyl that can be added as a protective layer, but I didn't go that far. In other words, it really wasn't worth the effort, unless the shirt is going to be used for display only; in which case, it's better to just airbrush straight onto the shirt.