

amaterasu
-
Content Count
99 -
Joined
-
Last visited
-
Days Won
1
Posts posted by amaterasu
-
-
On 10.4.2017 at 1:19 AM, KYSIGN said:The RLA stands for release liner adhesion. This helps prevent the tape from peeling up around the edges and getting stuck to itself and other things. It will still stick to itself.
But it says "With RLA®, Conform®sticks to slick release liners, so tapes do not “dog ear” and stick together"
-
I just read on the rTape website that rTape RLA dont stick together. Is this true?
-
I just checked if the wheels of the carriage head are firm and they are.
-
59 minutes ago, MZ SKEETER said:You did not mention what kind of transfer tape you used, only paper transfer tape for wet application.. Seriously you should not even be doing jobs, until you have practiced quite a bit on installing decals and vinyl graphics...Go make some decals for friends/family for free, or cheap and install them to get practice.. It is not as easy as it looks, Those people that make it look easy have installed many decals.. It takes experience.. and practice, practice.. This also just happened this week.(Below) You guys have to learn the job first, before taking orders. Practice on your own windows, doors, vehicle etc. You are ruining your own reputation.
You also never stated whether you checked the (WHITE) wheels of the carriage head, and made sure they are firmly down in the track.. Those wheels do not even touch the vinyl. The carriage head holds the blade holder. I never said check the (BLACK) wheels of the pinch rollers.
Yeah I was afraid this would happen. Im afraid I never learn without screwing up first. Im not home atm, The wheels that touch the vinyl are white on my cutter so I thought he was talking about those, I will check the other wheels when I go home
-
Hi, I did a job yesterday, I have a recipe for application fluid that I found online, I altered the recipe, used way too much soap and my vinyl didn't stick so I let it out to dry. Been 24 hours and it still didn't stick but the temperature was very cold when I applied it. Maybe 3 degrees celsius. Is my vinyl ruined? Should I change it or will it eventually dry?
-
23 hours ago, dcbevins said:Did any one mention slack? If you have a roll on the cutter, unwind it enough that the cutter never has to pull on the roll to unwind material. The machine having to yank on the roll can cause errors. Too, maybe you have a static electricity problem. You could make sure the unit is grounded. Some people put clothes dryer sheets into the rolls of vinyl to reduce static.
I will try with dryer sheets
-
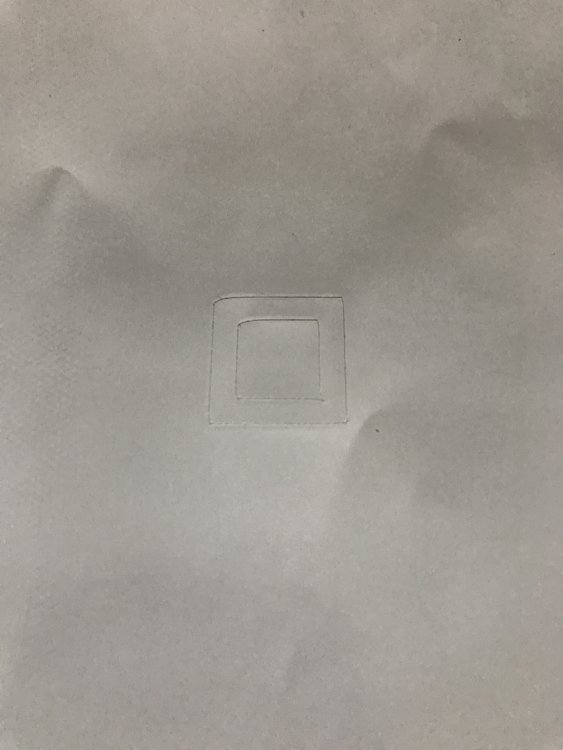
On 30.3.2017 at 4:25 PM, MZ SKEETER said:Are you sure that the white wheels of the carriage head are firmly down in the track? And that your blade holder is in the carriage head arm correctly? You need to first be able to make a square correctly, Until that, you won't cut right. If that was a square in the picture above, your way off. And if you have to use MAX pressure to cut then you do not have enough blade out. Get down eye level and watch it cutting. Look over the carriage head and make sure there are not any cracks in the plastic holding the blade holder. The carriage head should be solid in the track, There are also some very good videos for REDSAIL on youtube.com
Yes and in fact they are so firm that they create permanent wheel marks on all of my foils
 . I have adjusted my blade several times now, and the results I get now is although not how it should be, and weeding still is hell, it is at least better than nothing. I think I will let it stay like this until I can figure out how to fix it, I dont want to risk making it worse.
On 30.3.2017 at 7:43 PM, Wildgoose said:
. I have adjusted my blade several times now, and the results I get now is although not how it should be, and weeding still is hell, it is at least better than nothing. I think I will let it stay like this until I can figure out how to fix it, I dont want to risk making it worse.
On 30.3.2017 at 7:43 PM, Wildgoose said:Try flipping the design over and see of the glitch area on the S stays right there. I think you got a heap.
What does it mean that it got a heap? This actually happened again when I was cutting the name Haircules, it happened with the C, then I cut only the C without even changing blade position and it cut it out without the problem.
-
I can't believe it, I cut only the S this time with the EXCACT SAME settings and it cut it almost perfectly. Why does it mess up when cutting the whole file?
-
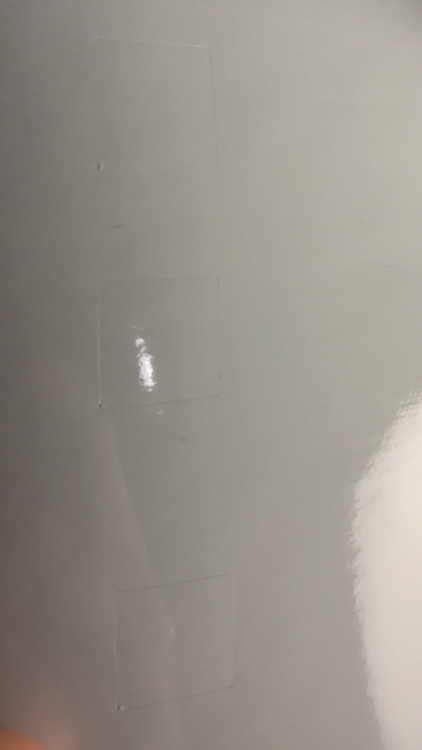
I re adjusted it again and got these test results, they are by far the best results Ive had but it still struggles with the S


From now on, Im going to cut only the S and keep adjusting the blade until I get a perfect cut.
-
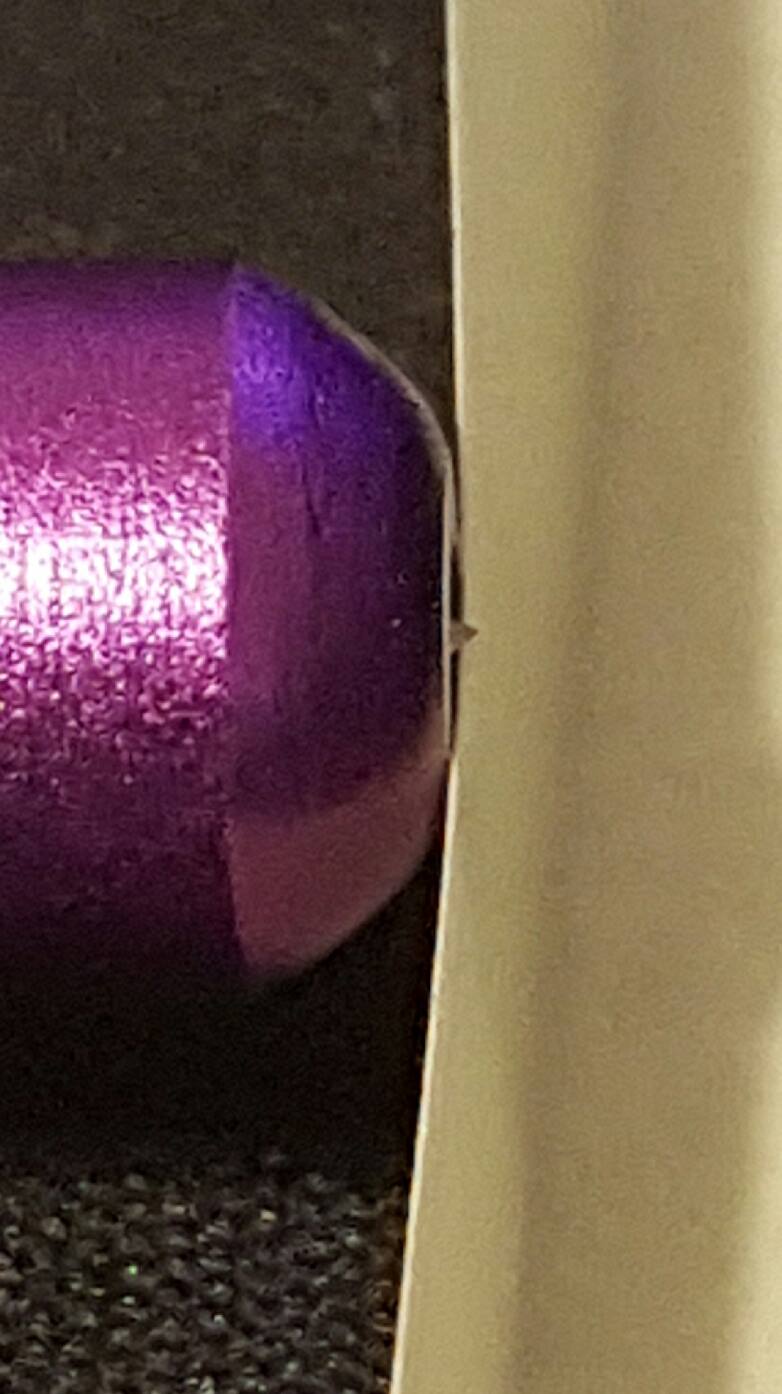
5 hours ago, Wildgoose said:Looking at your pics. Hard to tell for sure like you said but I would say a broken or dulled tip forcing its way through. It's sort of like trying to cut bacon with a dull knife. I think you might need a bit more offset too. The corners in the silver pic all look rounded except the starting/stopping one. If it's not the tip it could be a roller or carriage issue that isn't keeping your blade assembly held steady. Could still be a software issue too.
Just for your future reference, once you get this all figured out and working. Typical blade life for a quality blade like a Clean-cut or an actual Roland blade will be easily 6 months of steady cutting. A year if you just piddle around with the machine. No one told me that when I started and I wondered. The cheap knock off blades are another story and fail much more quickly. I treat my blades with care and when I decide to change I often save ones that are still working and use them when I decide to cut something that will probably damage a good blade (Like Glitter HTV).
I changed the tips, lubricated it, and pushed it so much in that It barely cuts on surface of the vinyl, then I used max pressure to make it cut through the vinyl and this is the result
-
47 minutes ago, Primal Decals said:2 things....
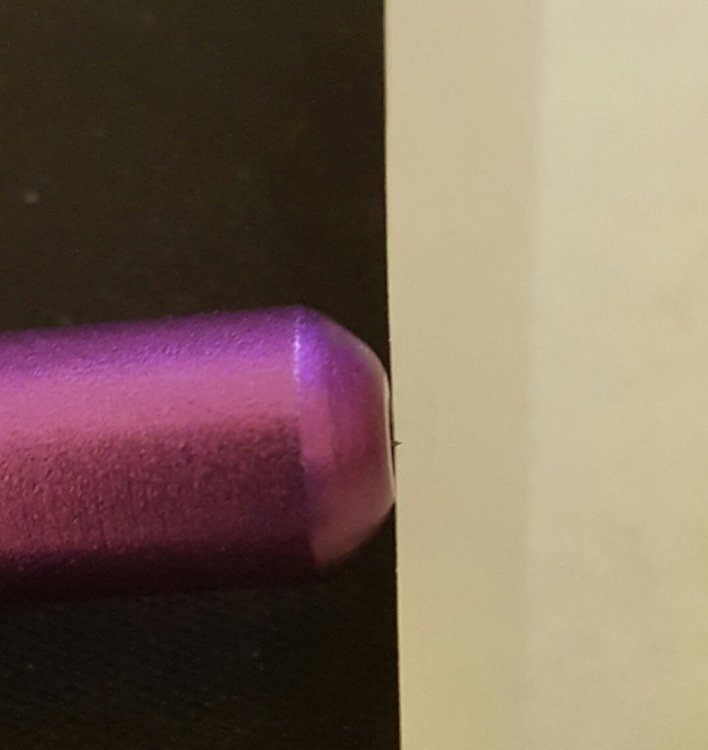
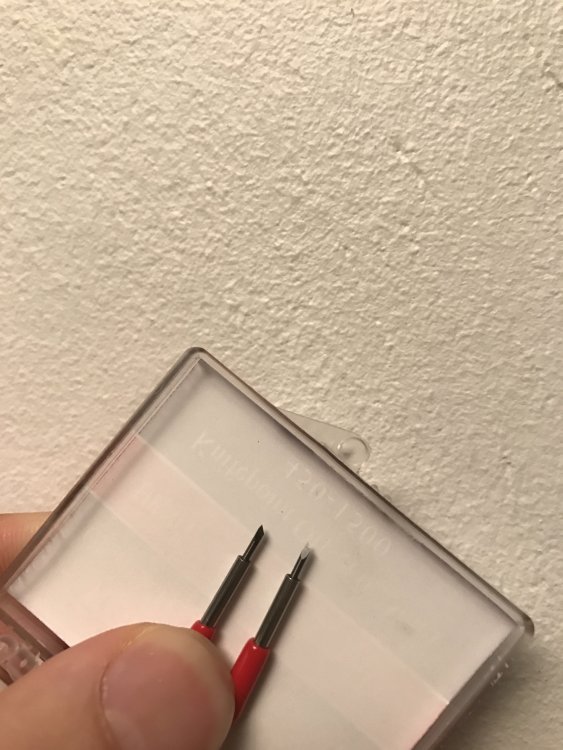
Forgive me on this , there has been so much discussed on here lol and im trying to keep up . is the tip of blade ( if you can tell) a sharp edge or does it look like its maybe chipped or flattened or rounded off . If the tip by chance went to deep at any one point of testing it could of broke the tip off etc . Just a possibility to check.the blade should look super sharp like my pictures if you can see it ....If you have another blade, change it out without messing up the depth(if its correct.)
That paper its resting on is a sticky note to show you the blade tip sharpness and how far its sticking out.........Thats my original blade im still using for the past 2 yrs...
This is how i did my first blade setup using a sticky note pad. It would cut thru the first piece of paper and barely cut thru the second layer If it cut thru to the 3rd i was to deep.It only takes a fraction of a hair to make an adjustment,. This is the same way you do it on a piece of vinyl .I chose paper my first time.. I have not changed my depth since in the holder.

Yeah sorry for asking so many questions.
 The blade I have looks sharp but I think your tip is wider. Maybe Im not adjusting the blade right? Am I not supposed to use force too see how deep it cuts? When using force it cuts through the vinyl and barely scratches the backing
25 minutes ago, Primal Decals said:
The blade I have looks sharp but I think your tip is wider. Maybe Im not adjusting the blade right? Am I not supposed to use force too see how deep it cuts? When using force it cuts through the vinyl and barely scratches the backing
25 minutes ago, Primal Decals said:@amaterasu? answer question above from MZ Skeeter.
Ya im not sure about seeing where this was a new or used purchase or not ,If it wasnt ,maybe wrong blades bought or bad blade issue? Im starting to get readers blindness lol.. Hopefully we can get this pin pointed so they can get cutting .Im sure they are stressing out as well lol..
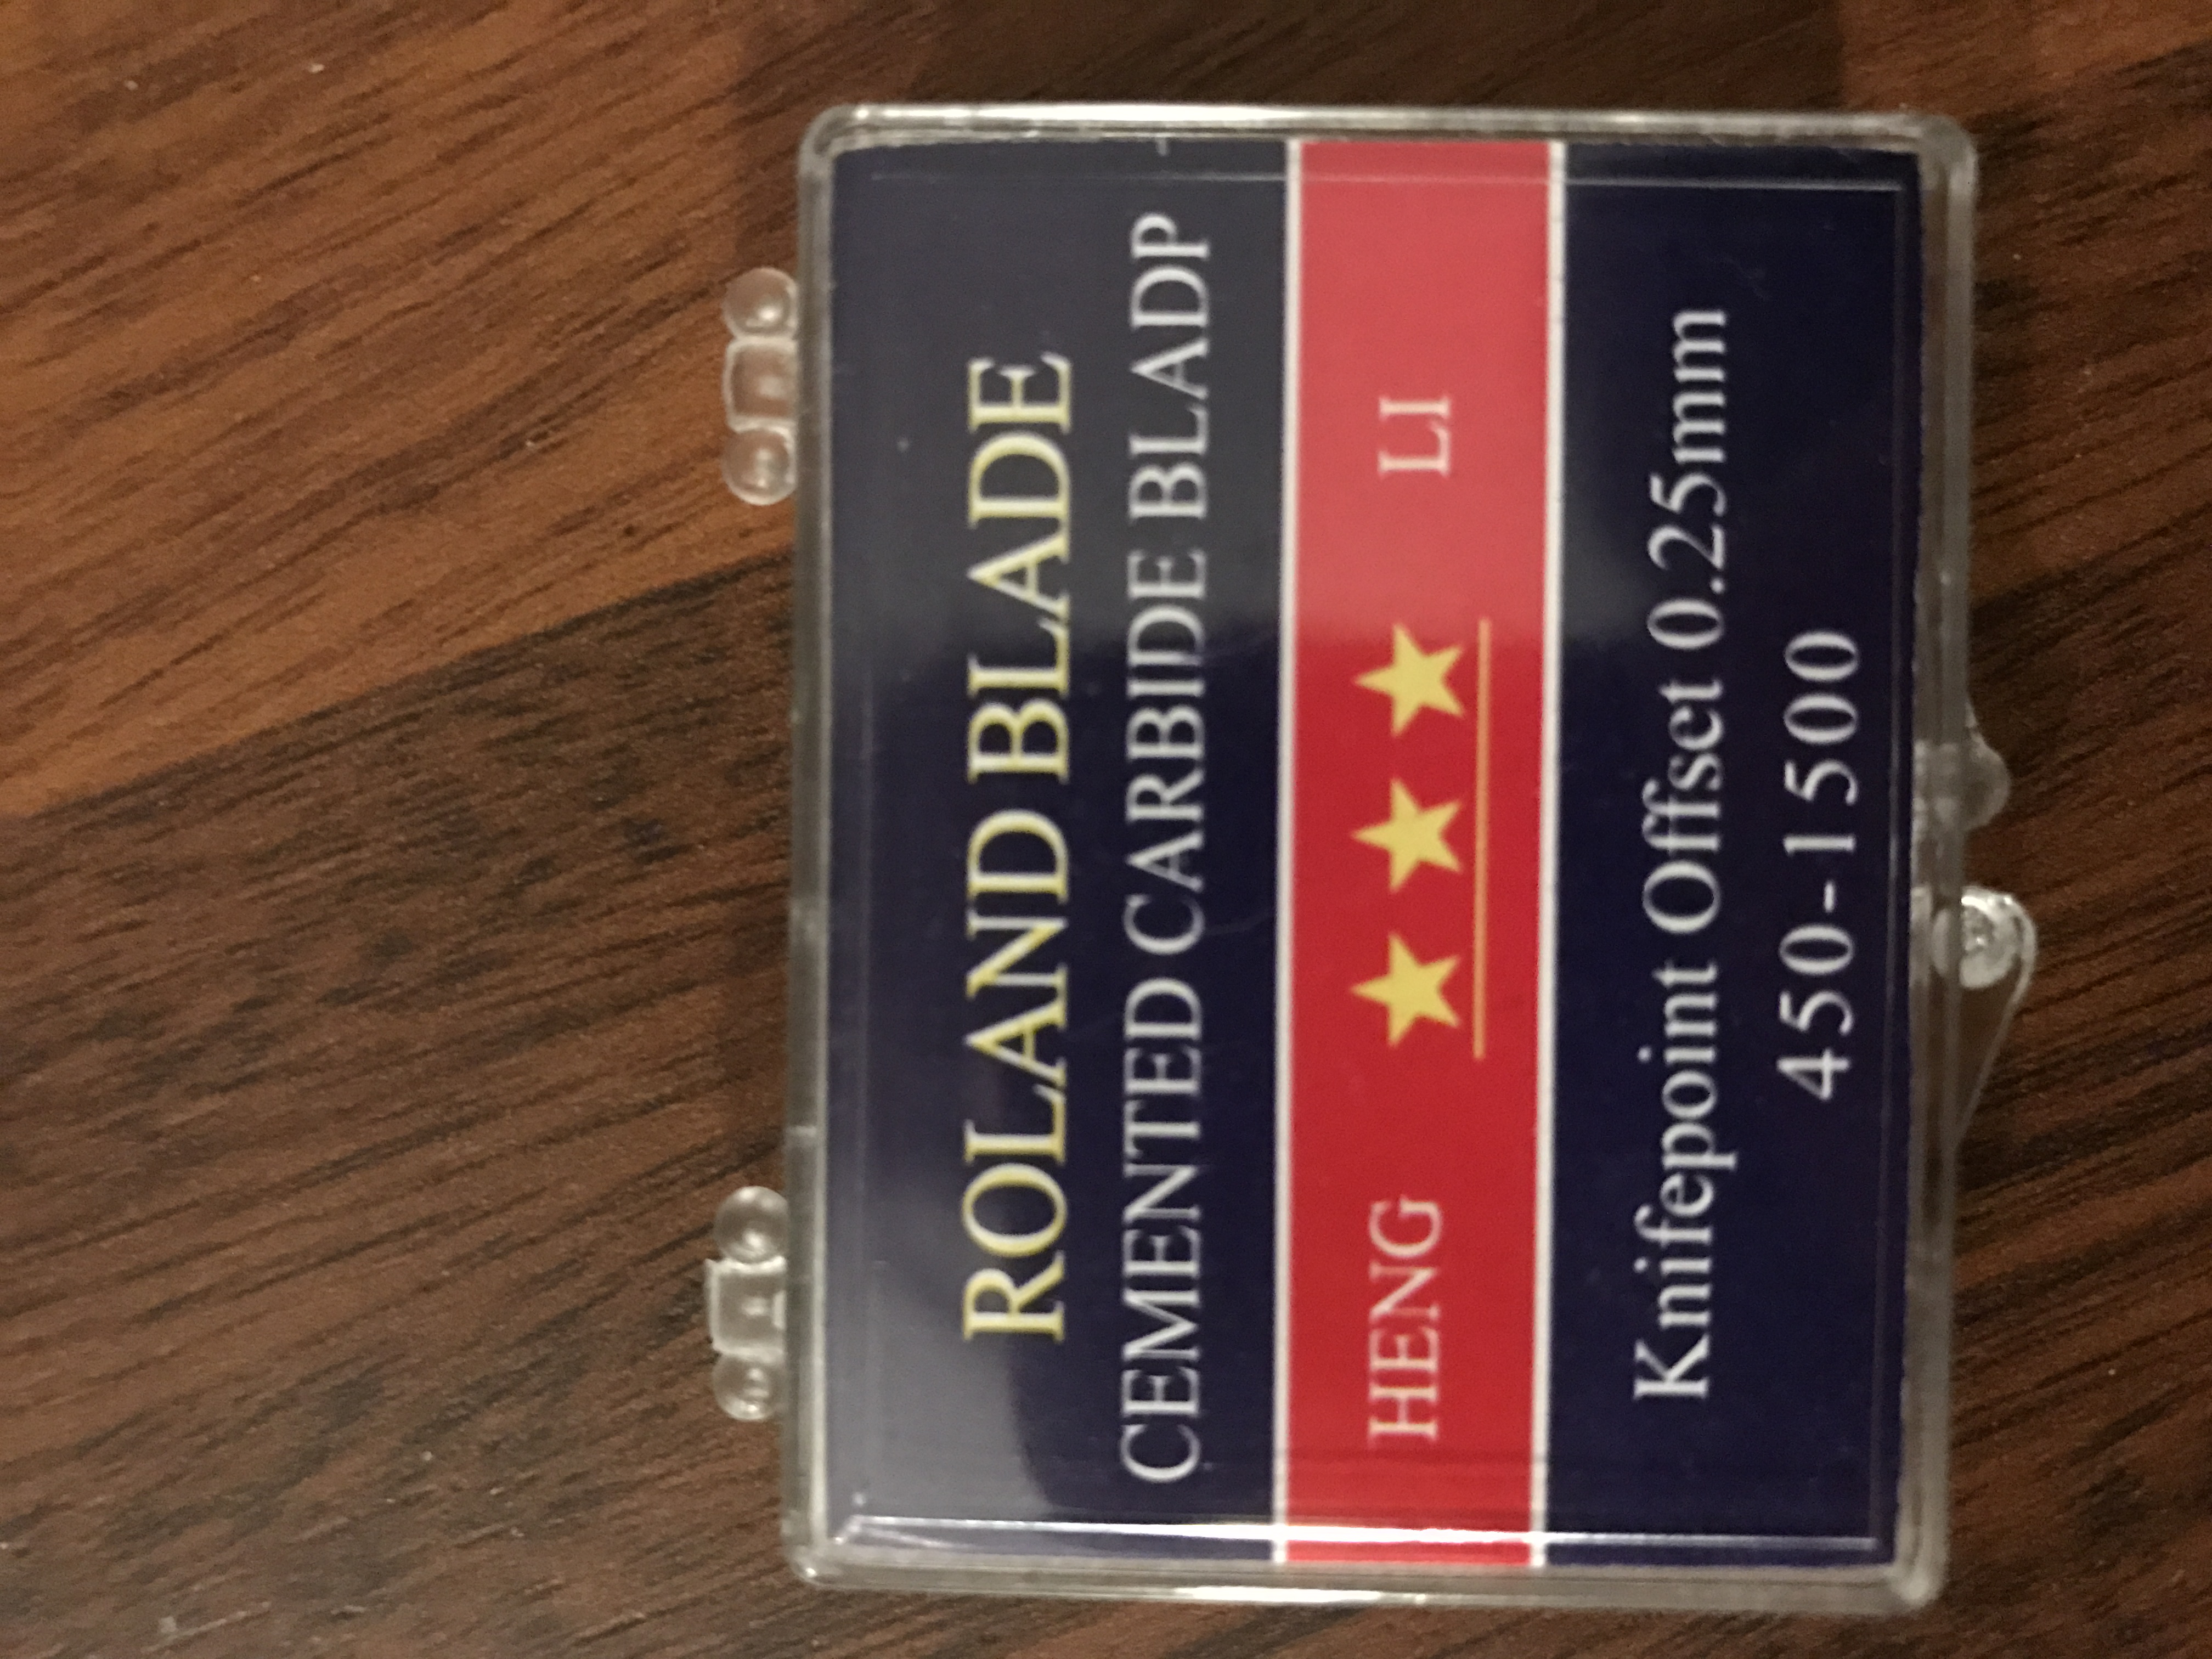
I didnt buy the blades. I received 3 blades with the cutter.
I think they are all 45 degree blades
-
Just now, Primal Decals said:ok..
what was the original setting for the offset when you first started ever cutting,I might have missed that earlier..
on Sign Cut Pro it was 0.1 but the cutter itself has no offset option
-
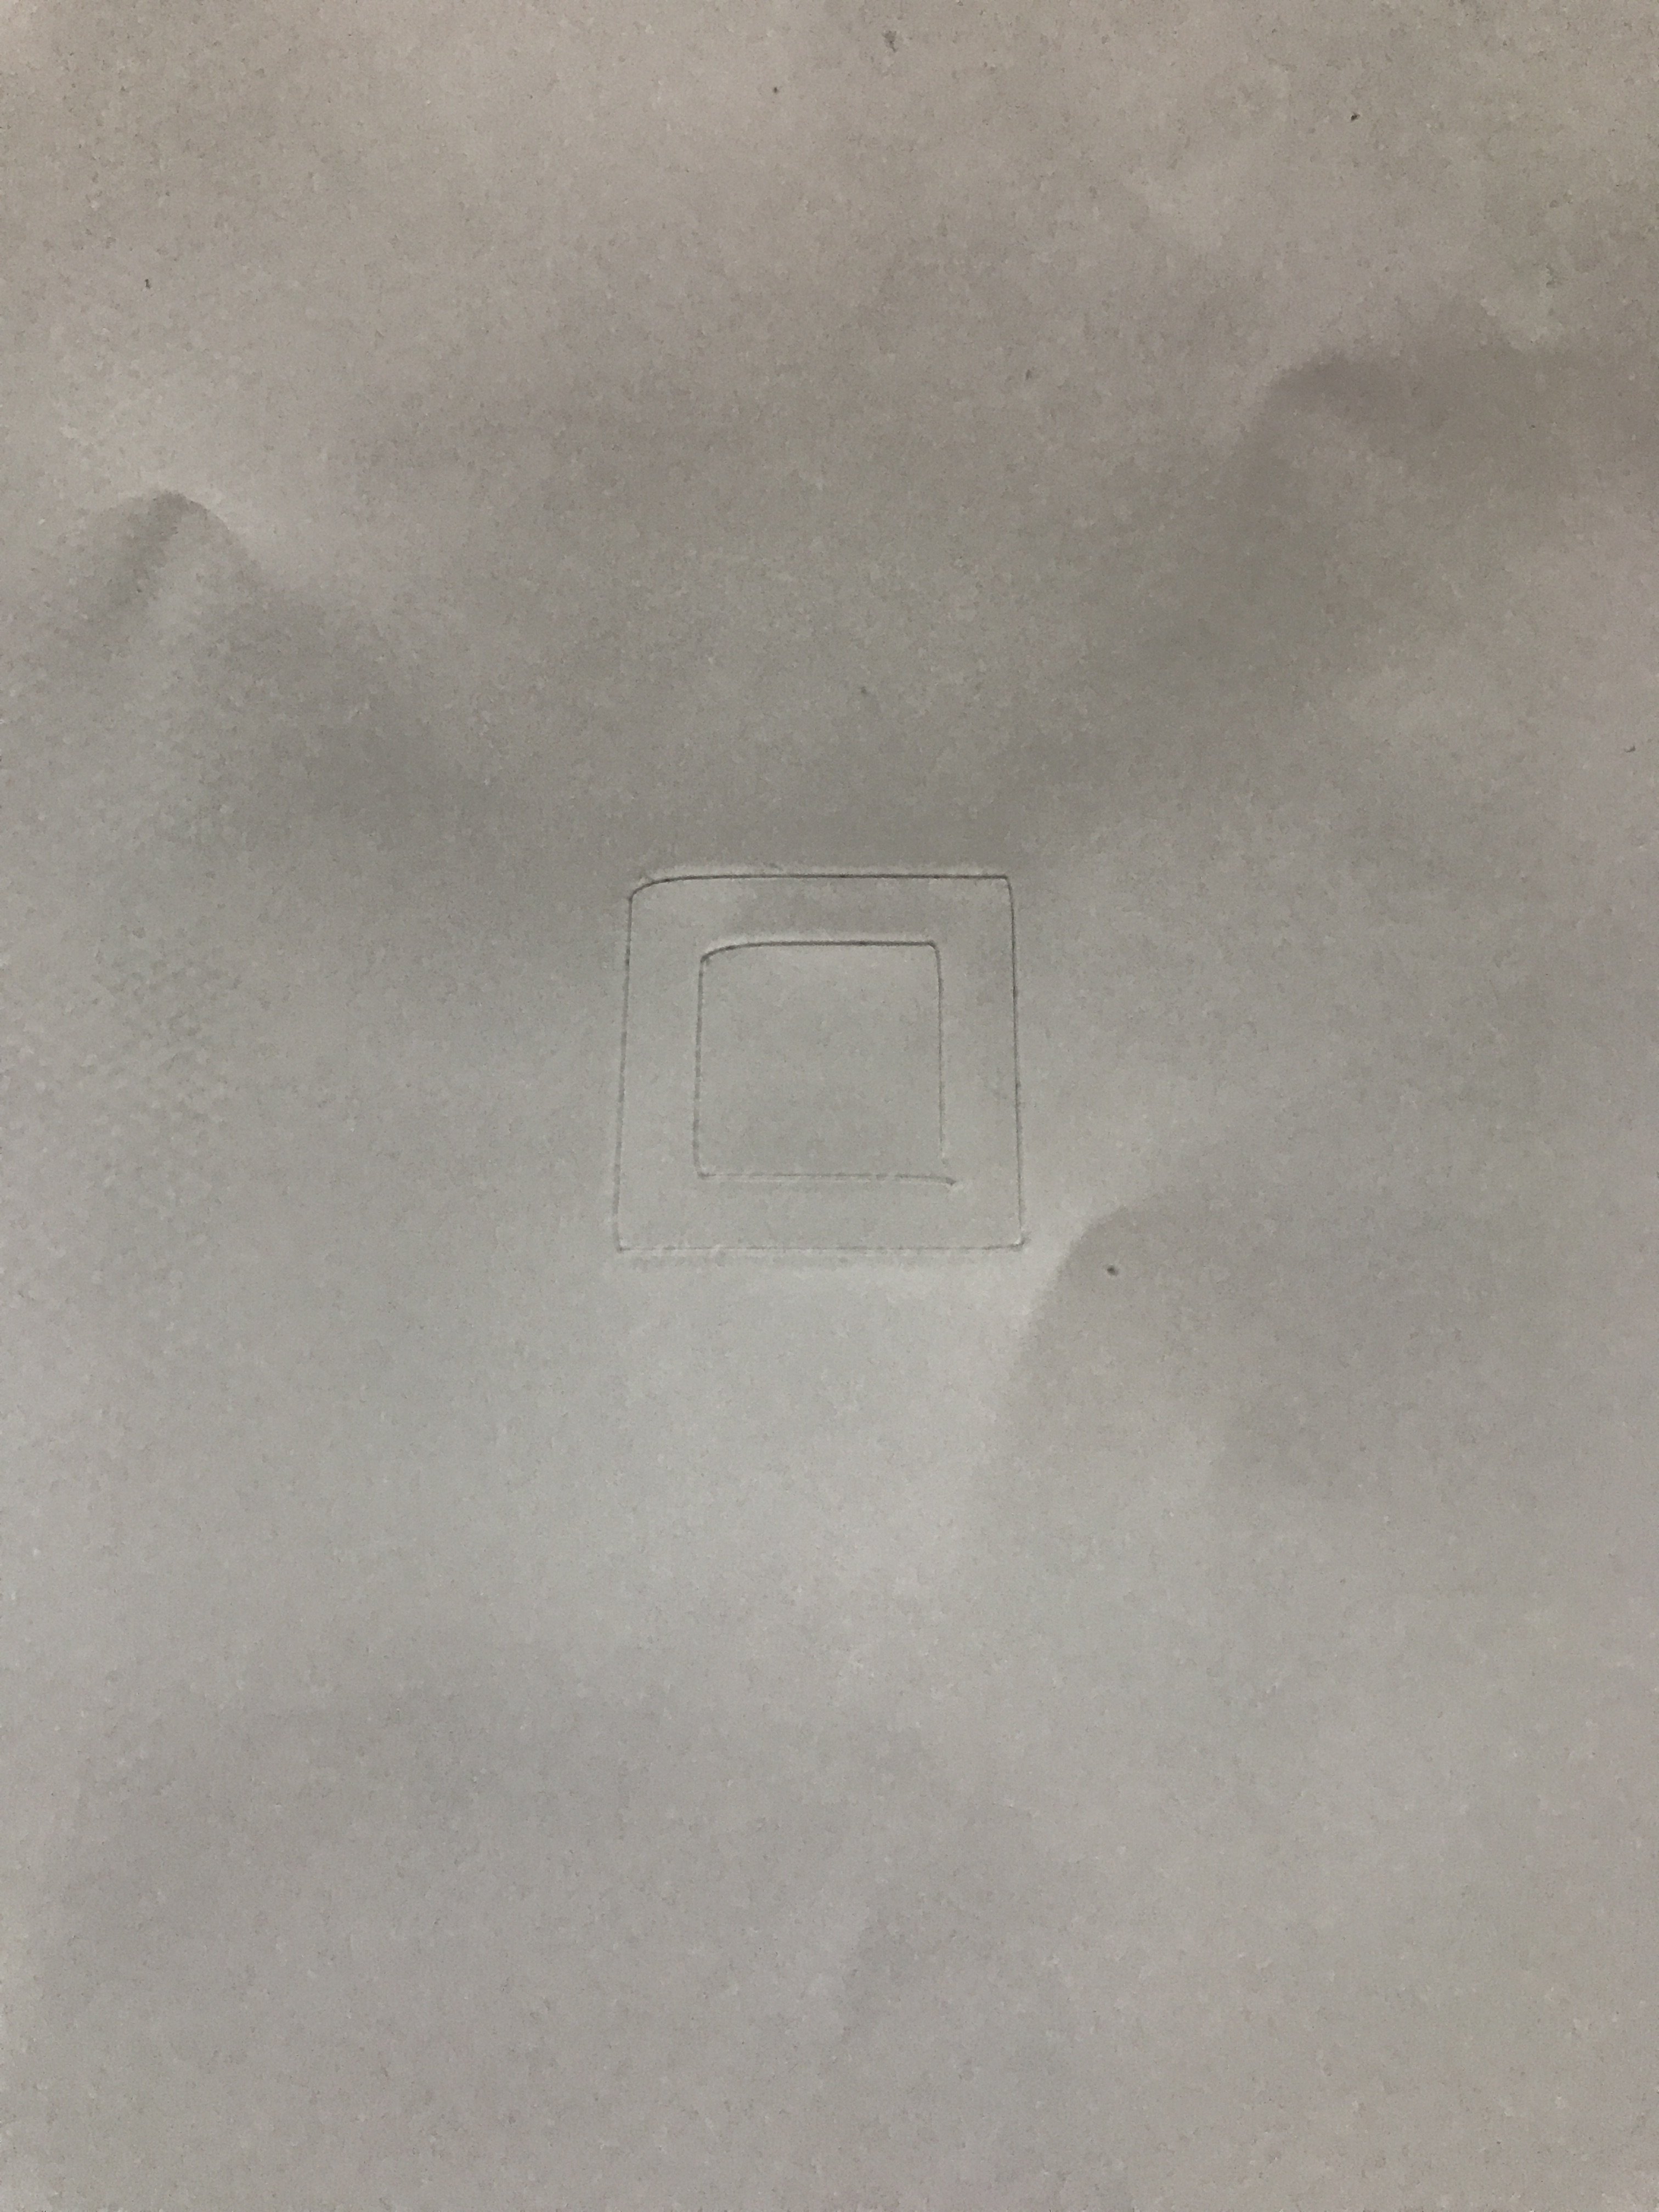
3 minutes ago, Primal Decals said:From what i can see , it looks like the one corner is bugging up.It could be an off set still. It appears to look cleaner cutting this time except the corners.
its a mixture of rounded, jagged and pulled corners. Its supposed to be a perfect square. I lubricated the blade with oil like MZ SKEETER suggested.
-
2 minutes ago, MZ SKEETER said:Alright, And what did you set your blade offset at?
I have tried from 0 to 5mm going up .05 each time. Now it is set to .025. It is a 45 degree blade
-
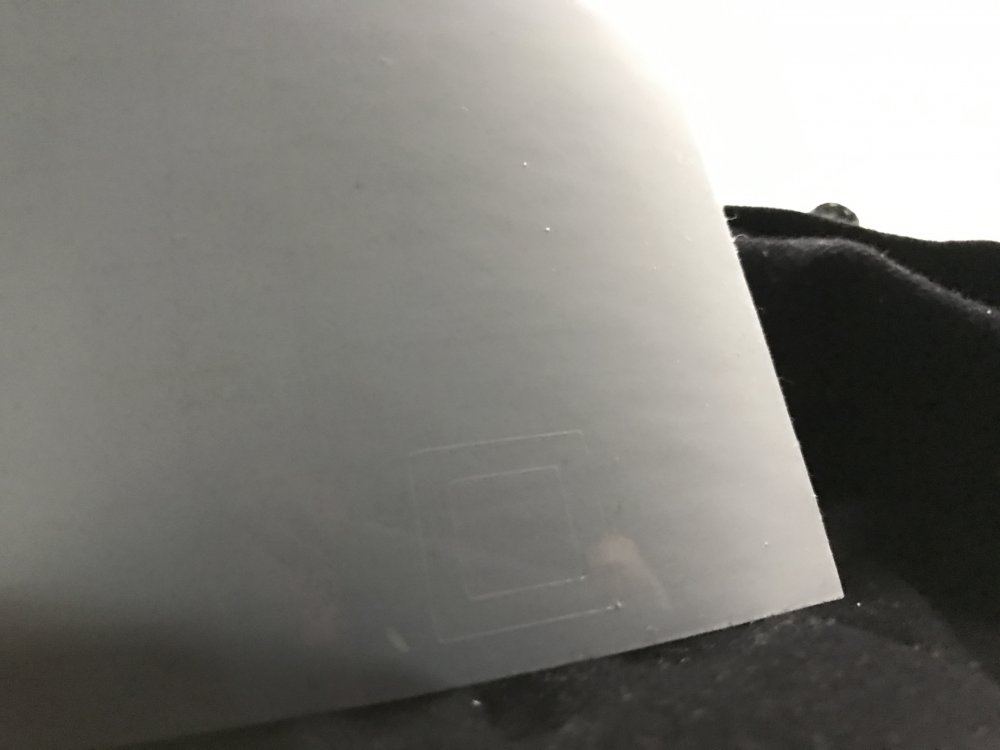
1 minute ago, MZ SKEETER said:I can barely see anything.. I can't tell.
I will take some more pictures tomorrow when the sun is up.
-
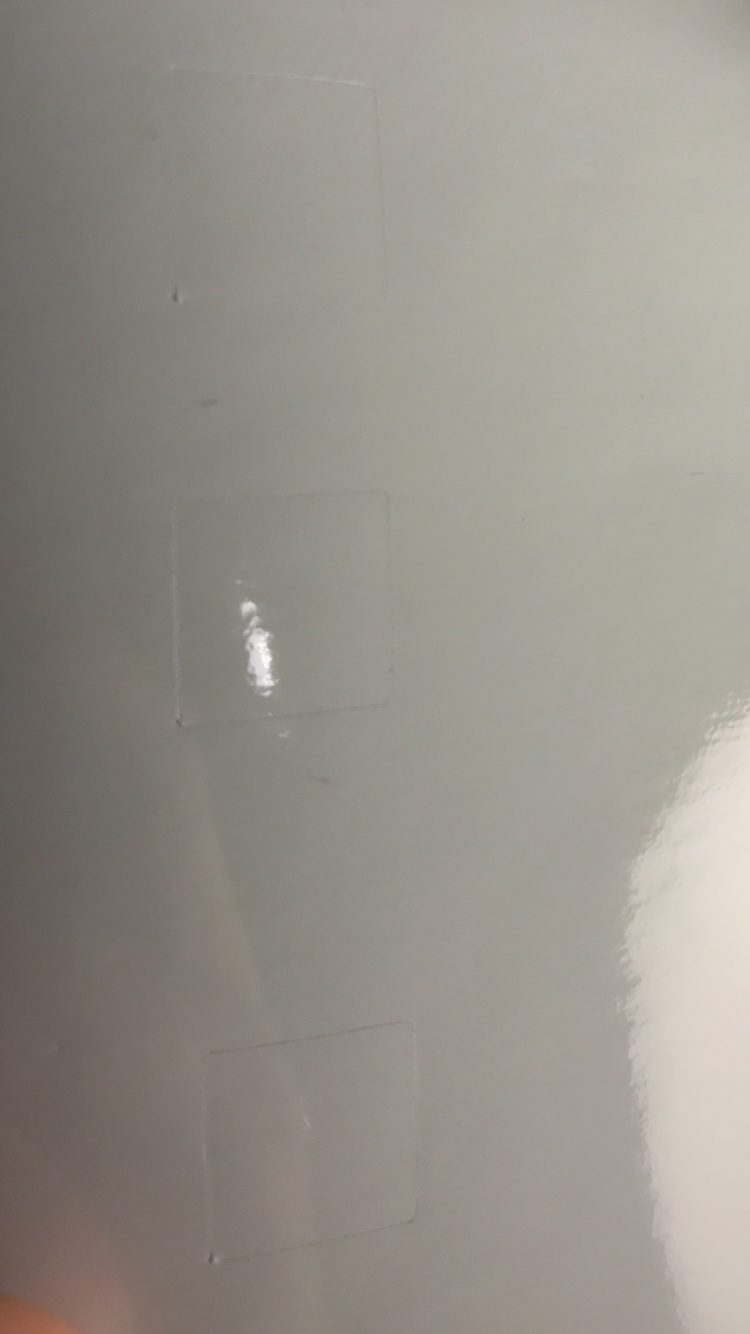
latest test results:
-
10 minutes ago, MZ SKEETER said:You should just barely see the blade.. I gave instructions before..".Firmly" cut across a scrap of vinyl. by hand, what does it do to the vinyl and backing?
Also run your cutter speed slow until you learn your cutter.
I can barely see it, It looks different on the picture because of the angle, it does nothing to the backing, barely cuts the vinyl. I have set it to the slowest speed.
5 minutes ago, Primal Decals said:here is mine,but its on a titan 2. and i set mine up the same way described as above like Mz Skeeter said.
-

Mine looks like this too.
-
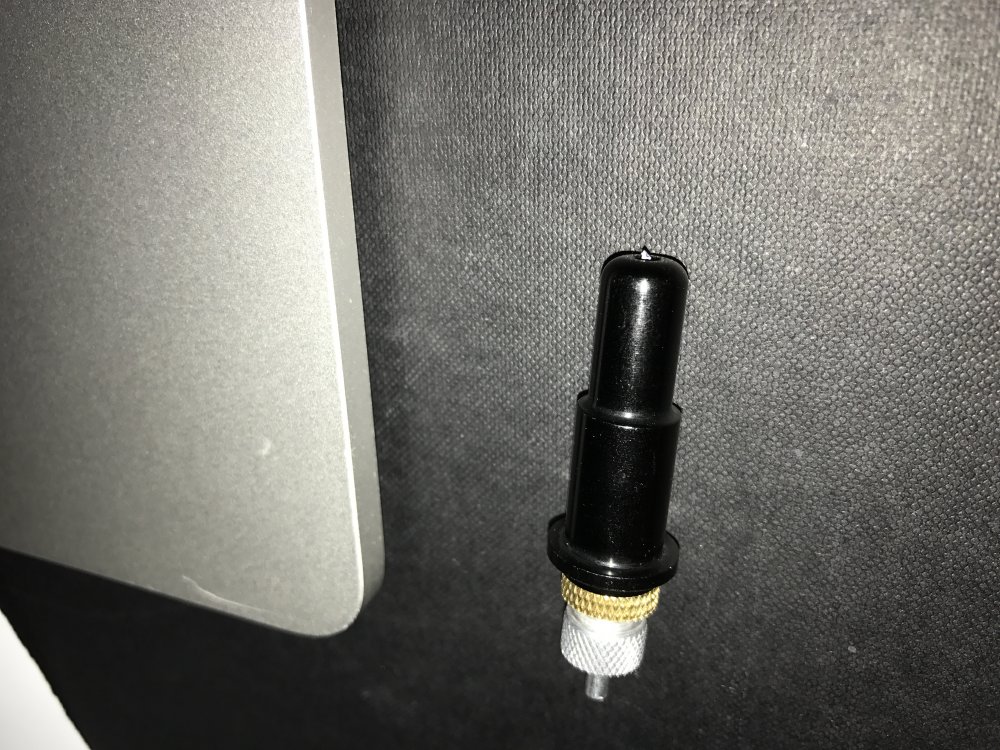
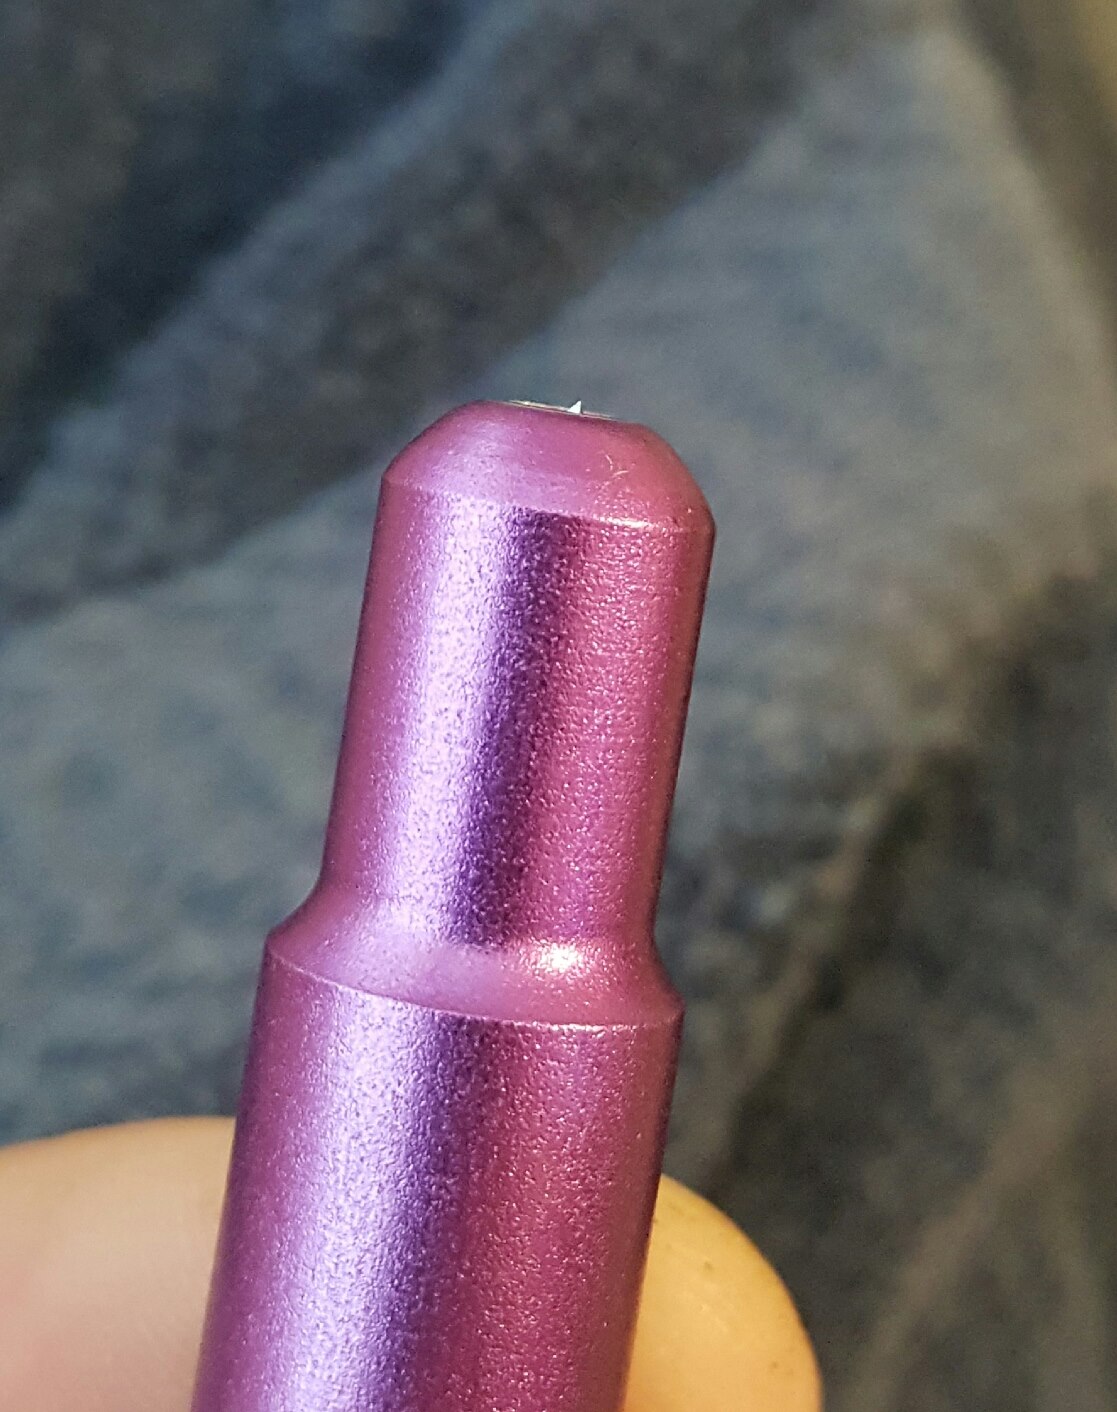
8 minutes ago, MZ SKEETER said:That blade is out too far.. You should just barely see or feel the blade tip. You only cut with the very tip of that blade. Does it even have a point on it anymore?
Like this?

-
6 minutes ago, MZ SKEETER said:Did you open up the blade holder and make sure there is not vinyl scraps in it? A drop or 2 of light oil, to make sure the blade spins good.
I have attached a picture of my blade holder. I haven't tried lubricating it but vinyl scraps here
5 minutes ago, MZ SKEETER said:You don't need a serial port, you have the Tripp Lite Keyspan Adapter.. USB end goes in the the USB of a windows PC. Show the test cut...How are we to know what it needs...
I know, that is how I already connect it to my mac I dont think It has anything to do with the OS but Ill give windows a try too. Heres the best pictures I managed to take now.

-
1 minute ago, MZ SKEETER said:Can you borrow a windows computer and try it?
Not with a serial port, but the cutter itself has a test button, the results are the same when I use it without even connecting it to my computer. Doesn't that mean something is wrong with the cutter itself?
-
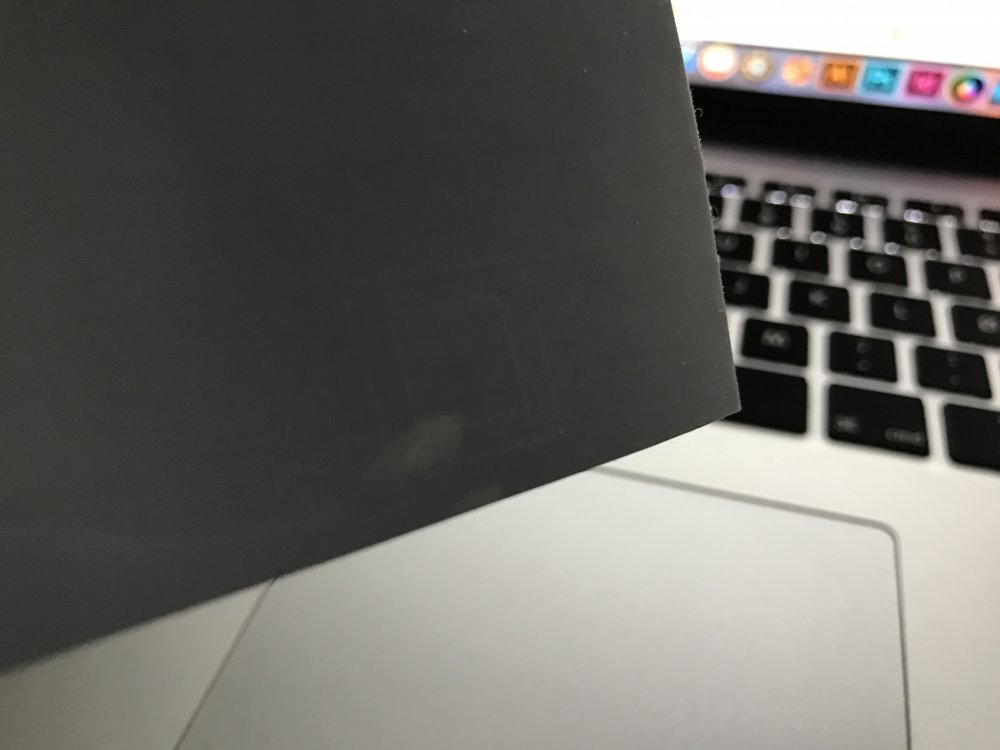
26 minutes ago, MZ SKEETER said:That is the correct way to set a blade, So what do the cuts look like? show a photo, where it is not all weeded..... And make sure that the carriage head wheels are firmly down in the track.
6 minutes ago, Wildgoose said:Post a pic of the cutting results. I see that letter with a nick out of the top you posted earlier. Post something that hasn't been weeded, preferably in silver or something that will show the cut decent in a pic. It's entirely possible that you have a bad board in your cutter or something like that too so it COULD be the cutter. We just see hundreds upon hundreds of new users say the same things and 99 out of 100 turn out to be user set up error so we tend to try and help guide you through that fine tuning process. Each brand of cutter is slightly different so it's hard to tell you exactly what to do. Pictures definitely help and possibly a file that you are fighting so we can be sure there isn't something wrong on that side. (Just don't post a cut file of anything potentially copyright protected please, that;s a no-no)
Thank you for helping me, I appreciate it a lot. I wouldn't stand a chance if it weren't for you guys.
It is too dark, I will take some pictures tomorrow but here is the AI file. I get the same results when trying a test cut or when I try to cut the default sign cut pro image
-
3 hours ago, MZ SKEETER said:This is how to set the blade correctly. Also make sure that you haven't broken the tip already.
To start with, you should set your blade depth correctly, by taking the blade holder out of the machine, and firmly cut across a piece of scrap vinyl, you will be cutting. You should only be cutting the vinyl and barely a mark on wax paper backing, Adjust blade to get there, Then put the blade holder back in machine, and use the force of the machine to get there, same results, only cutting the vinyl and barely a mark in wax paper backing.
I did excactly what you said and the results are still horrible and weeding is a nightmare
-
1 hour ago, MZ SKEETER said:Ouch....so how did you set your blade depth?
So that it barely touches the back paper.
55 minutes ago, Wildgoose said:I would bet a dollar you are still just not set up correctly. Could be anything from a slightly off driver or some of the actual cutter settings being off a bit or even a glitchy file. Value cutters have their issues but still are capable of pretty amazing results in the hands of an experienced user.
I hope so but I dont think it has anything to do with the settings, it does the same when initiating a test cut from the cutter itself. Maybe the blade is of poor quality?
-
4 hours ago, arty-rc said:Glad to hear you got it working. What did you do to get it working? It might help other members with the same problem.
I deactivated and reactivated my USB port. It works very well now, except for this one time it crashed in the middle of a cut. The cuts are terrible though, not accurate at all and I have tried every possible offset number.

https://www.dropbox.com/s/cne7qng54v92nf9/17622986_1393433620721937_72987500_o.jpg?dl=0
I wouldn't advise anyone to buy this cutter. Even as an entry model


rTape RLA
in General discussion
Posted
I have tried many different masking tapes and none of them worked well on glass.